
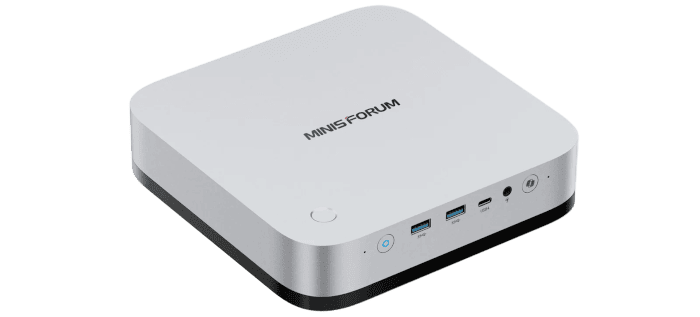
This is part of my series looking at the Minisforum M2 Pro running Linux. This time I’m taking a quick look at the machine’s BIOS.
The M2 Pro uses UEFI firmware to initialise the hardware and start the bootloader. BIOS, short for Basic Input/Output System, is still the familiar name for the setup utility.
I took these screenshots on the Core Ultra X7 358H review unit I covered in the introduction to this series. Click any screenshot to view it at full size.
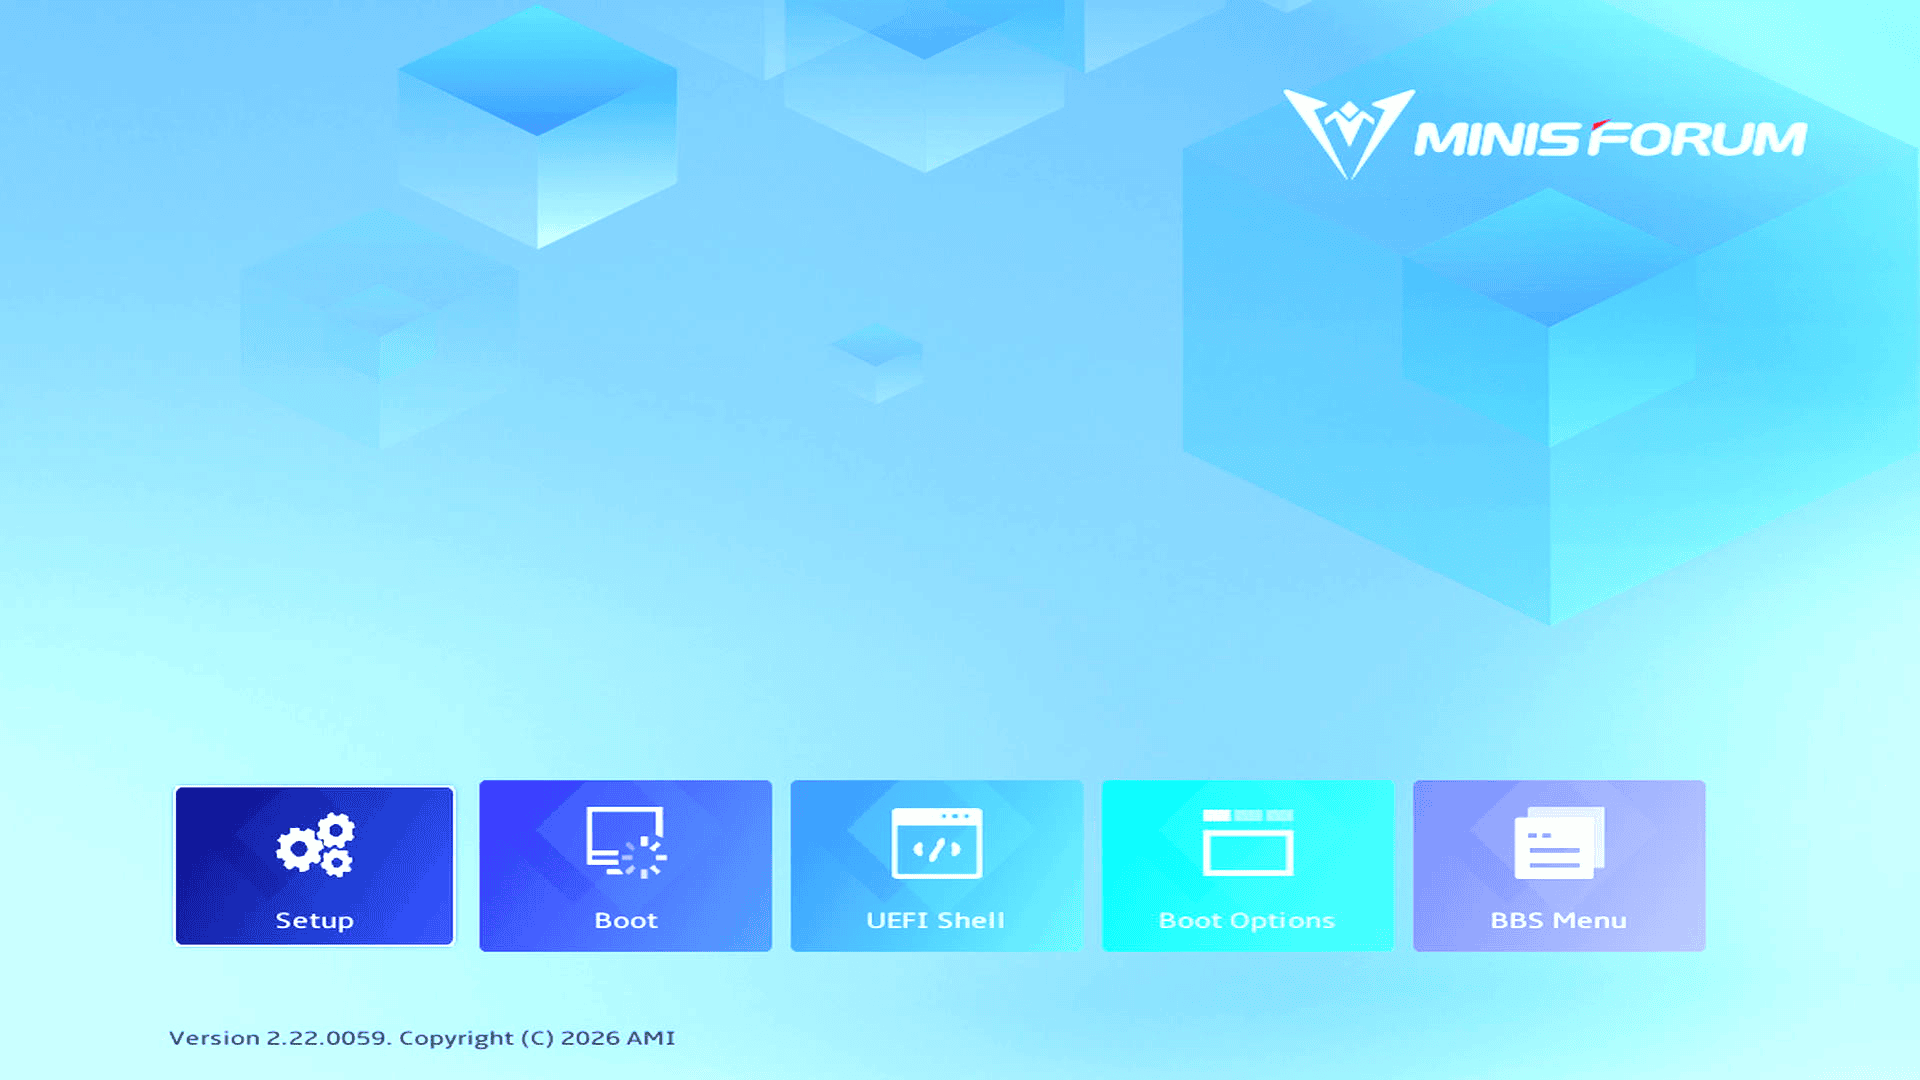
The AMI firmware opens on a graphical launcher. I select Setup to reach the configuration pages. The launcher also has shortcuts to the boot menus and the UEFI Shell.
Main
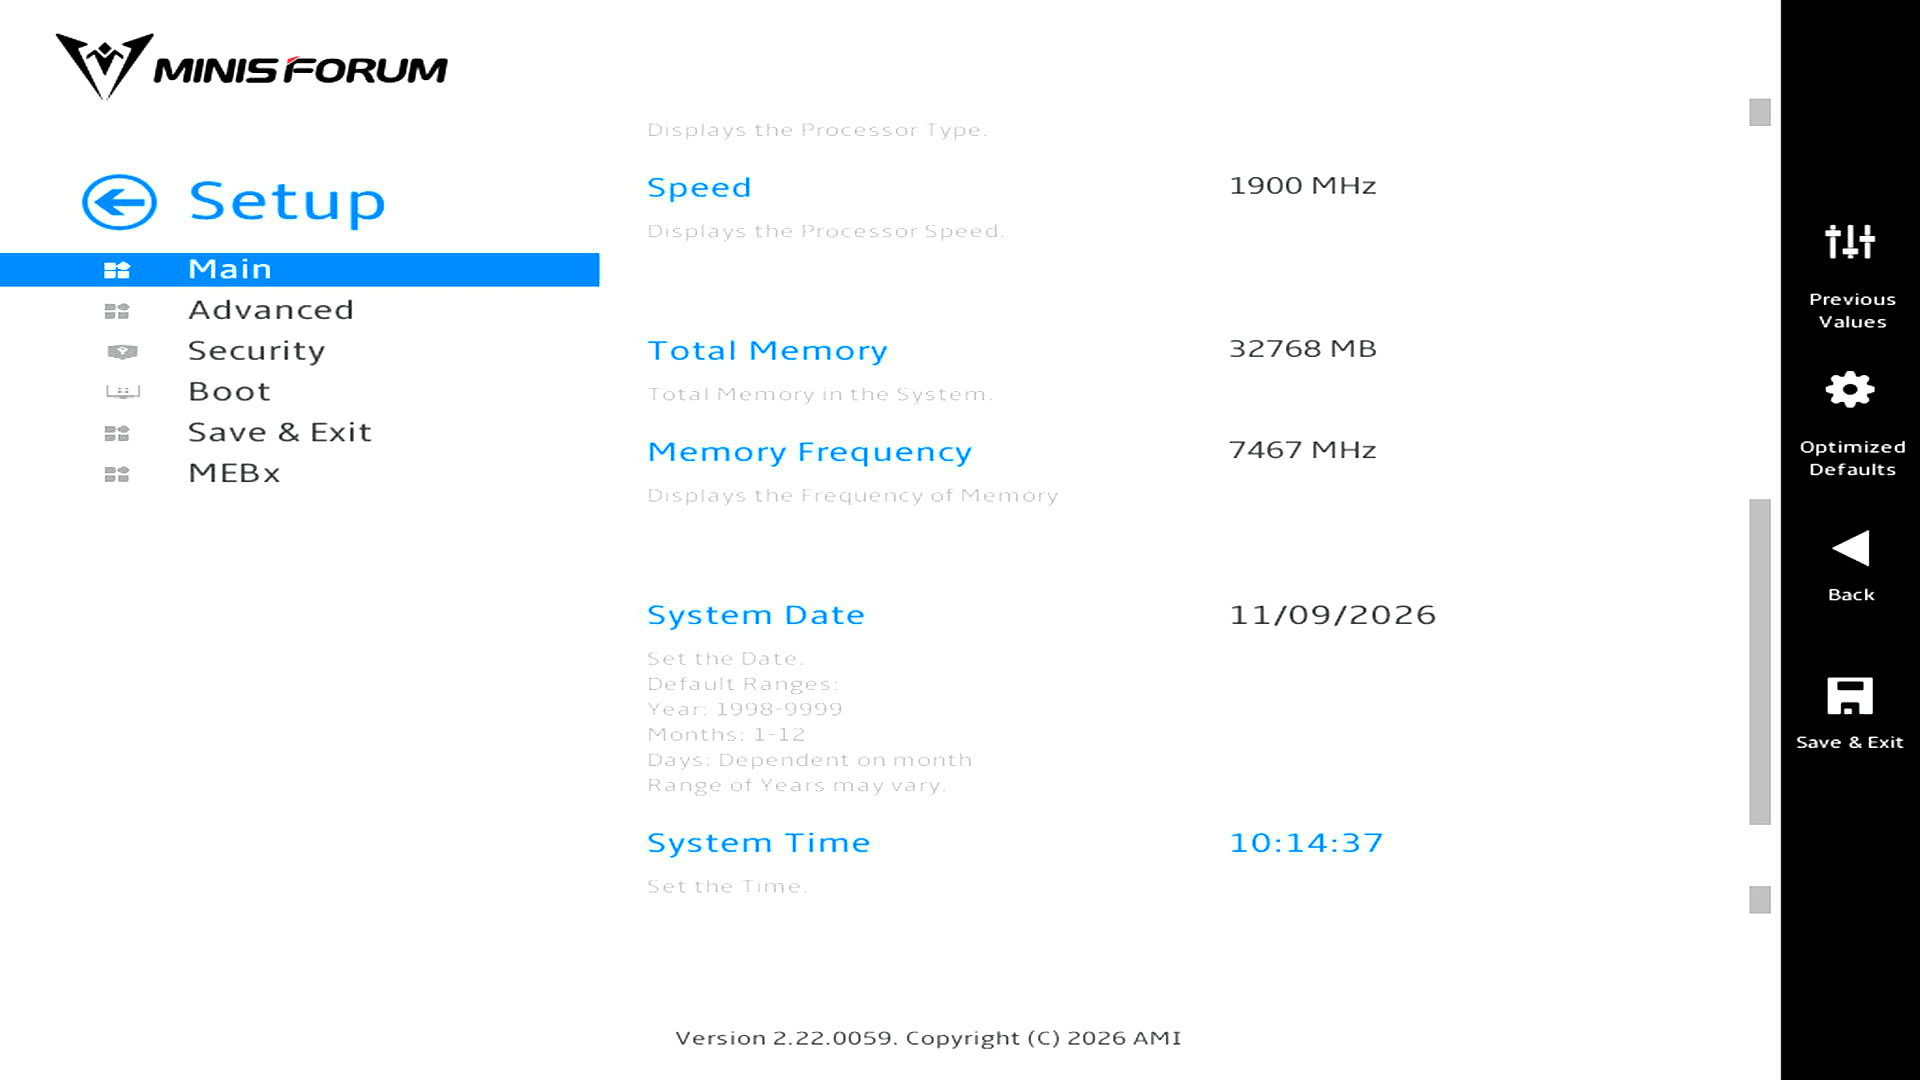
Main is where I can check the installed memory and set the system date and time. My unit shows 32GB of memory running at 7467 MT/s. The BIOS labels that transfer rate as 7467 MHz.
Advanced
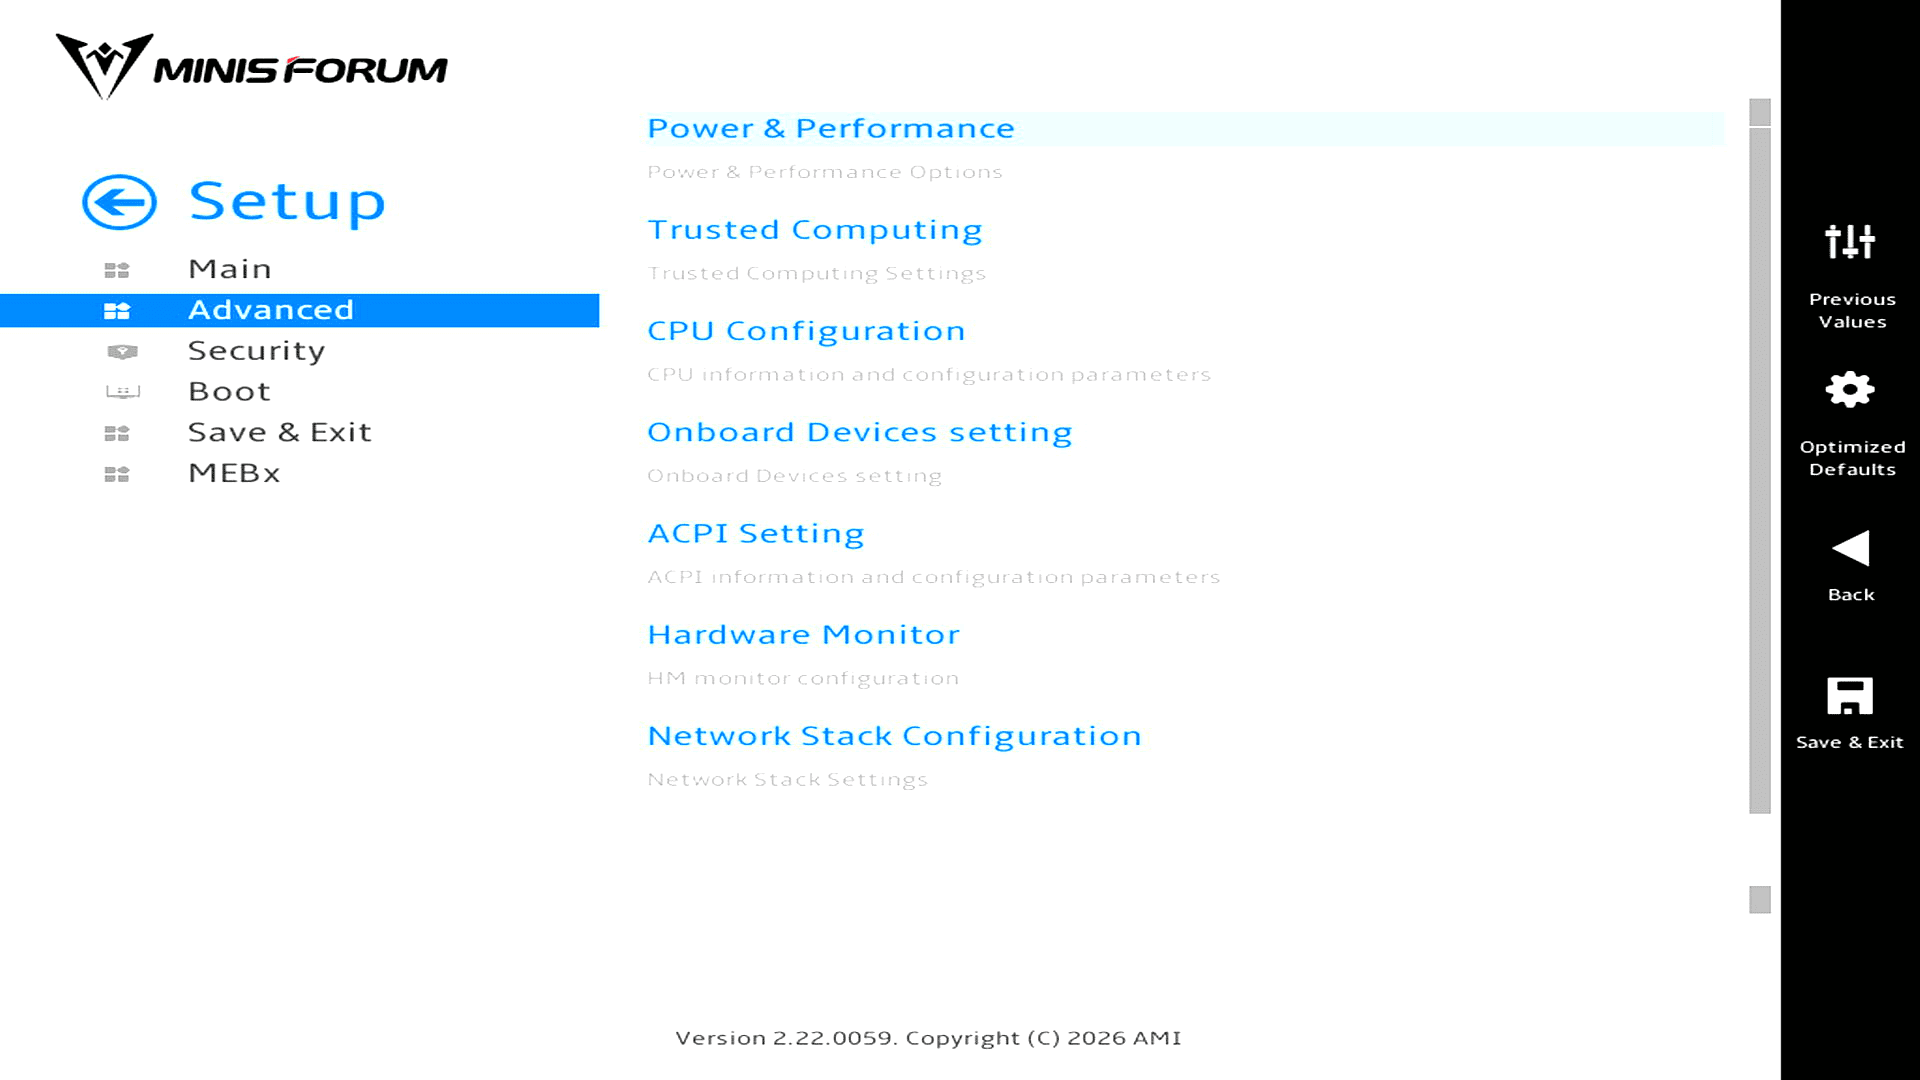
The processor controls are split across two submenus. Power & Performance sets the package power limits. CPU Configuration handles individual features such as Turbo Mode, idle states and the number of active cores.
Power & Performance
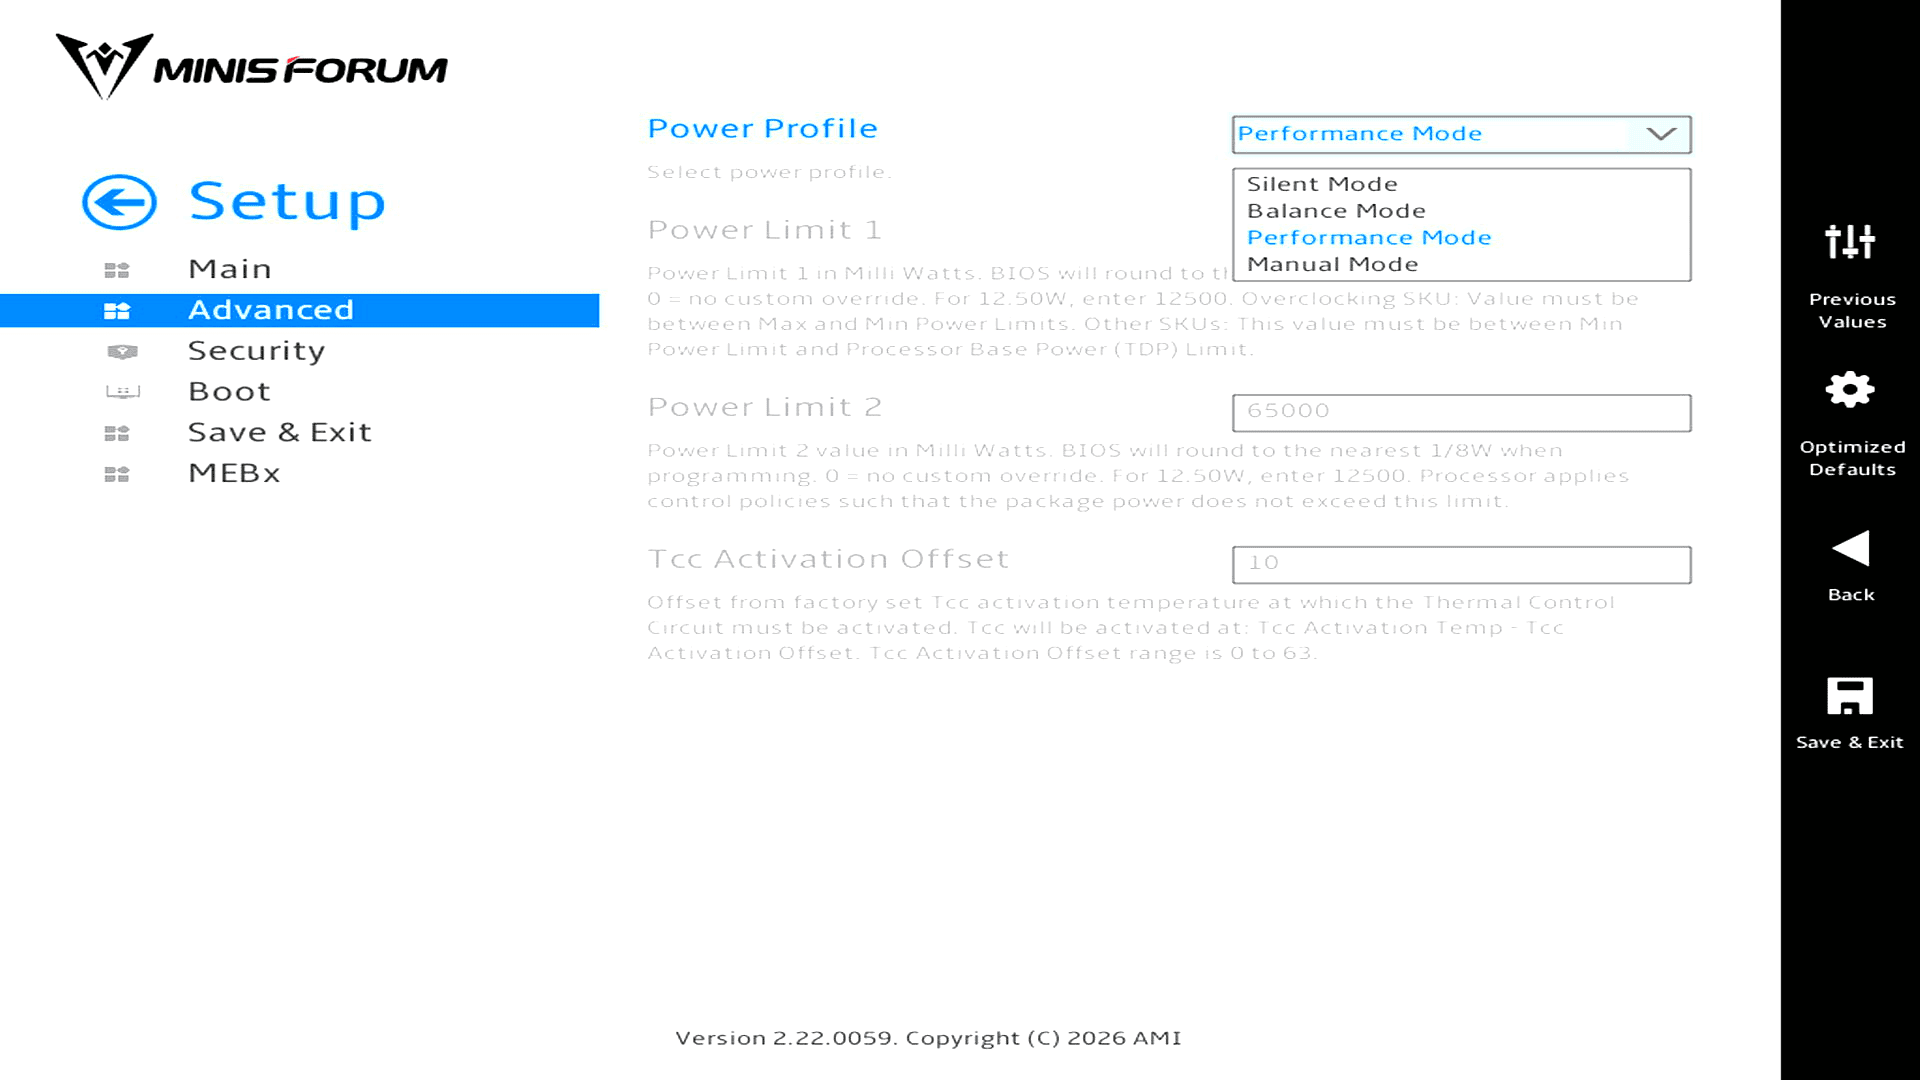
Silent Mode, Balance Mode and Performance Mode each set both power limits for me. Manual Mode lets me enter my own values.
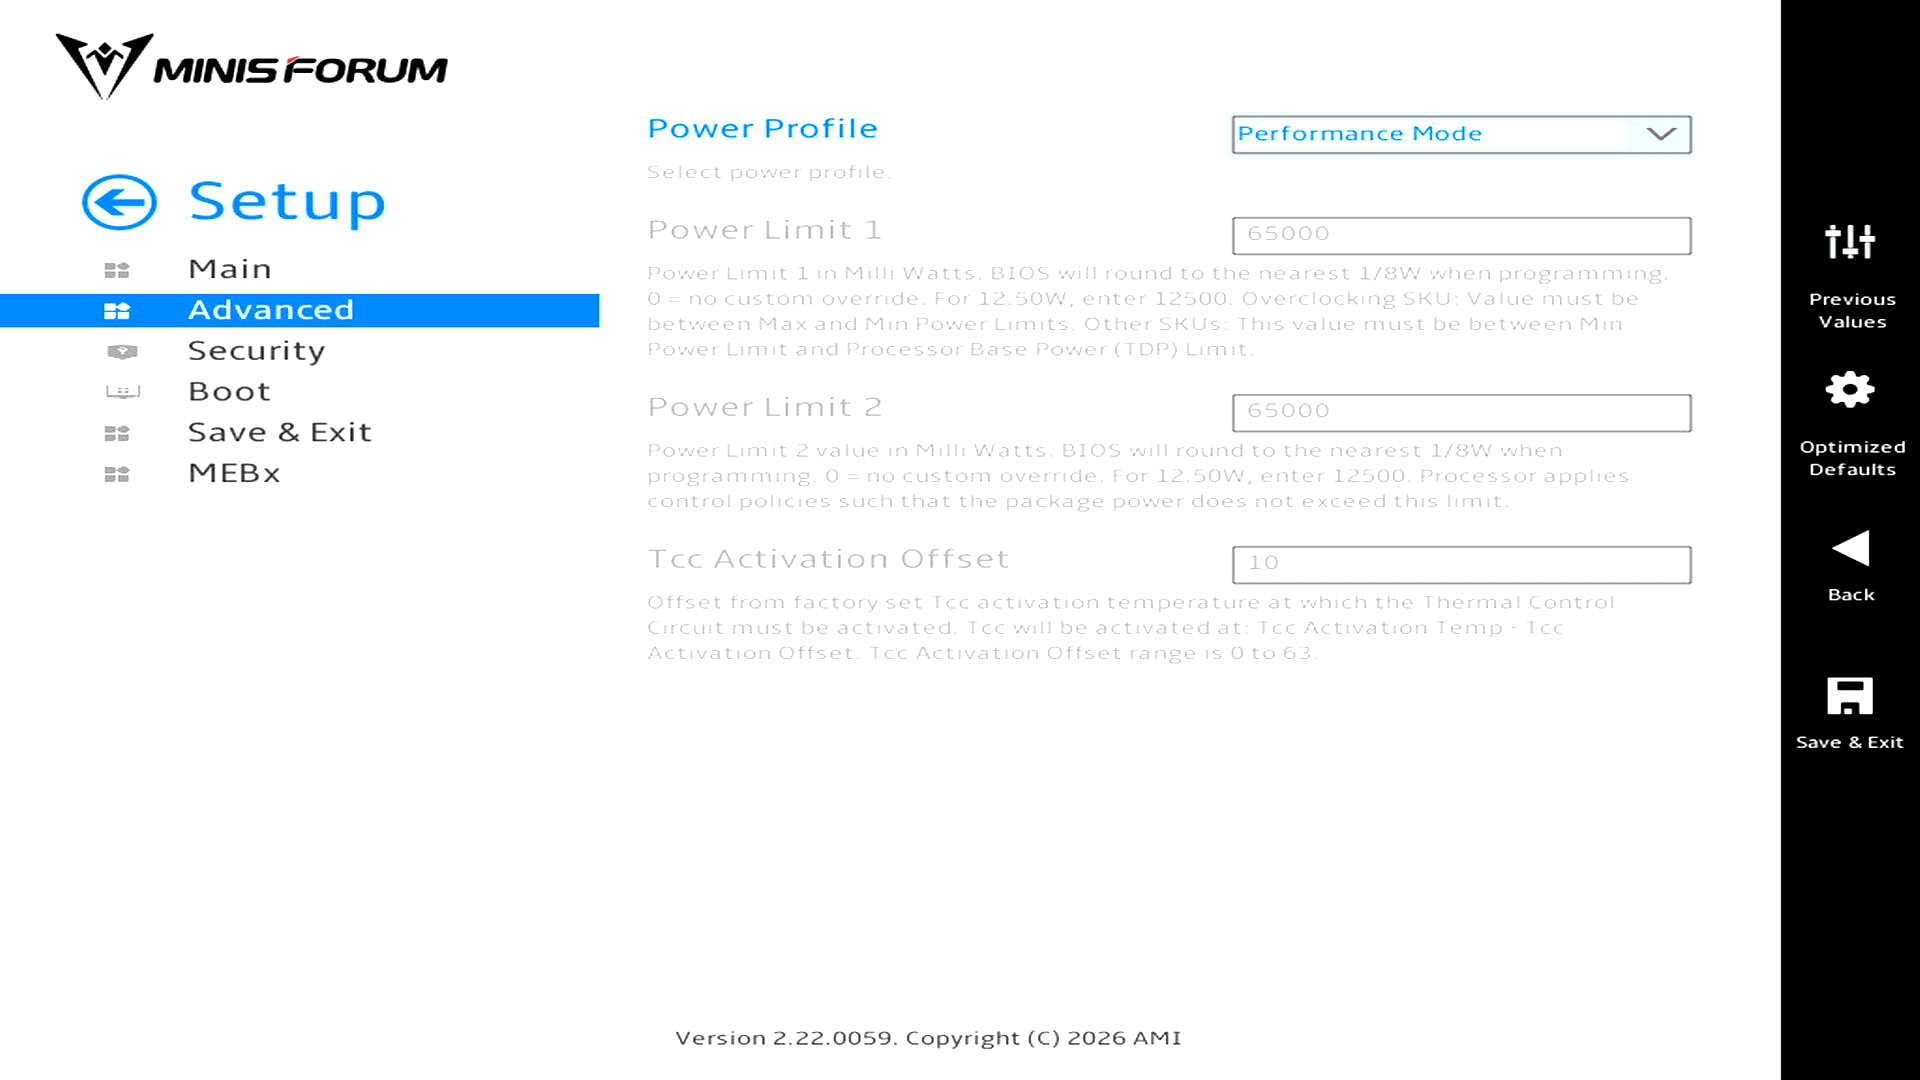
The BIOS displays the limits in milliwatts, so the 65000 in each field here means 65 W. PL1 governs sustained processor package power, while PL2 applies to short bursts.
| Power profile | PL1 (sustained) | PL2 (short-term) |
|---|---|---|
| Performance Mode | 65 W | 65 W |
| Balance Mode | 45 W | 65 W |
| Silent Mode | 45 W | 45 W |
Balance Mode gives the processor the same short-term headroom as Performance Mode. I’d expect the difference to show up more readily in a long compile that keeps the CPU busy than in a brief burst of desktop activity.
Trusted Computing
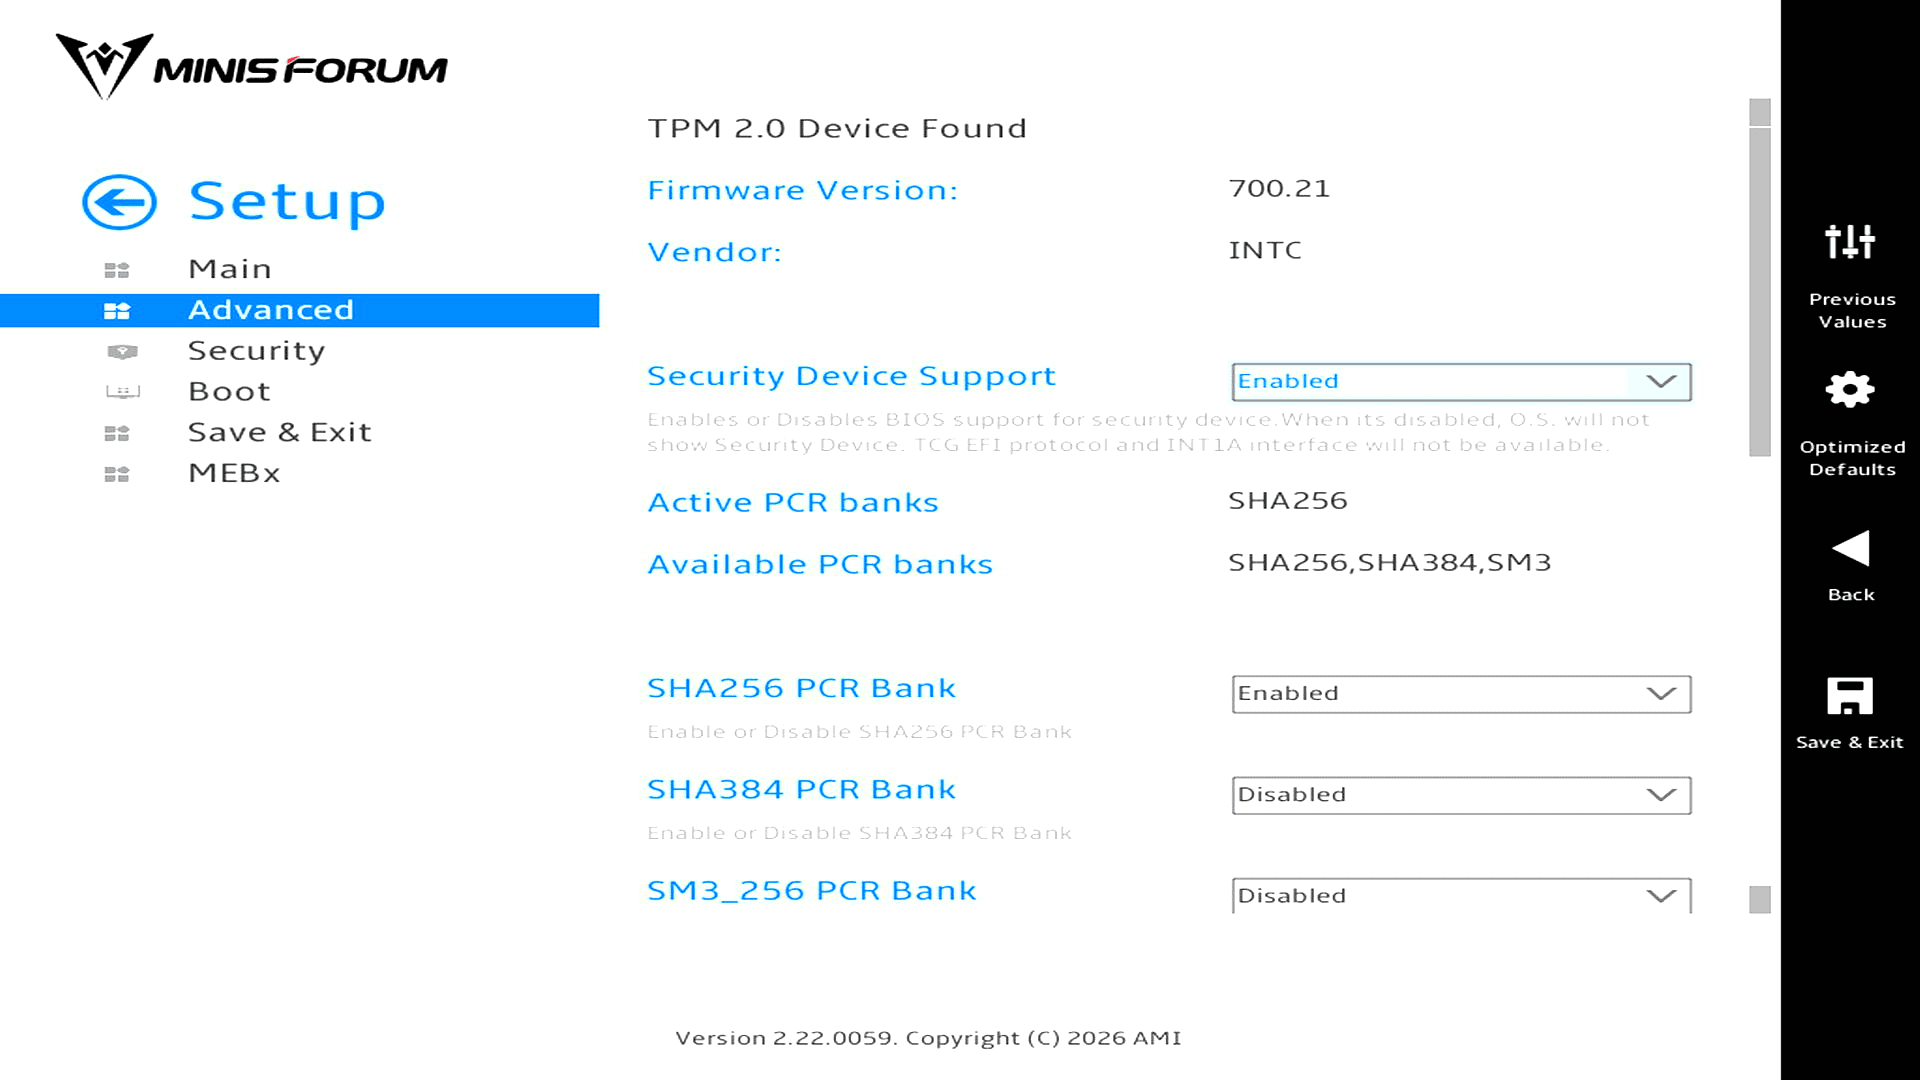
The firmware detects an Intel TPM 2.0 device and exposes it to the operating system with Security Device Support enabled. The active PCR bank uses SHA-256 for boot measurements.
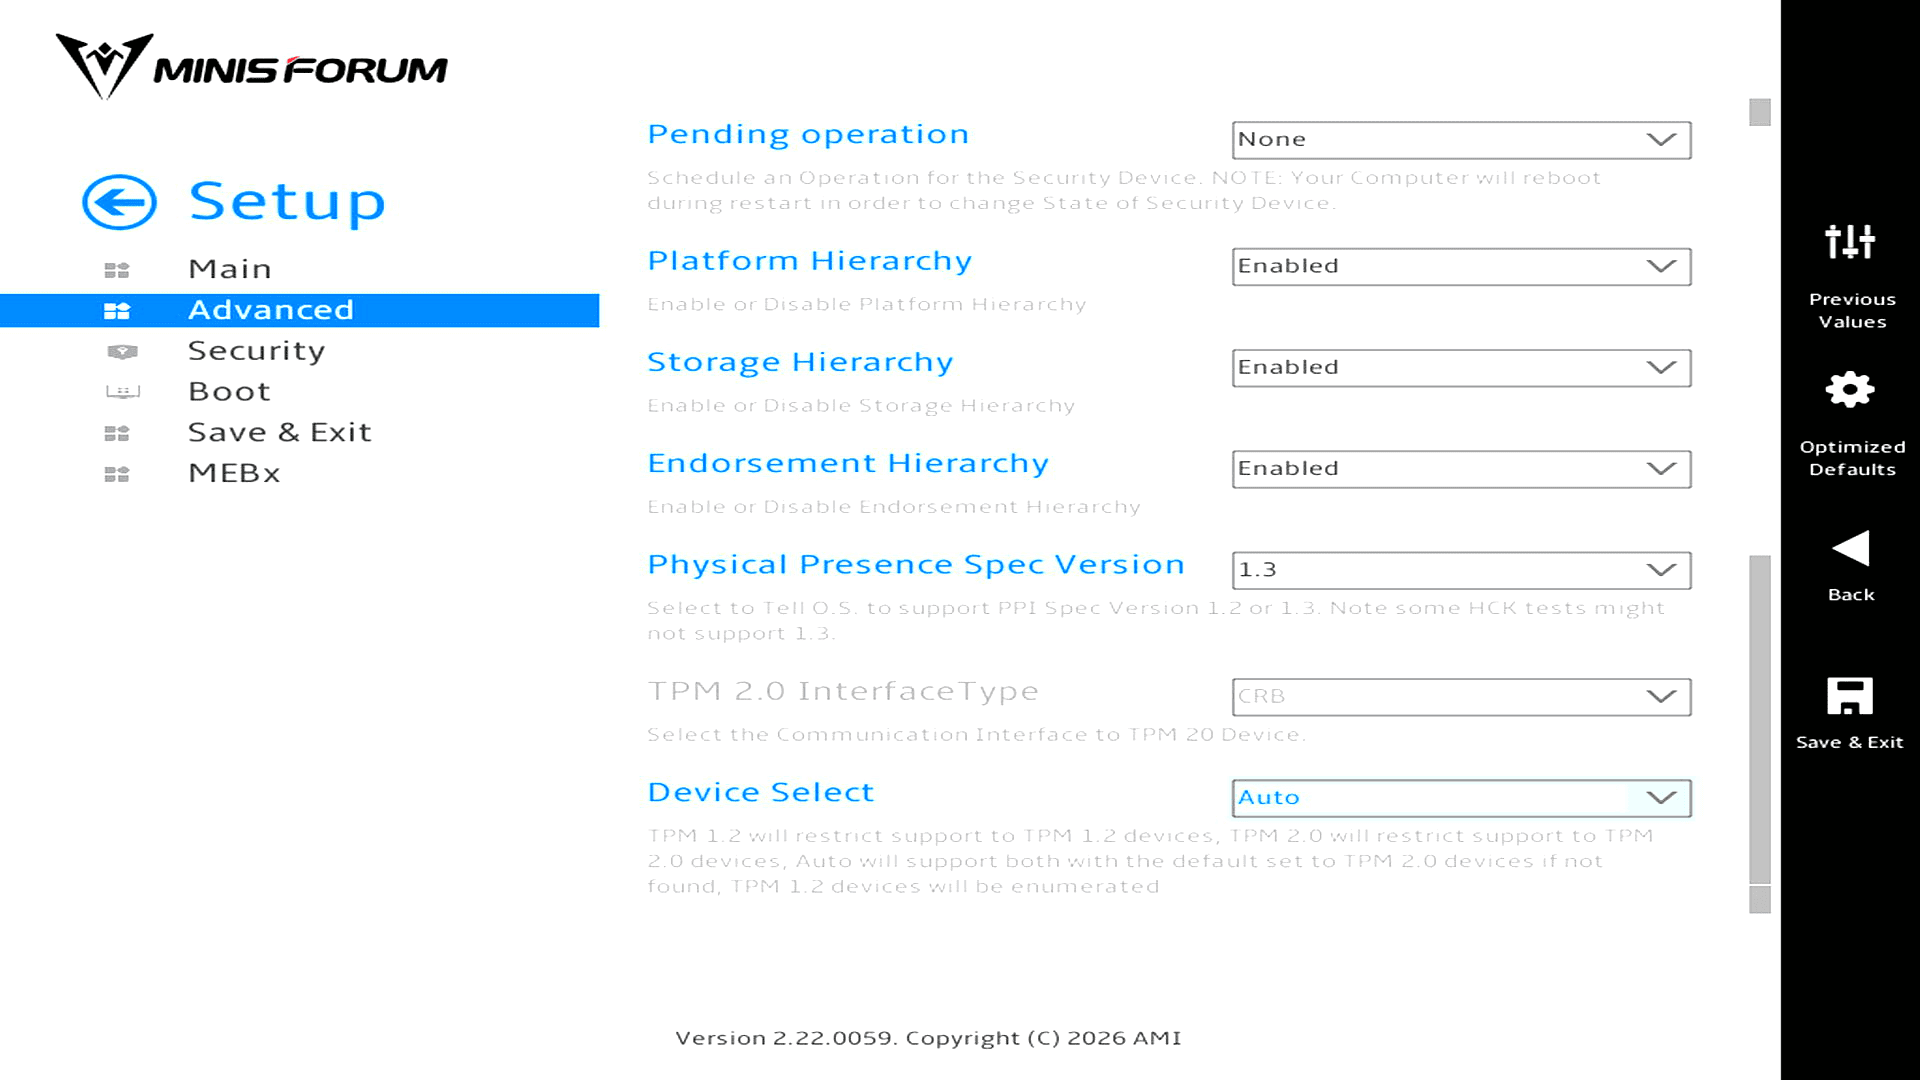
Further down, Device Select is set to Auto. That tells the firmware to look for TPM 2.0 first, with TPM 1.2 as a fallback. The platform, storage and endorsement hierarchies are all enabled.
CPU Configuration
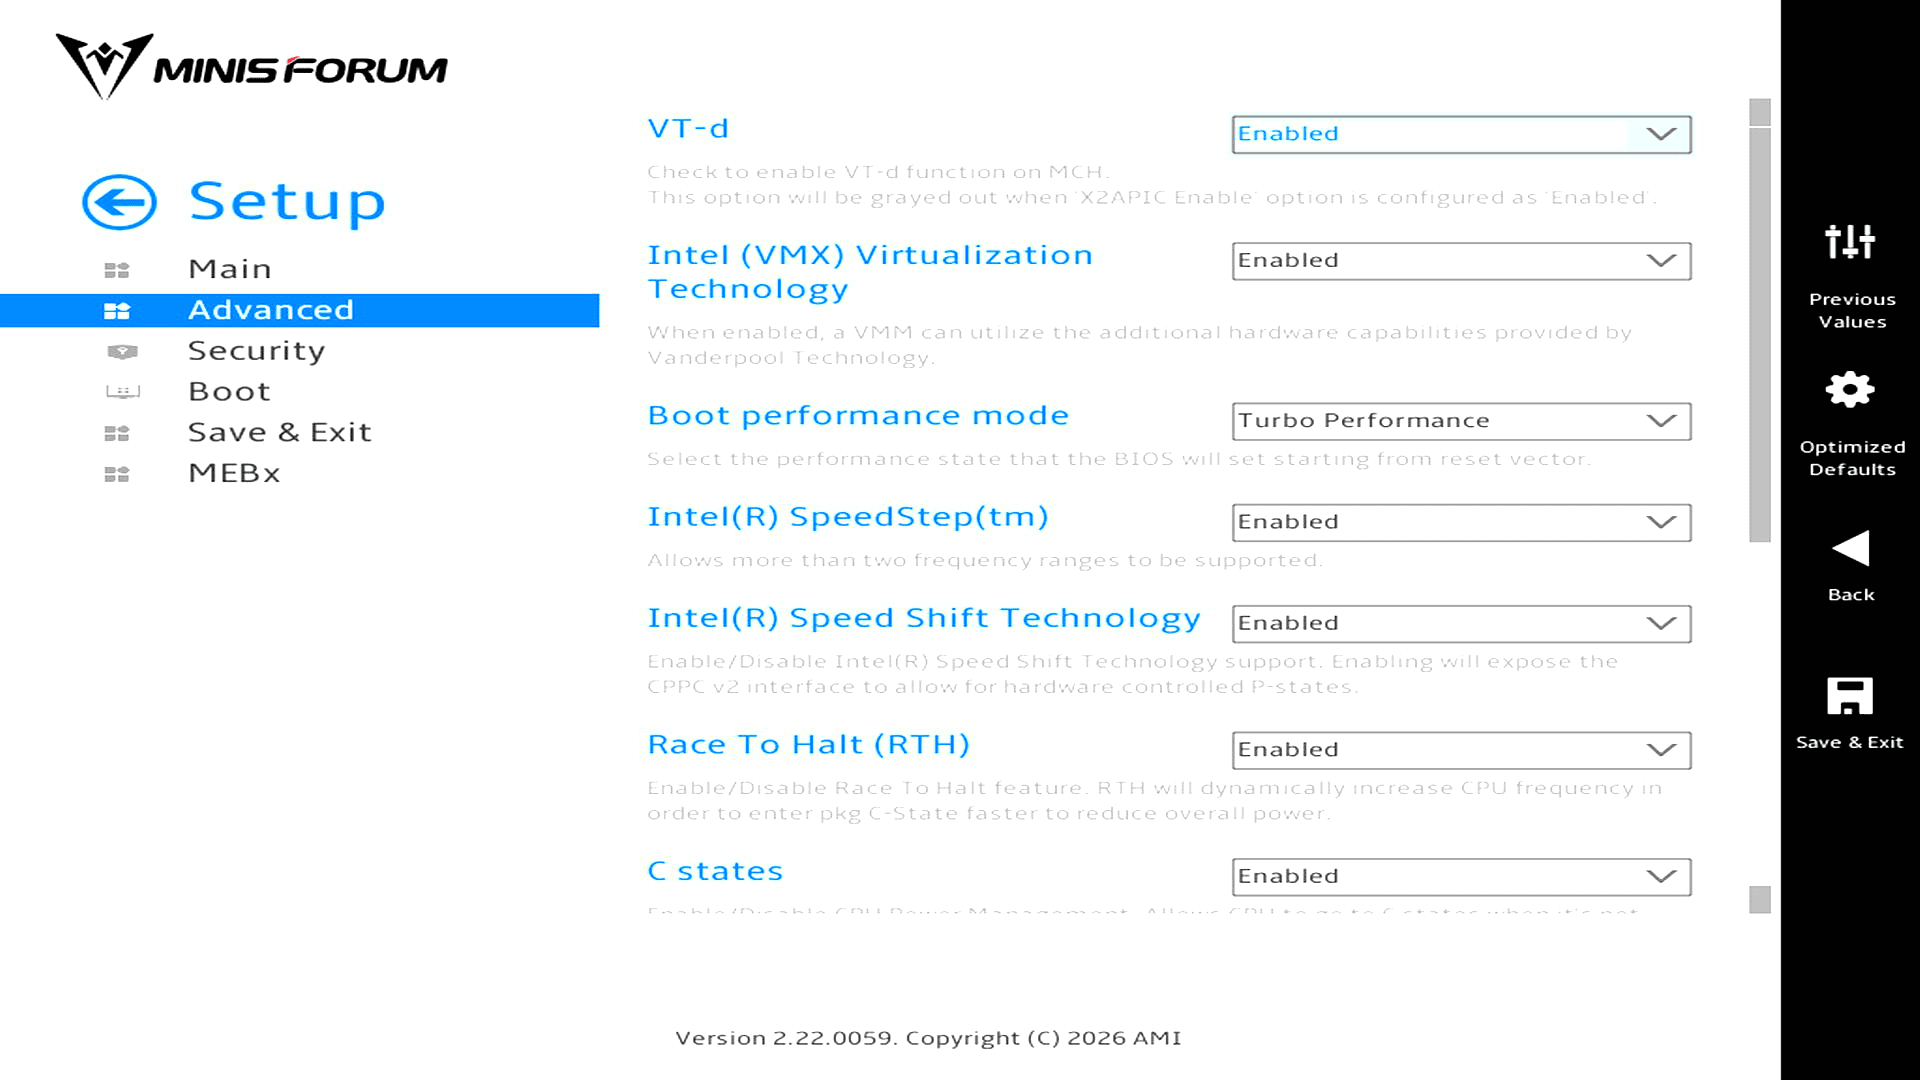
The first part of CPU Configuration has both virtualisation switches. Intel VMX is enabled for hardware-assisted virtual machines, and VT-d is enabled for I/O virtualisation, which is relevant if I want to pass a PCIe device through to a guest.
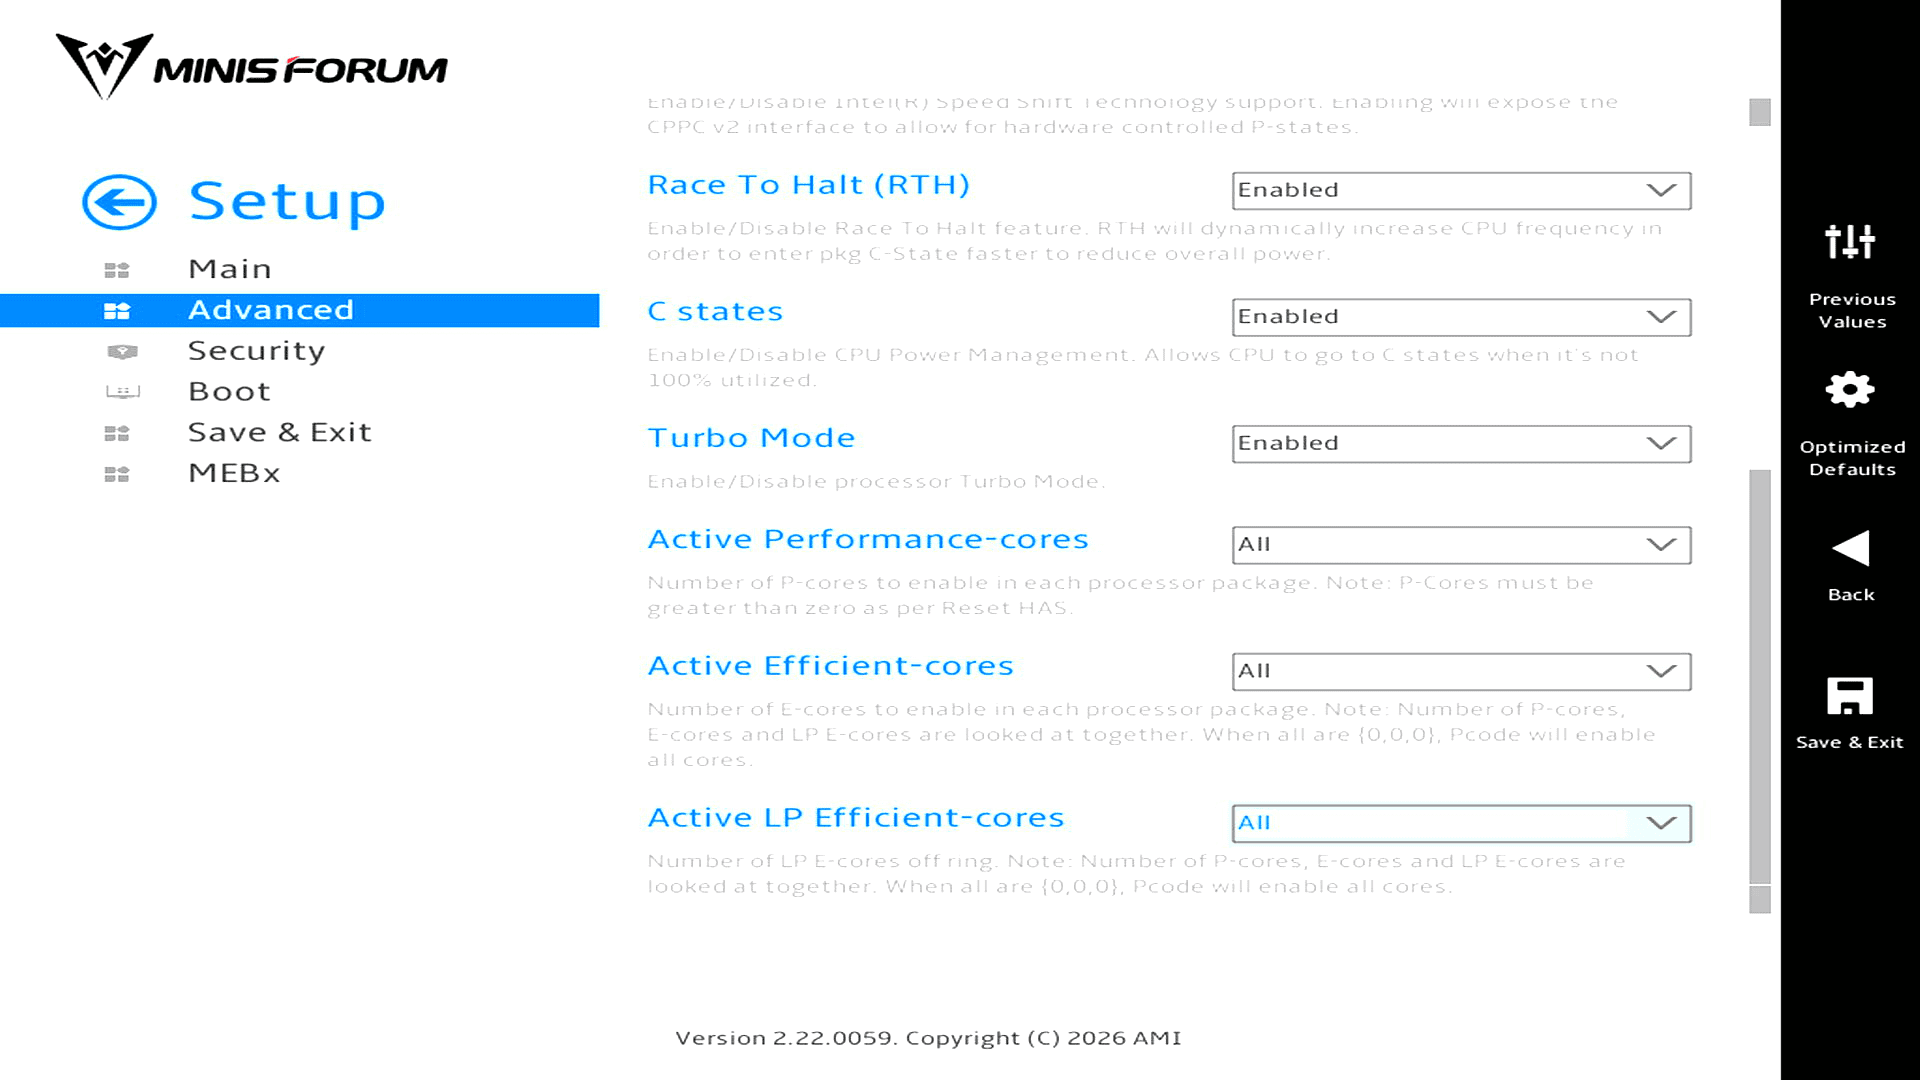
Further down, I can select 0 to 8 E-cores and 0 to 4 low-power E-cores independently. At least one P-core must be enabled. My setup has all 16 cores active, with Turbo Mode and C-states enabled.
Onboard Devices
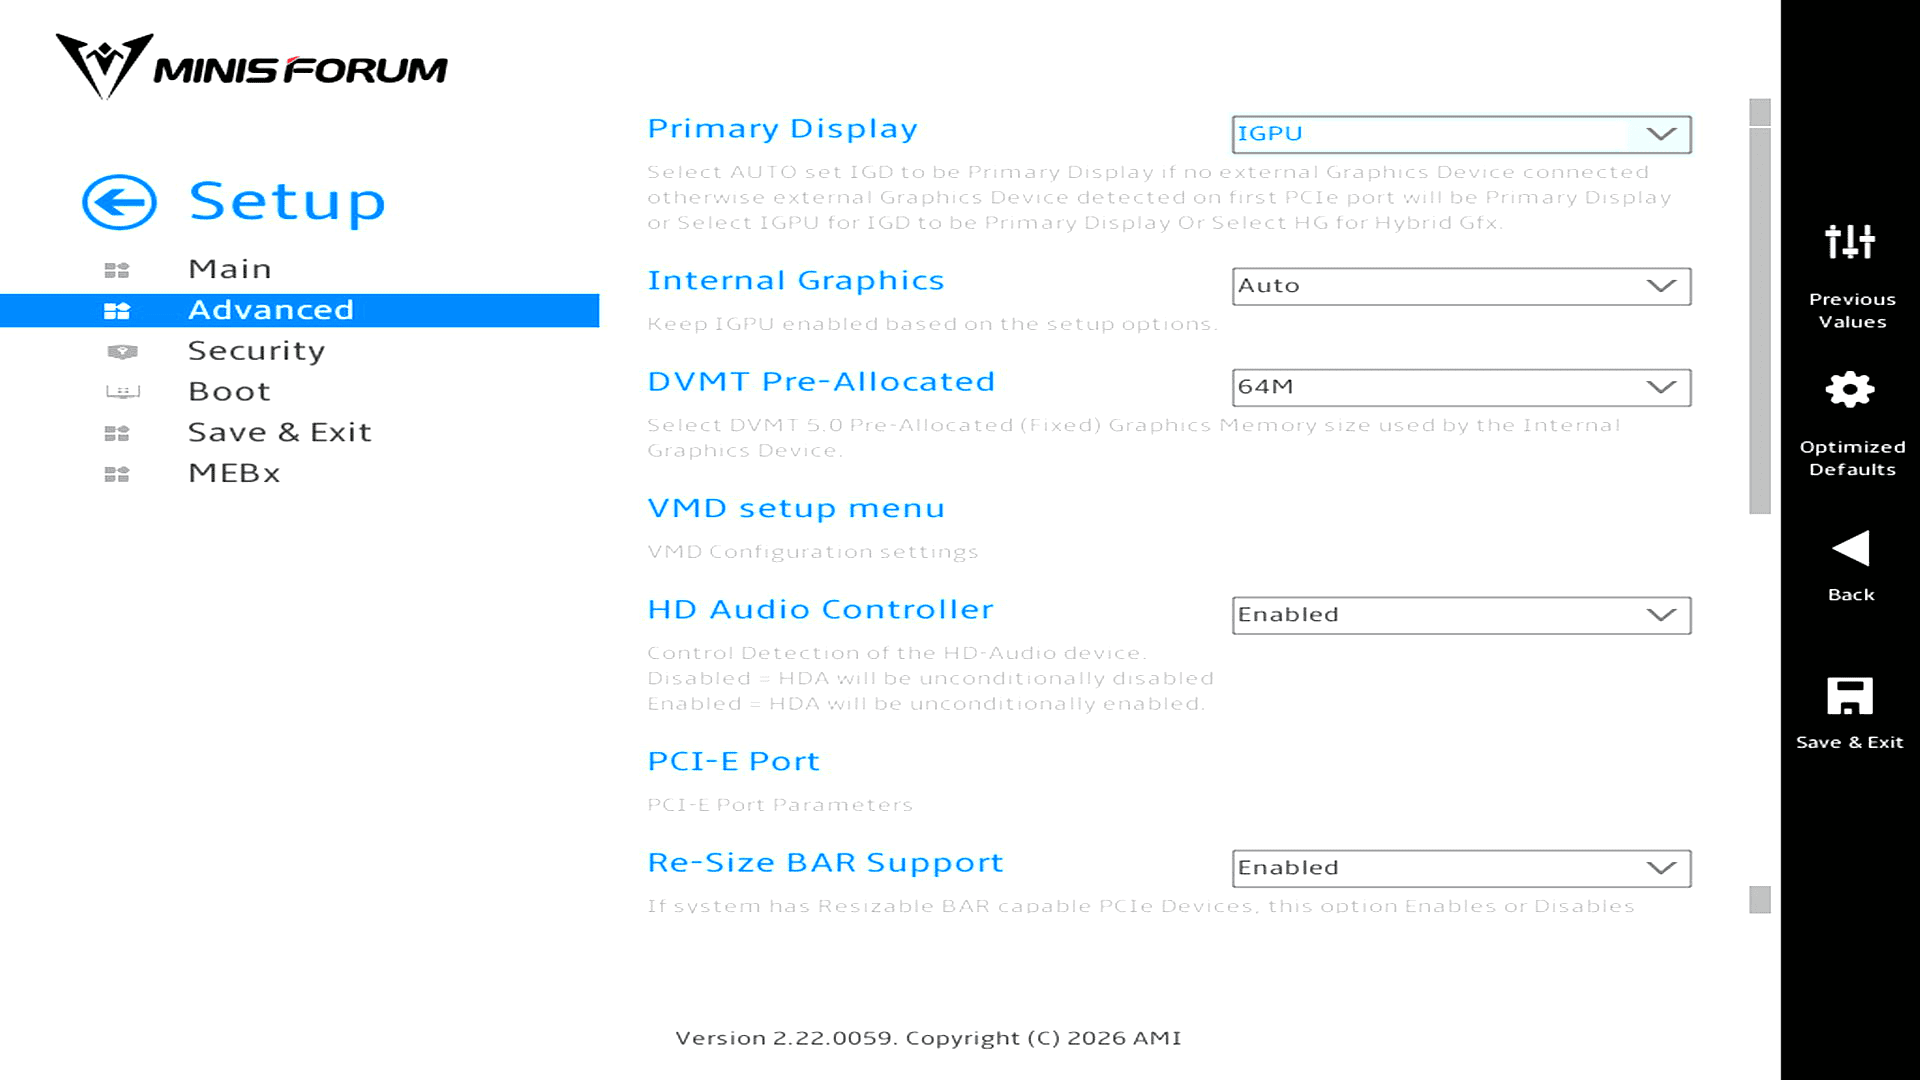
The integrated Arc B390 is selected as the primary graphics device. The 64 MB shown under DVMT Pre-Allocated is the fixed reservation at startup. The graphics driver can allocate more shared RAM once Linux is running.
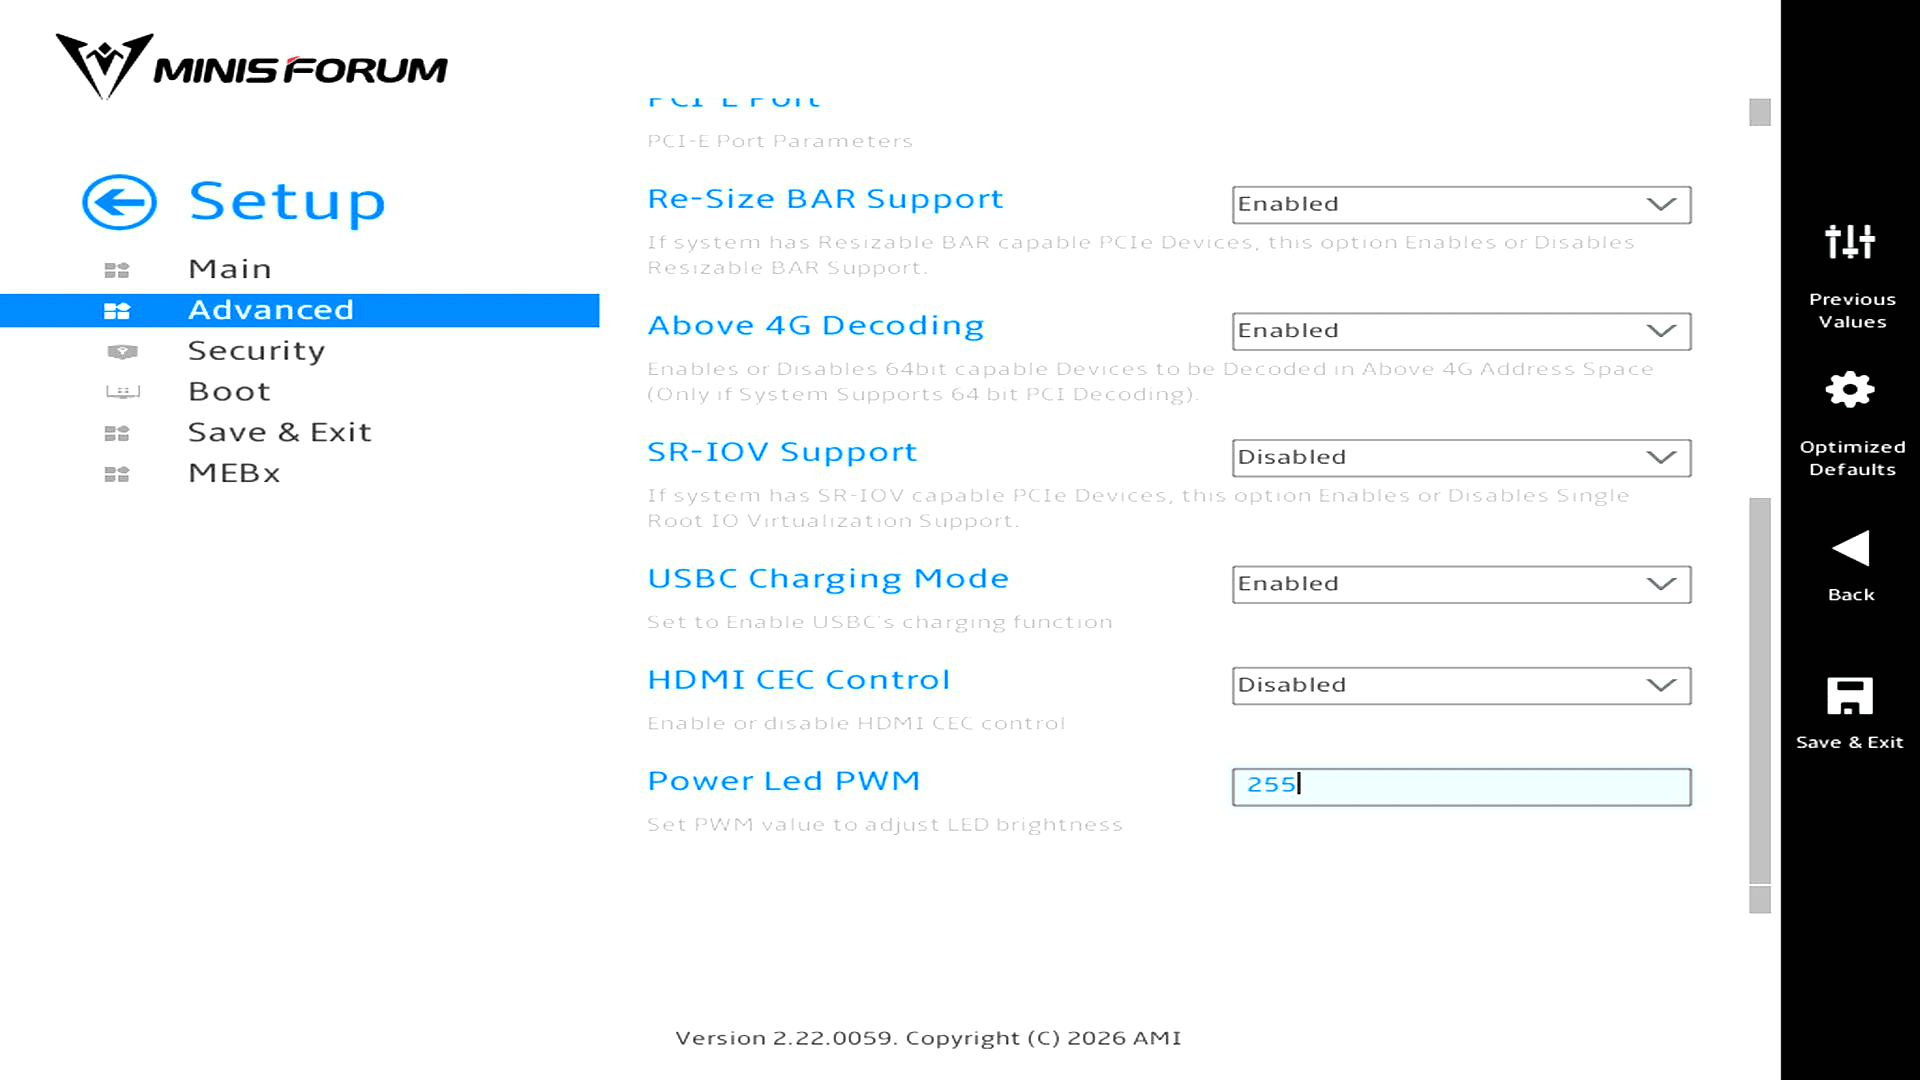
Re-Size BAR and Above 4G Decoding are enabled, with SR-IOV disabled. The controls further down include separate switches for USB-C charging and HDMI CEC. The Power Led PWM field adjusts the brightness of the power light.
ACPI Setting
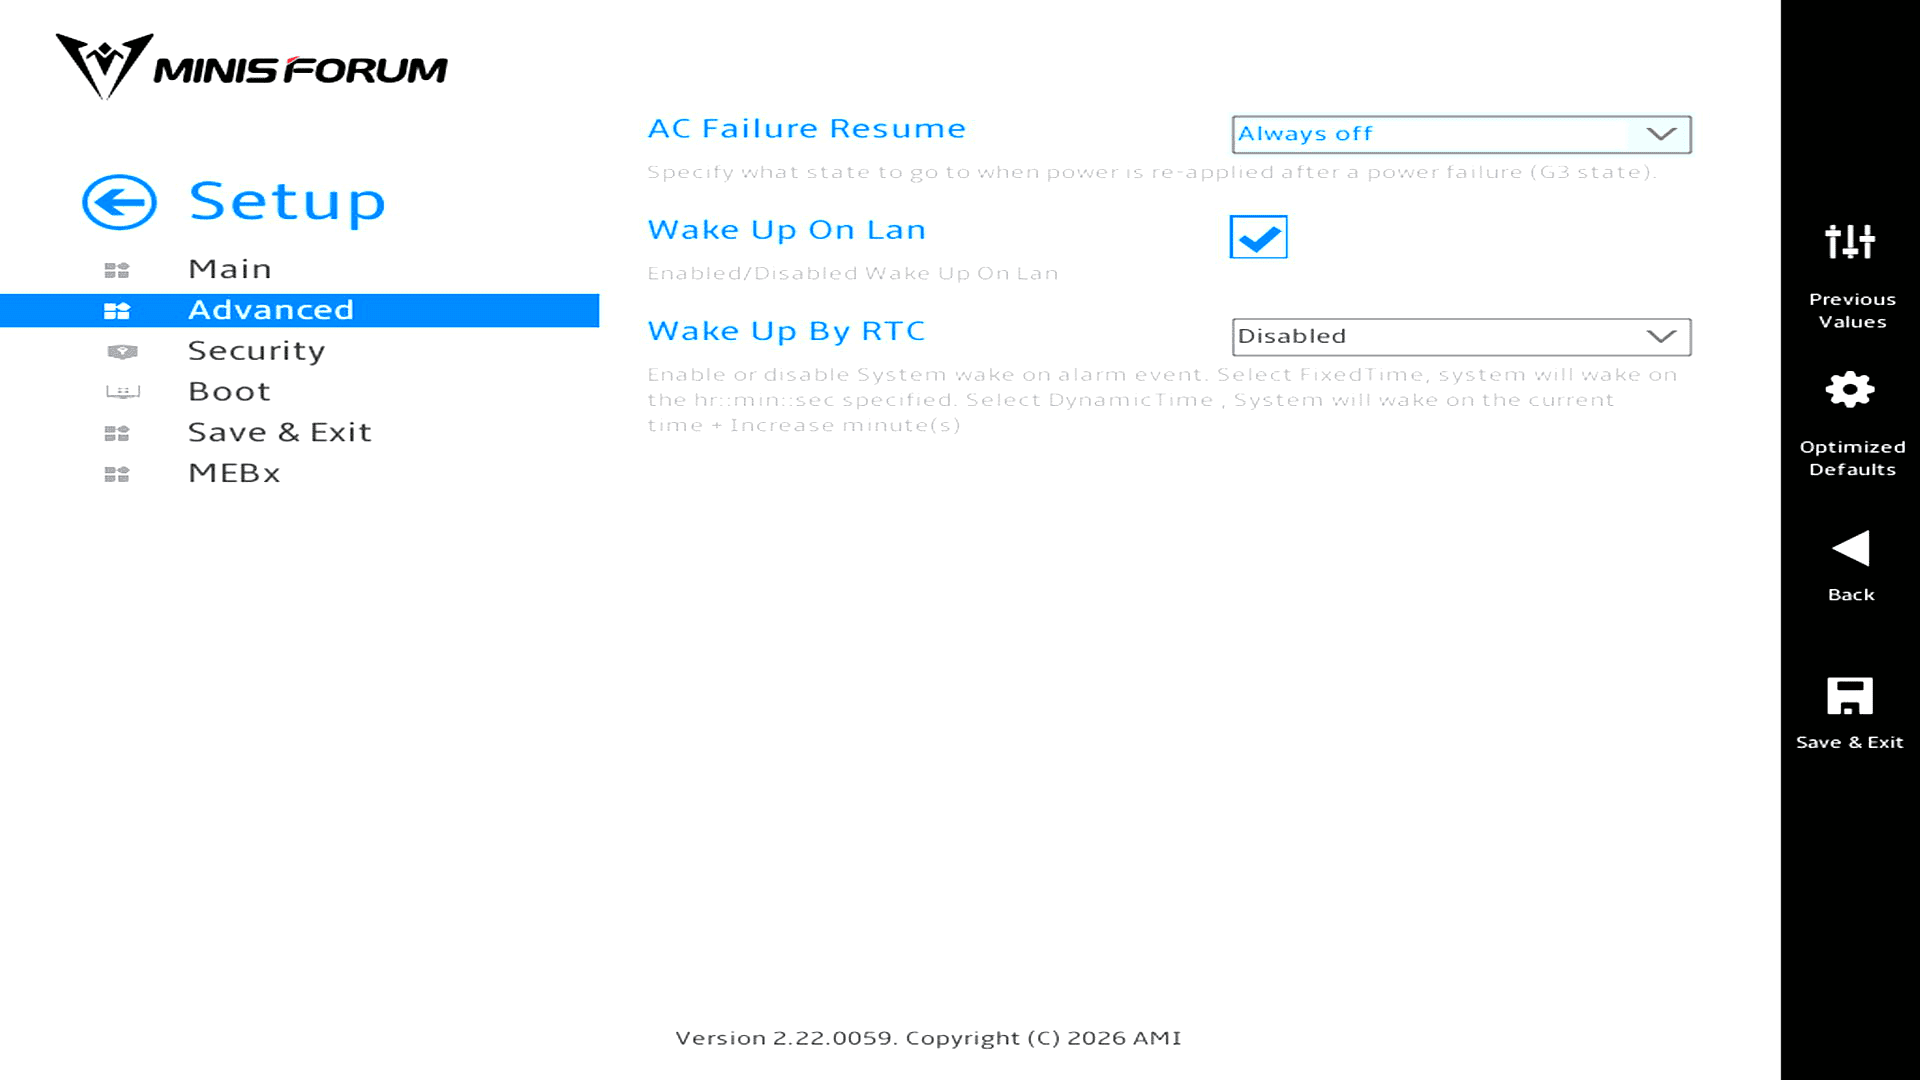
AC Failure Resume determines what happens when mains power returns after a cut. My unit is set to stay off. Wake-on-LAN is enabled for remote wake requests, and the real-time clock alarm for scheduled wake-ups is disabled.
Hardware Monitor
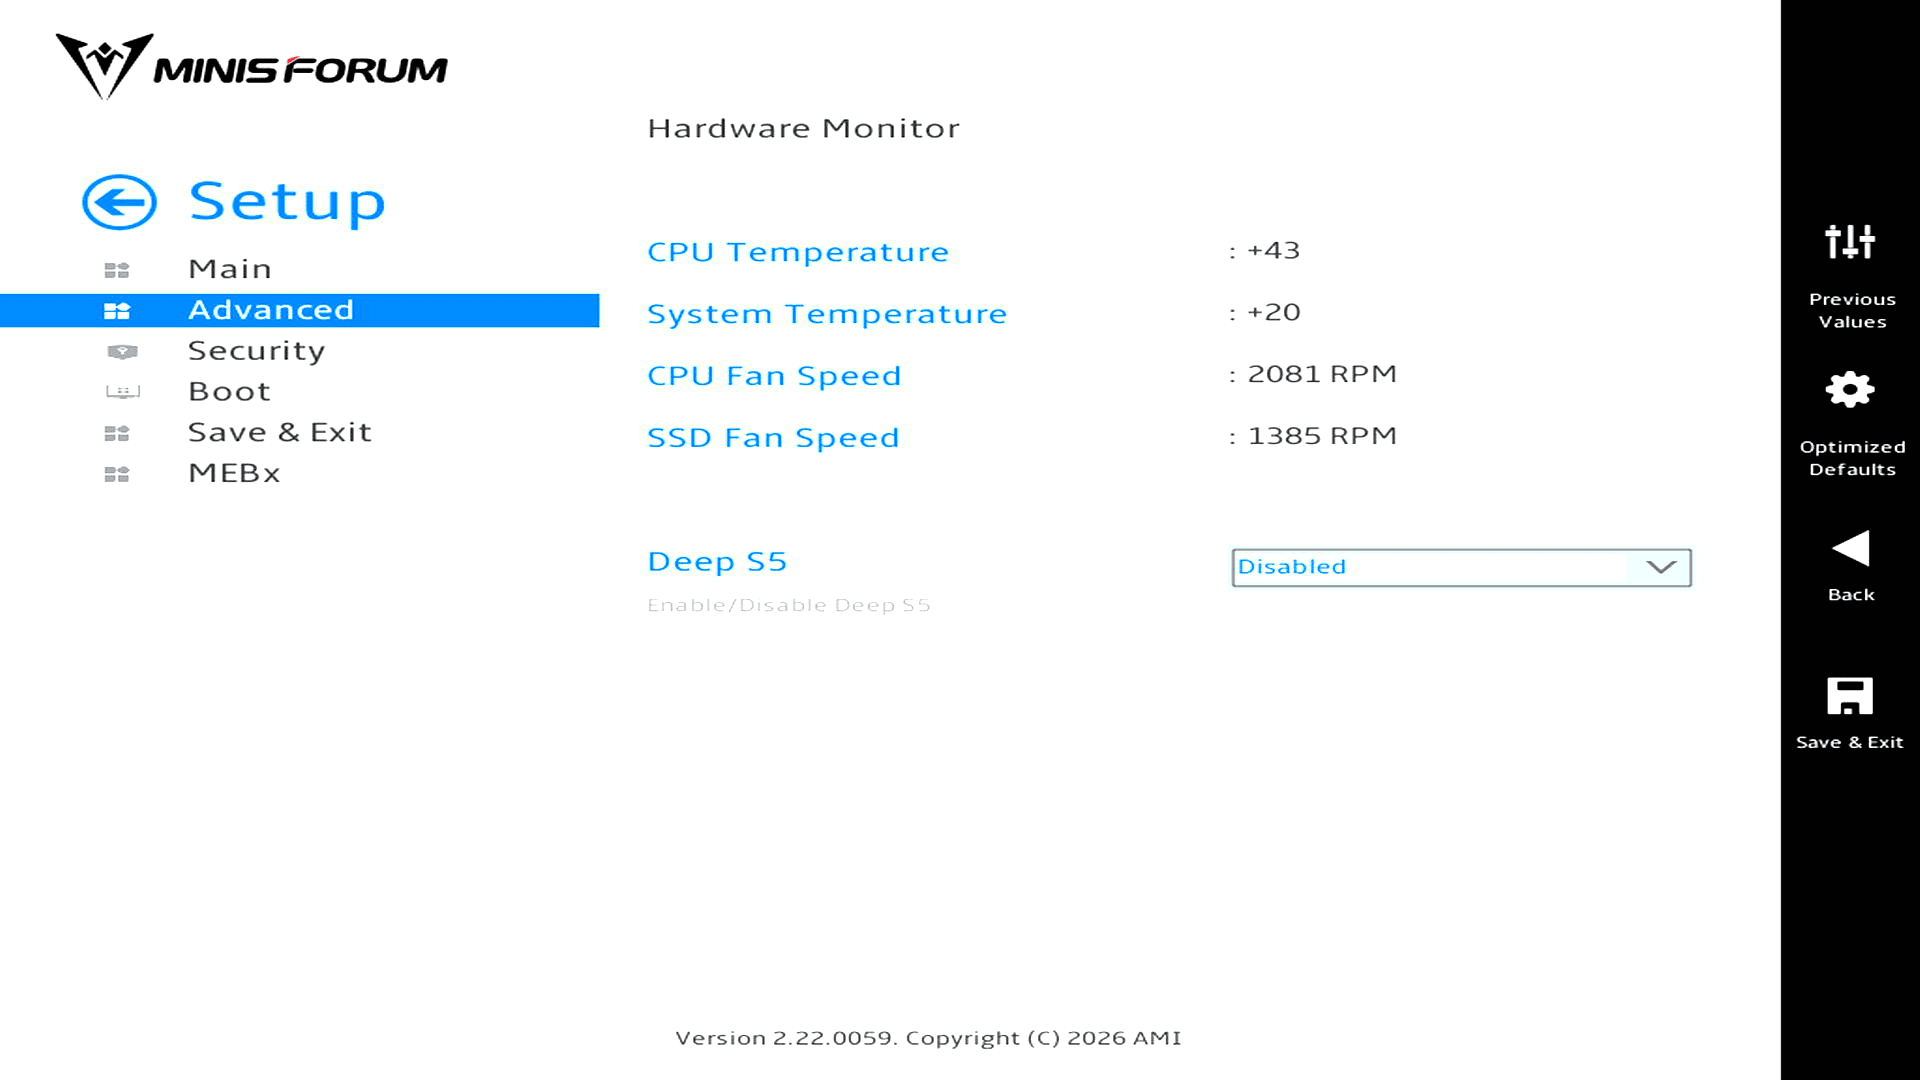
I can check both fans before Linux starts. In the BIOS, the CPU was at 43°C, with its fan turning at 2,081 RPM and the separate SSD fan at 1,385 RPM. The Deep S5 switch is also on this page and is disabled here.
Network Stack Configuration
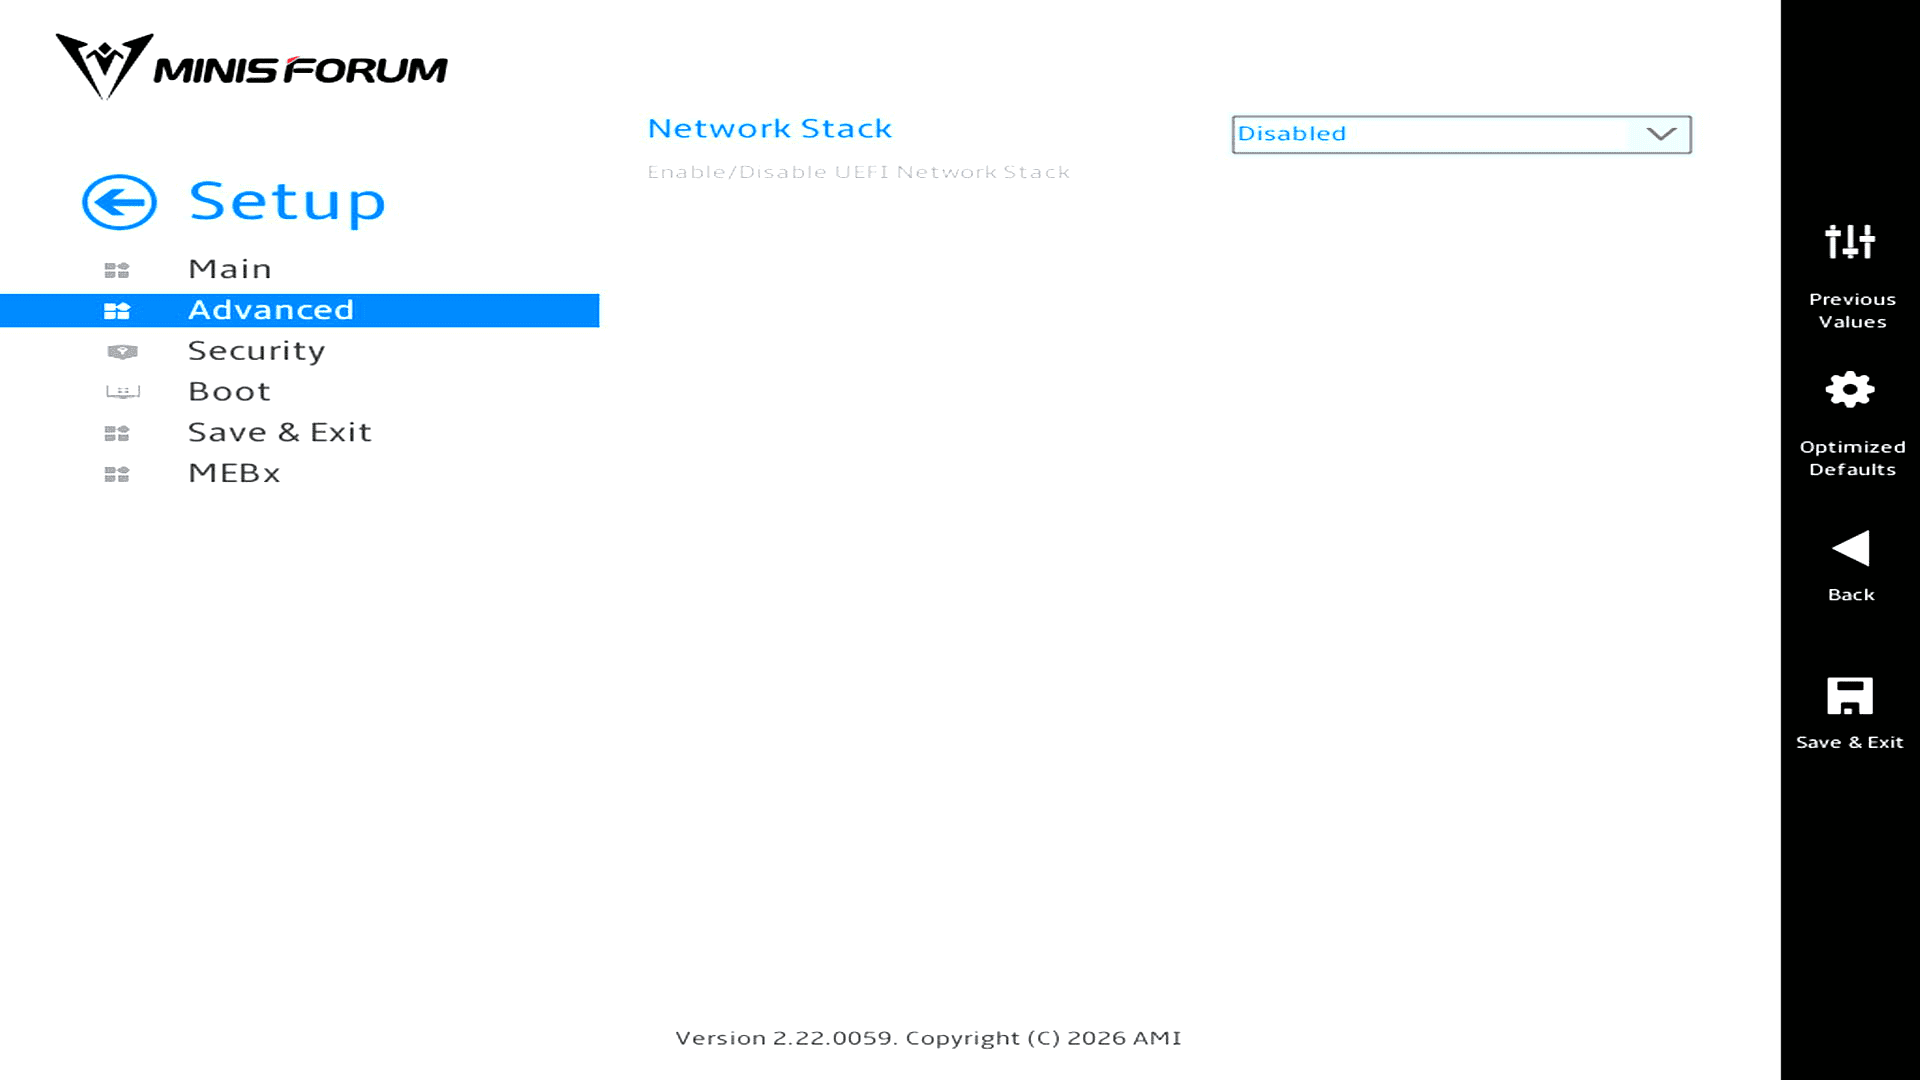
The UEFI Network Stack is the switch for pre-boot networking, such as starting an installer from a PXE server. It’s disabled here. Wake-on-LAN is controlled separately under ACPI Setting.
Security
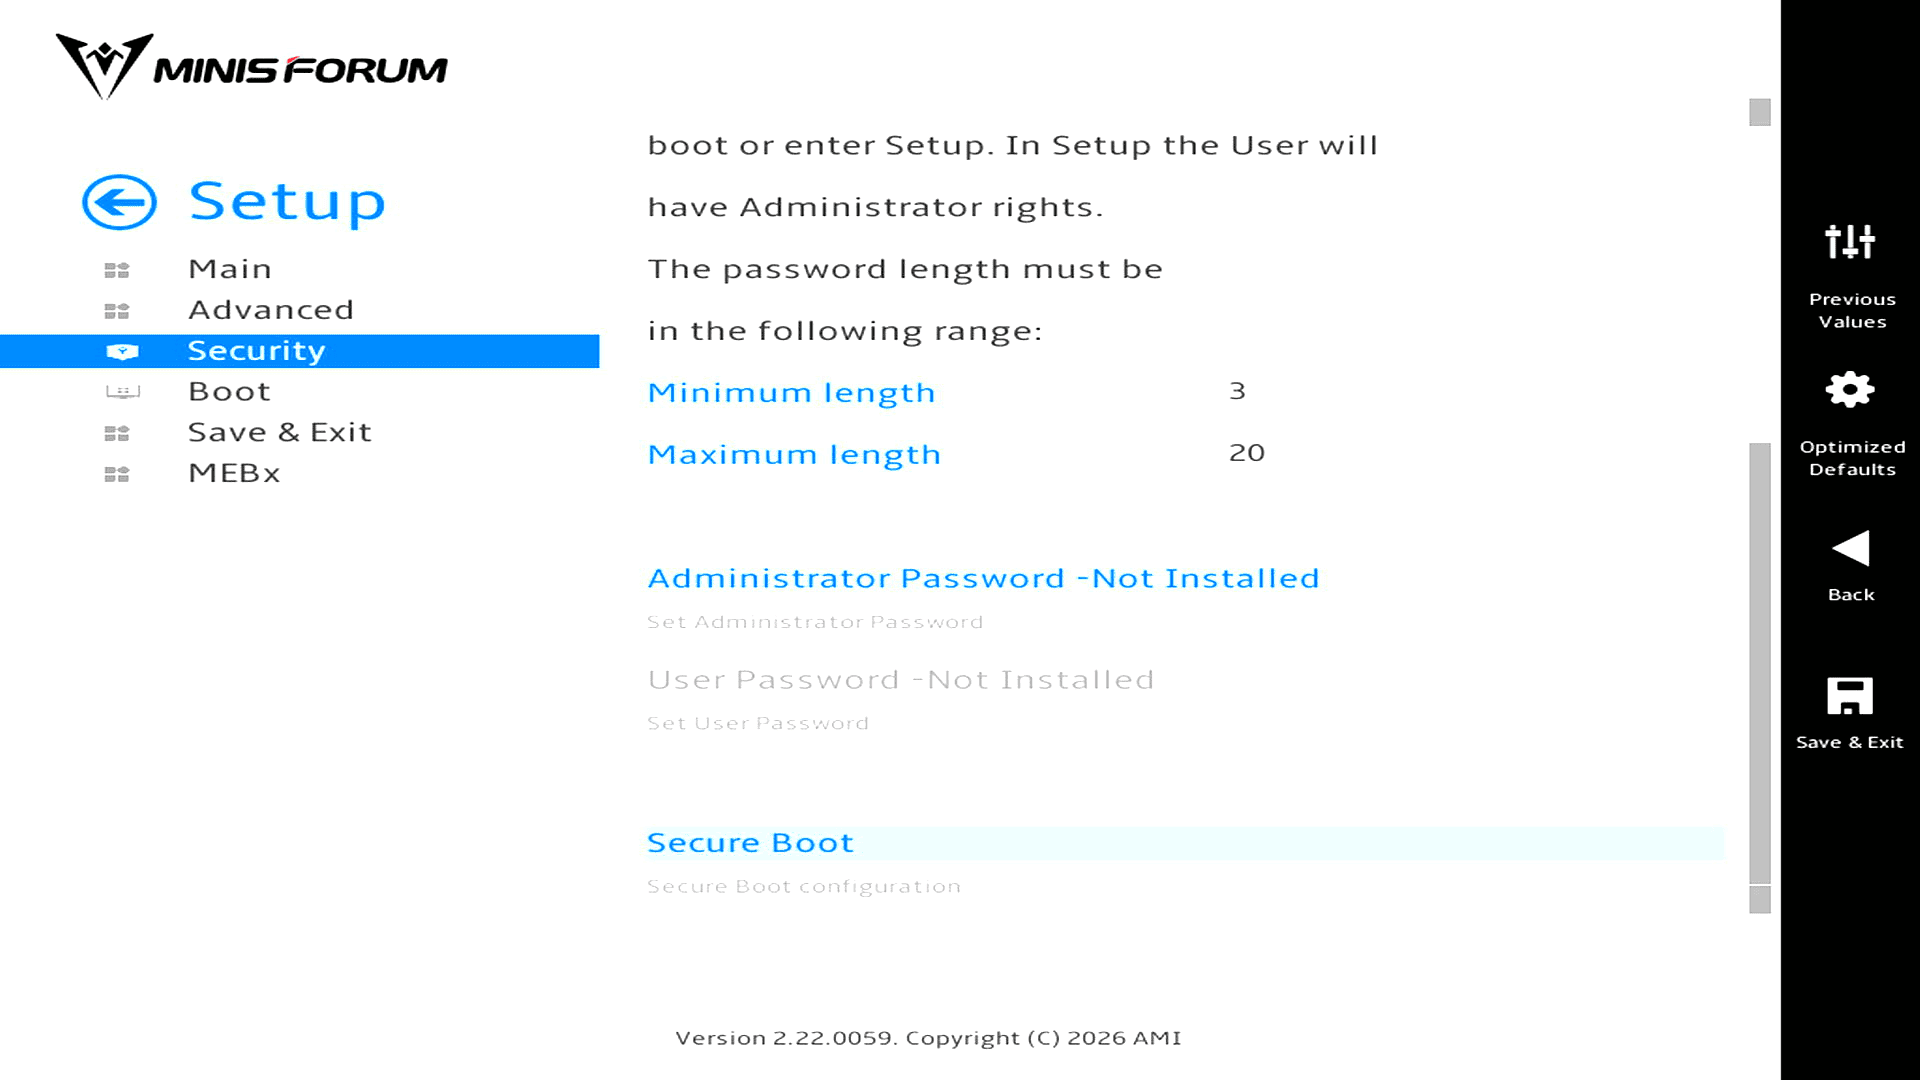
The Security page has separate administrator and user password settings. Both are marked Not Installed on my review unit.
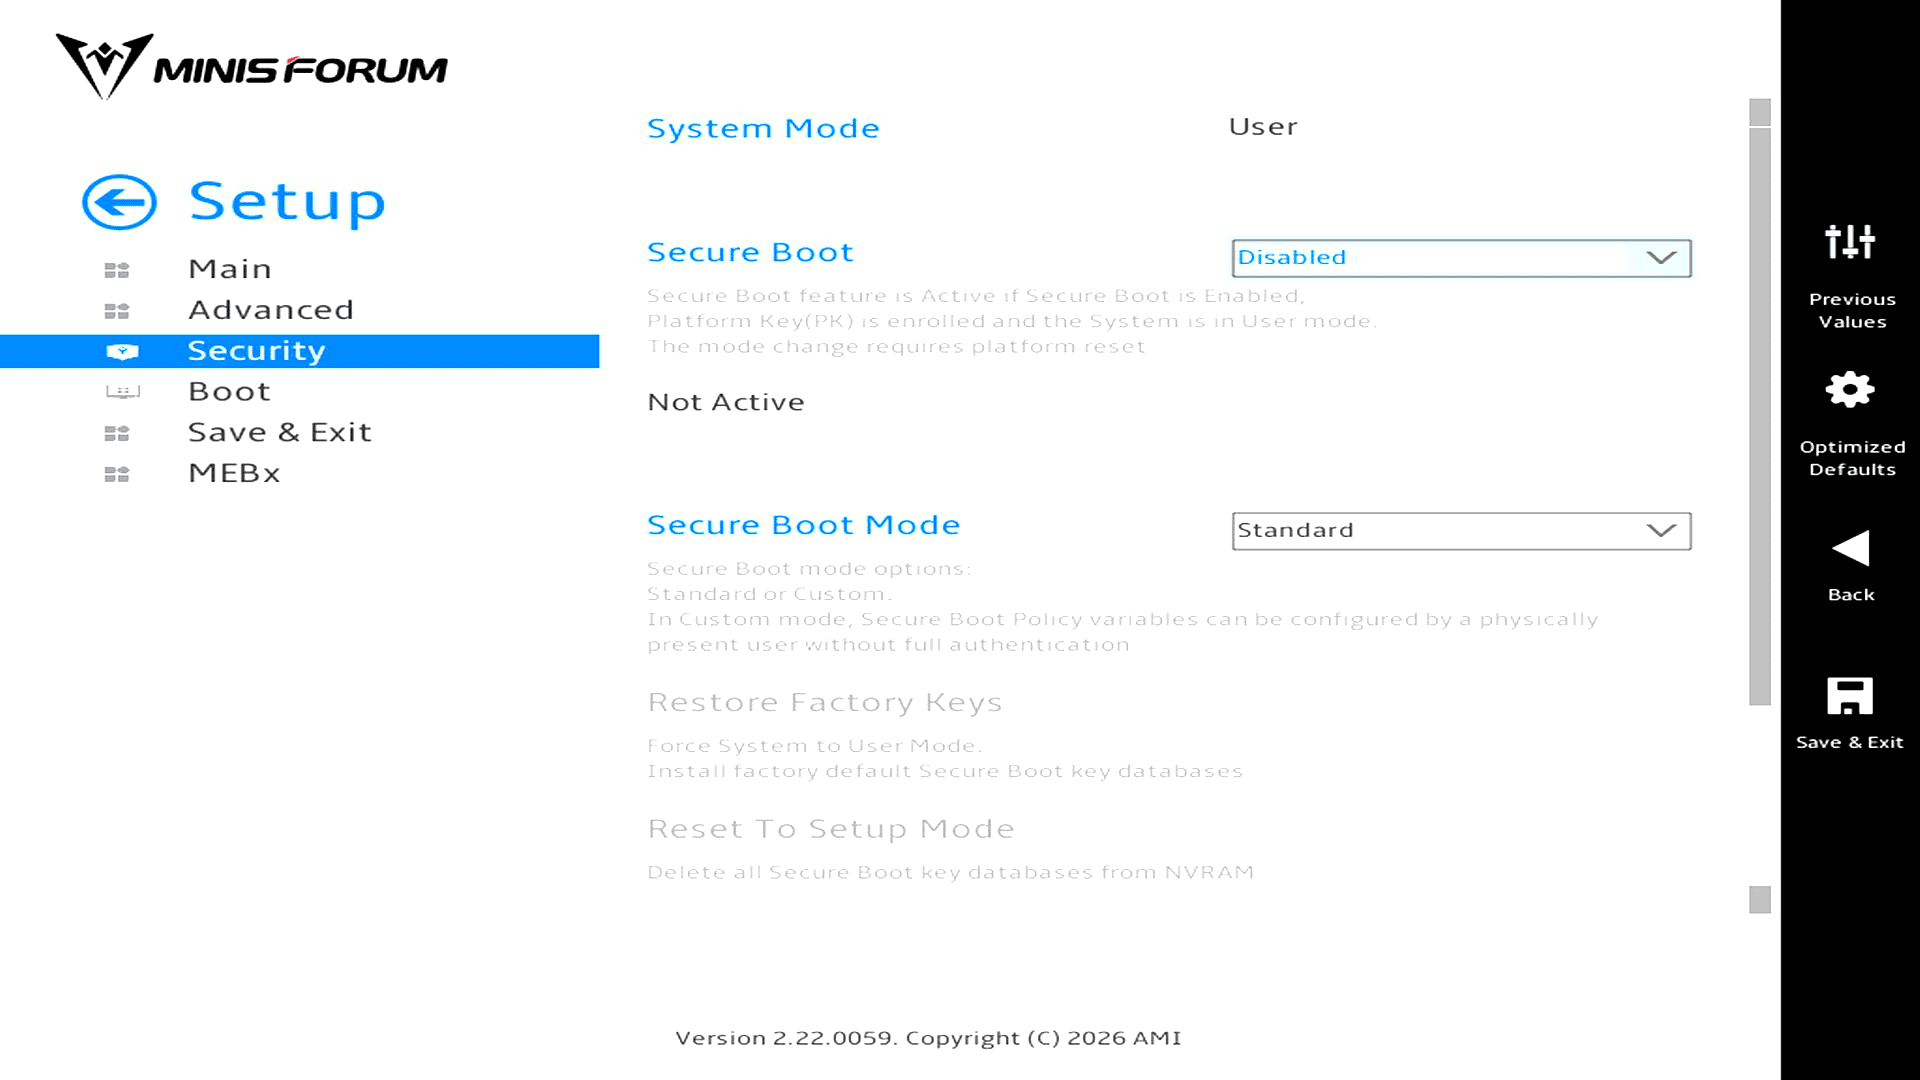
I disabled Secure Boot for my CachyOS installation, so its status reads Not Active. The separate Secure Boot Mode field is set to Standard, with Custom available for managing keys.
Boot
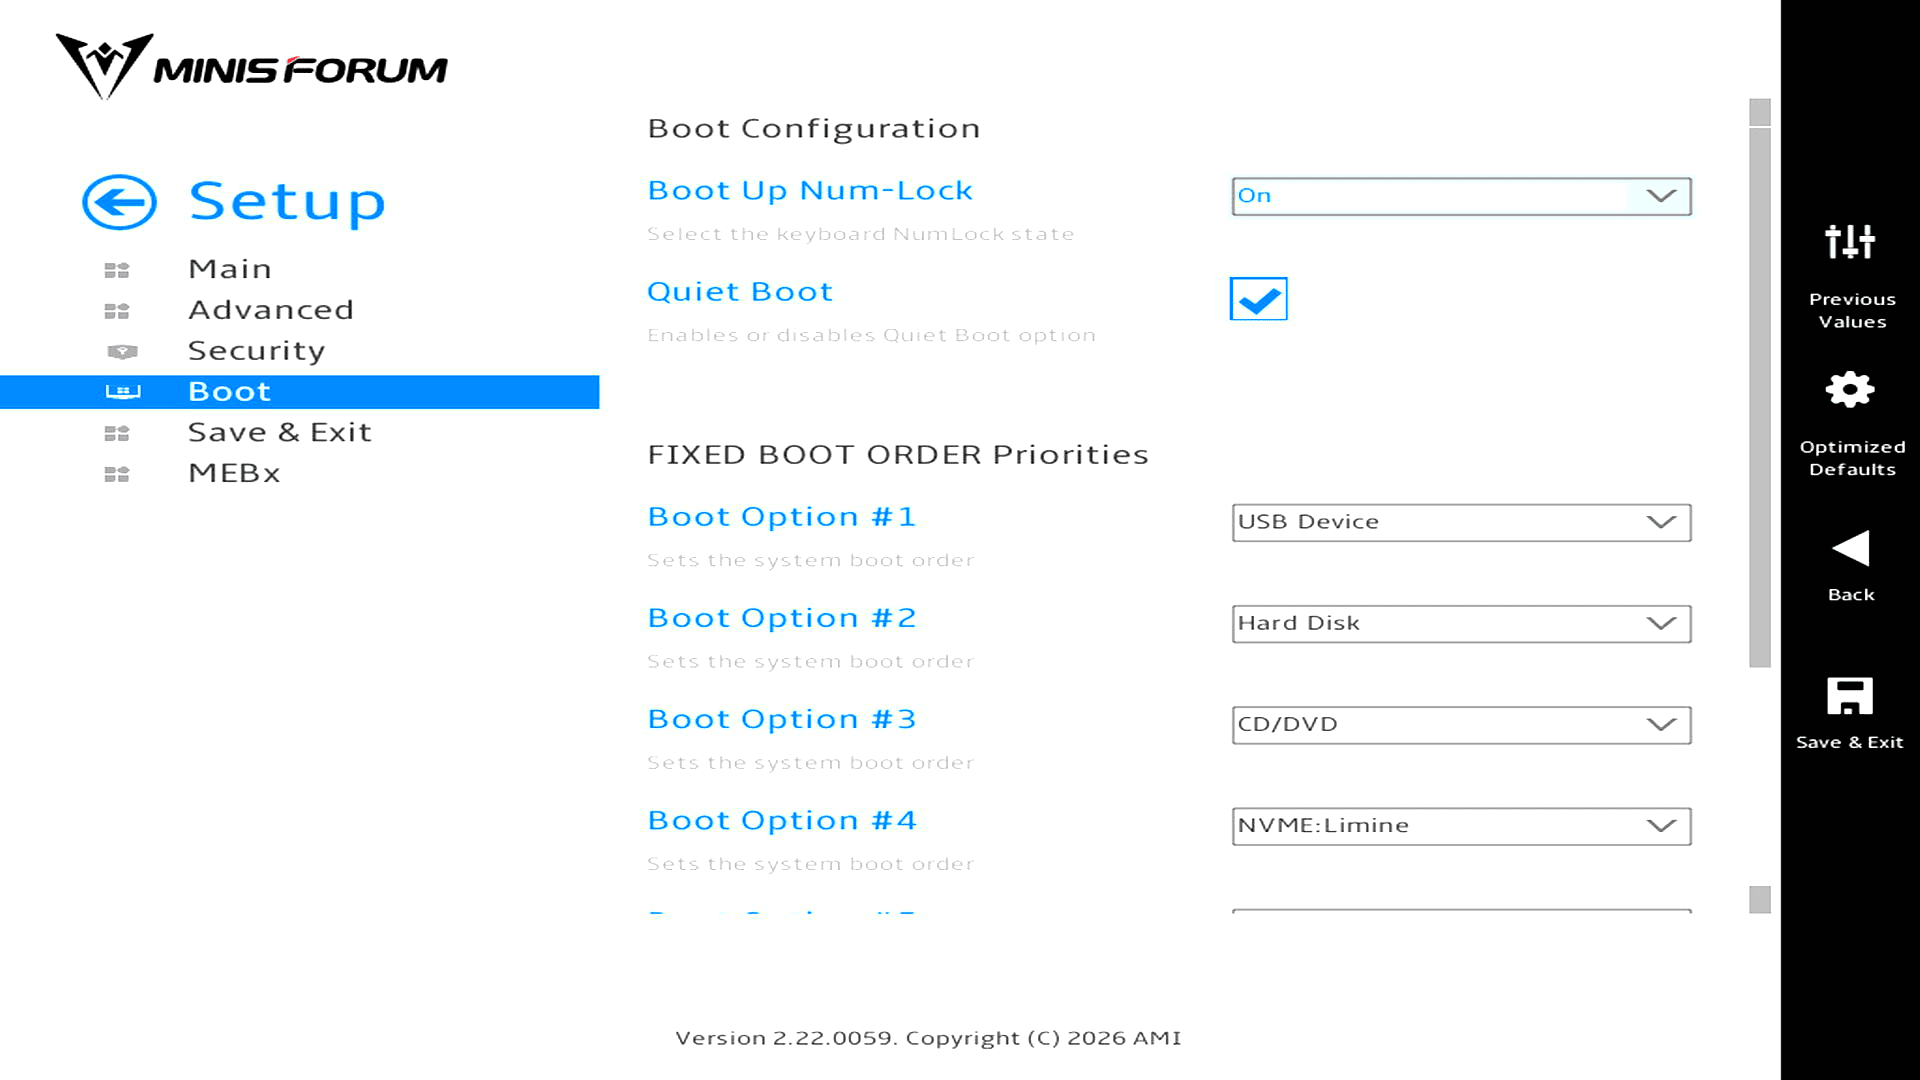
USB Device comes first in my fixed boot order, so the firmware tries a bootable installer stick before it reaches the internal drives. Quiet Boot and boot-up Num Lock are both enabled.
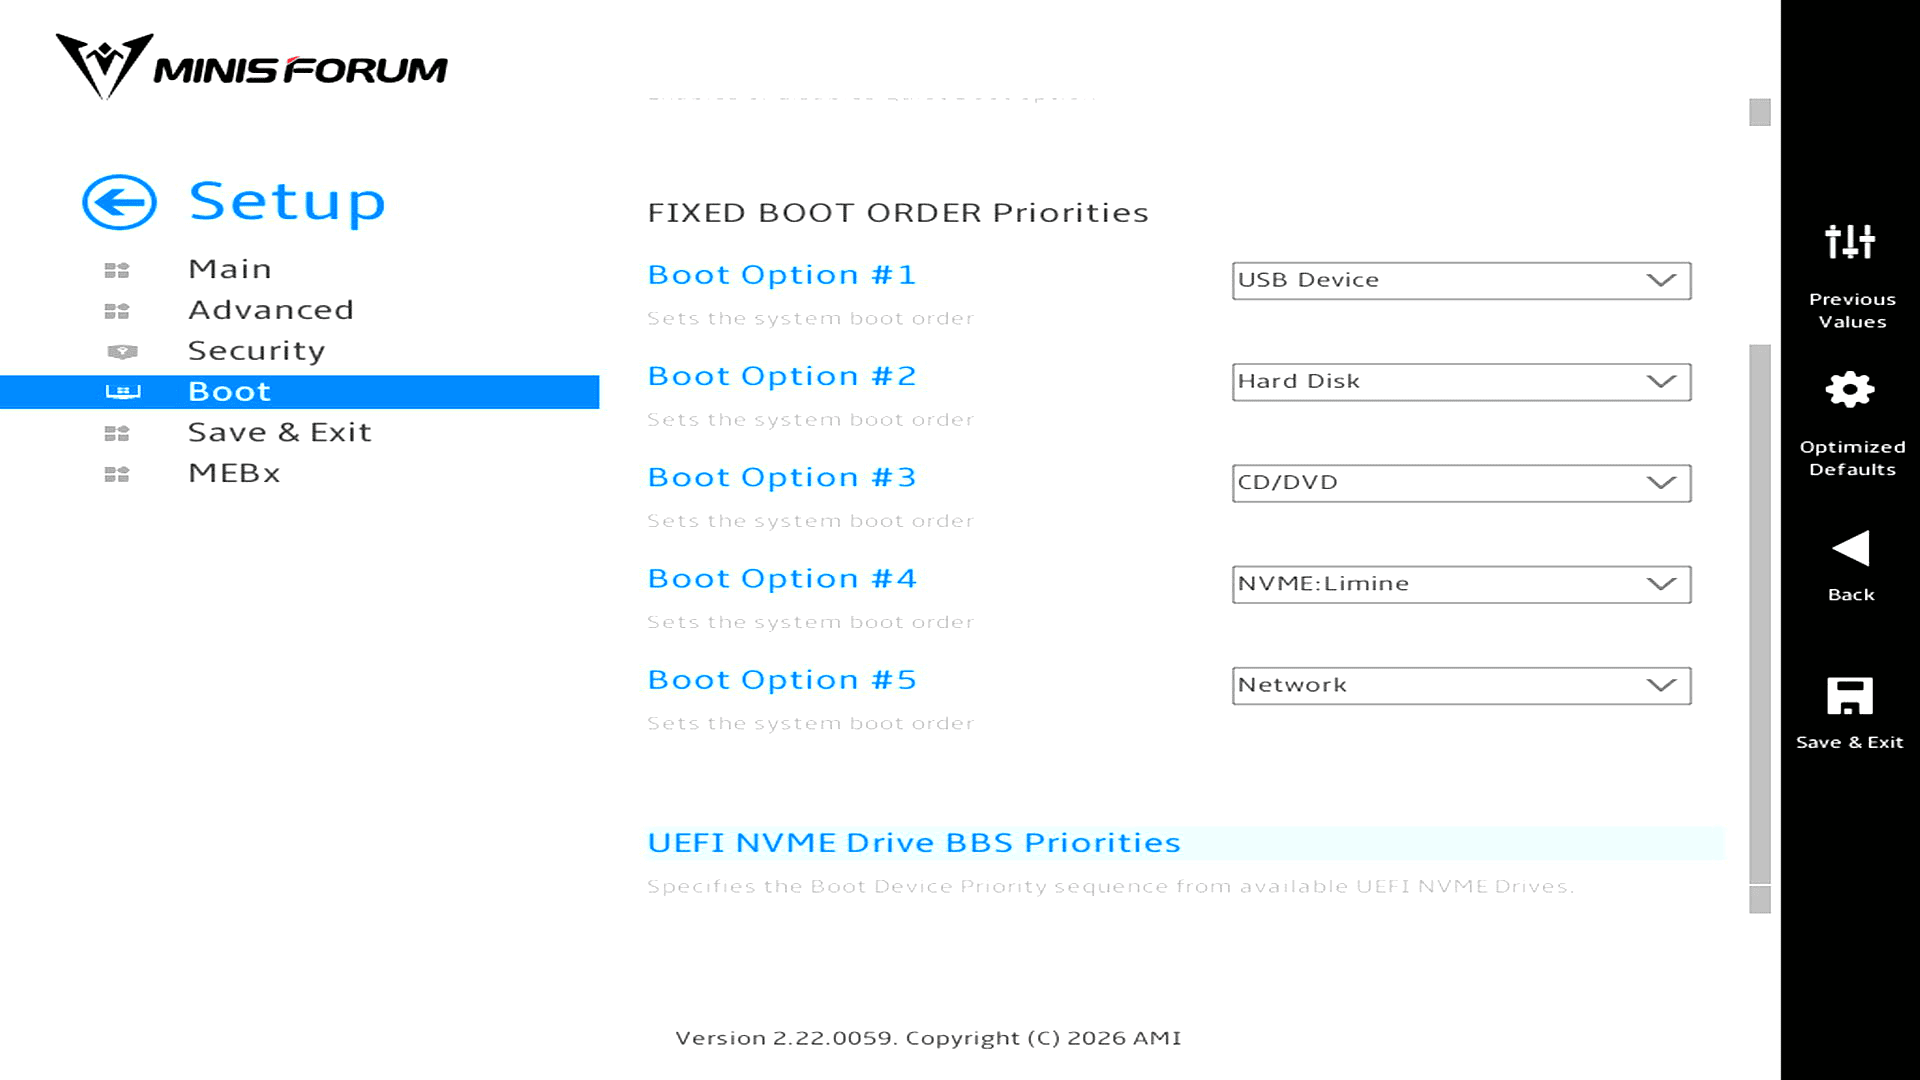
There are two levels to the boot order. The main list puts the NVMe group fourth and Network fifth. The UEFI NVME Drive BBS Priorities submenu determines which entry the firmware tries first when it reaches the NVMe group.
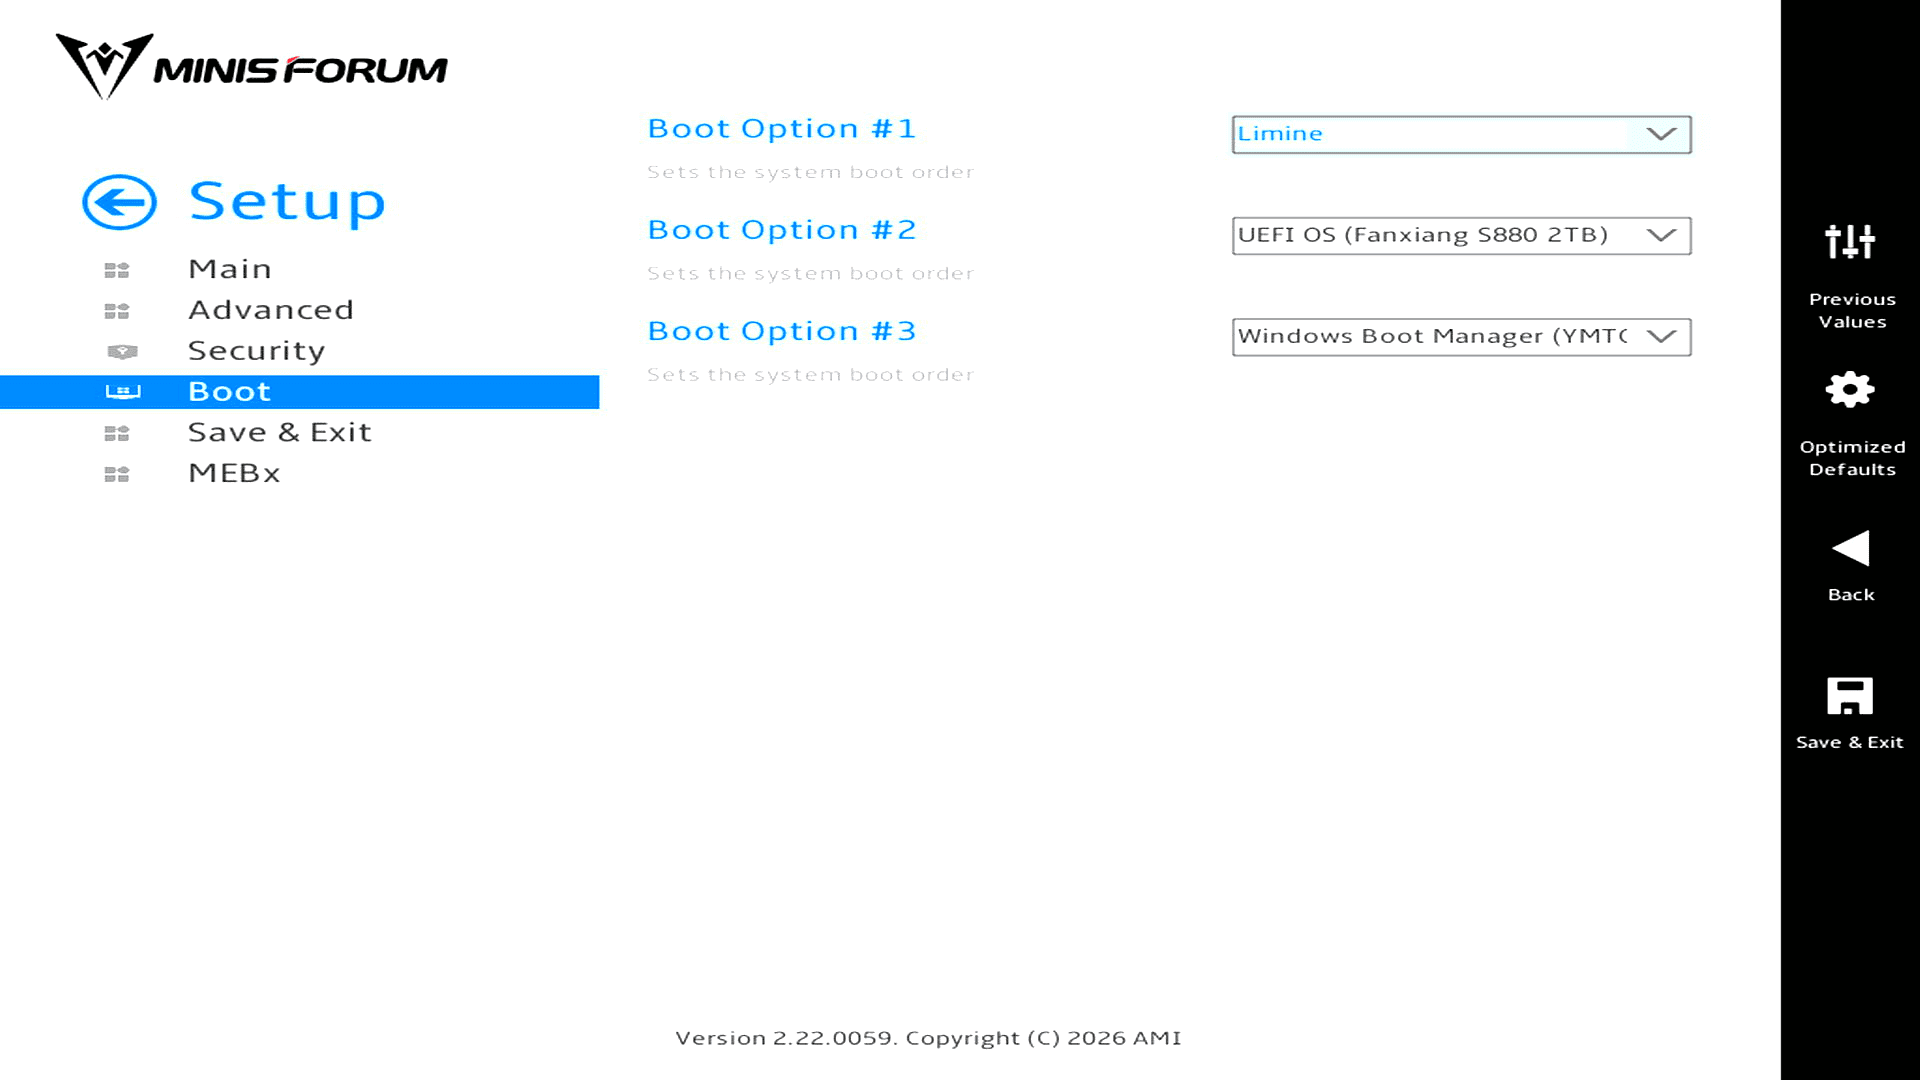
I have Limine first in the NVMe list for CachyOS. The firmware also lists a second entry on the Fanxiang S880 as UEFI OS. Windows Boot Manager on the supplied YMTC SSD is third.
I added the 2TB Fanxiang S880 for CachyOS and kept Windows 11 on the supplied 1TB YMTC SSD. The integrated Arc B390 has enough graphics performance for the games I want to test. With both operating systems installed, I can benchmark the same games at matching graphics settings and compare frame rates on each operating system.
Complete list of articles in this series
| Minisforum M2 Pro-358H | |
|---|---|
| Introduction | Introduction to the series and interrogation of the machine |
| Benchmarks | Benchmarking the Minisforum M2 Pro |
| Power | Testing and comparing the power consumption |
| Compiling Software - Mini PC Performance Compared | Real-world compilation benchmarks comparing three mini PCs with Intel and AMD processors. |
| Lemonade and Local LLMs | Testing local LLM performance with Lemonade on the M2 Pro |
| BIOS | Explore the machine's BIOS |
Please read our Comment Policy before commenting.