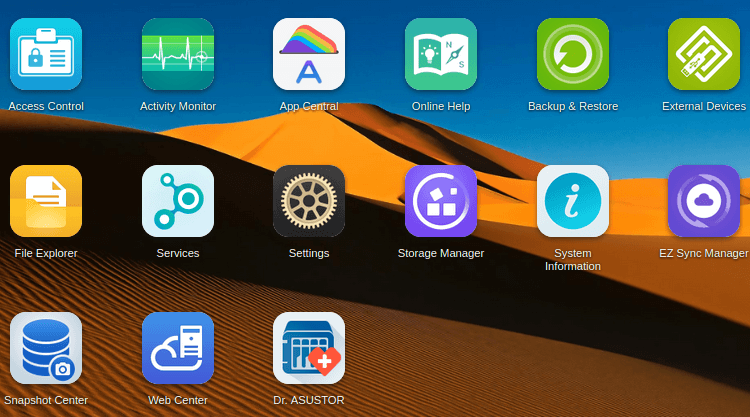
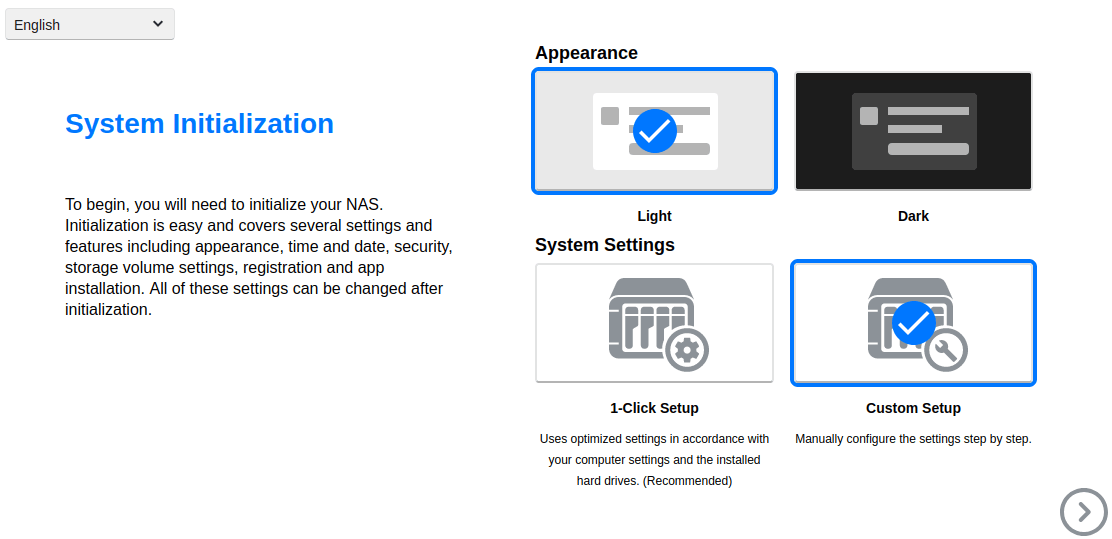
System Initialization
There’s a few steps to go through. First, we can choose between a light or dark theme, and whether to choose a 1-click setup or a custom setup. With two of the four bays occupied, the 1-click setup chooses a RAID 1 configuration. I’m going with a custom setup simply to show what other options are available.
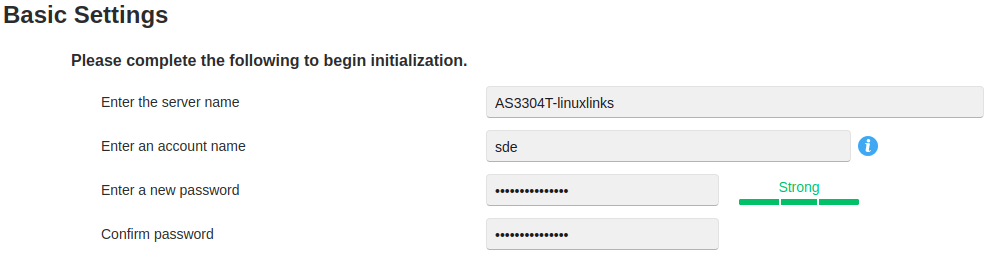
Basic Settings
Choose a name for the server, an account name, and a password. Make sure you choose a strong password.
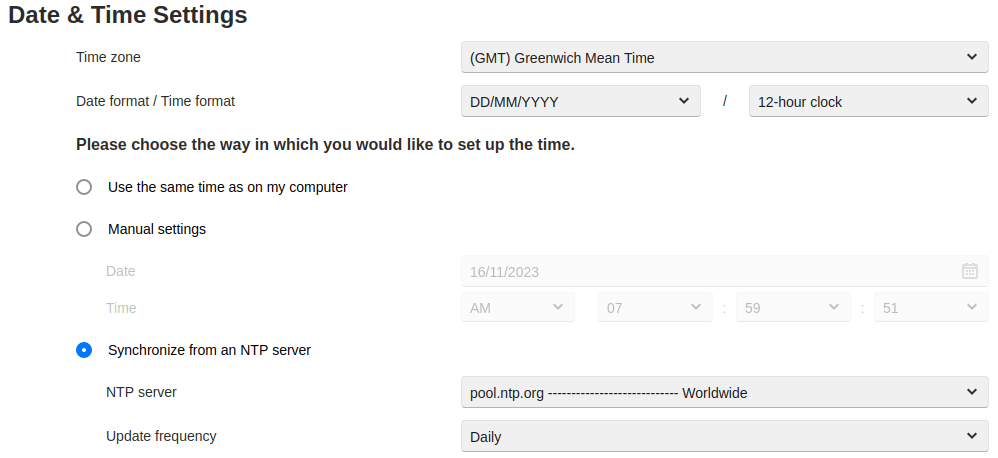
Next I’m prompted to select a time zone, date and time format, and how to set up the time. It’s all pretty explanatory. The default is to synchronize time from a remote server. The Network Time Protocol (NTP) is used by hundreds of millions of computers and devices to synchronize their clocks over the Internet.
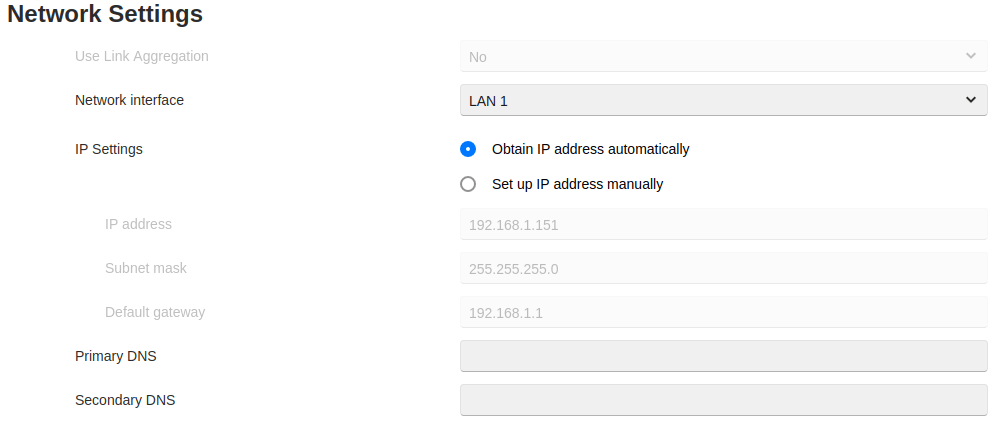
Next there are some network settings. I didn’t make any changes here.
Next page: Page 3 – System Initialization: Volume Settings
Pages in this article:
Page 1 – Updating ADM
Page 2 – System Initialization: Basic Settings, Date & Time, Network
Page 3 – System Initialization: Volume Settings
All articles in this series:
| ASUSTOR Data Master (ADM) | |
|---|---|
| Part 1 | Getting Started with ADM |
| Part 2 | Detailed review of ADM v4.2.5 |
| Part 3 | AiMaster is a NAS management app for mobile devices |
| Part 4 | Extend the functionality of your NAS with software from App Central |
Wonderful web site. Lots of useful info here. I’m sending it to a few friends ans additionally sharing in delicious. And obviously, thanks to your effort!