Last Updated on June 17, 2026
Installing Linux
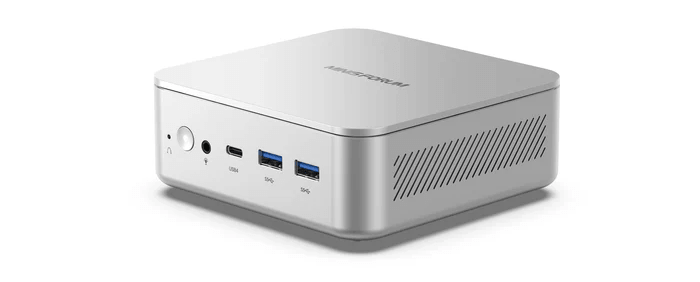
For users who buy the M2 with RAM and storage included, Windows 11 Pro comes preinstalled on the drive. Linux users may prefer the barebones model, which avoids paying for a Windows licence they may not use, but you’ll need to open the machine and install your own RAM and NVMe drive. Fortunately, the case is easy to open, as shown on Page 4 of this article.
I’ll revisit Windows later, mainly to assess how well Windows Subsystem for Linux performs on the M2. For now, though, I’ve removed Windows entirely. Rather than configuring a dual-boot setup, I wiped the drive and installed Linux.
Before doing that, I let Windows complete its initial round of updates. It was painfully slow, probably the slowest first-update experience I’ve had, with progress stuck at 97% for at least half an hour. Perhaps Microsoft’s servers were having a bad day. Even after it moved on, there were still several rounds of reboots and further updates to install. I could have written a short symphony in the time it took, were it not for the various prompts demanding attention along the way.
The only reason I sat through the whole update ordeal was so I could image the drive with Clonezilla afterwards. That gives me a clean, fully patched Windows 11 Pro image that I can restore later when I’m ready to test Windows Subsystem for Linux.
BIOS
I ran into an issue trying to get into the BIOS. Normally with Minisforum machines, pressing Delete repeatedly immediately after powering on gains access. On this occasion, that didn’t work, even bearing in mind that Minisforum systems can POST very quickly. I tried F7, F2, Esc, and a few other keys, but the machine kept booting straight into Windows 11 Pro. Rather than keep experimenting, I used the Windows recovery route: hold Shift while clicking Restart, then choose Troubleshoot → Advanced options. From there, I was able to access the BIOS.
I will do a walkthrough of the BIOS in a later article. In the BIOS I changed the settings for Fast Boot and Secure Boot. I disabled Secure Boot before installing CachyOS. CachyOS recommends disabling Secure Boot and CSM during installation in UEFI mode. Secure Boot can be configured afterwards using sbctl, but out of the box it can prevent the installer or bootloader from starting because the firmware only trusts signed boot components. For a straightforward Linux installation, disabling it avoids that extra layer of complexity.
Installing CachyOS and Ubuntu
For installations, I use a USB stick set up with Ventoy. It’s an extremely handy tool, as it lets me carry multiple Linux ISOs on one USB stick without reflashing it for each installation.
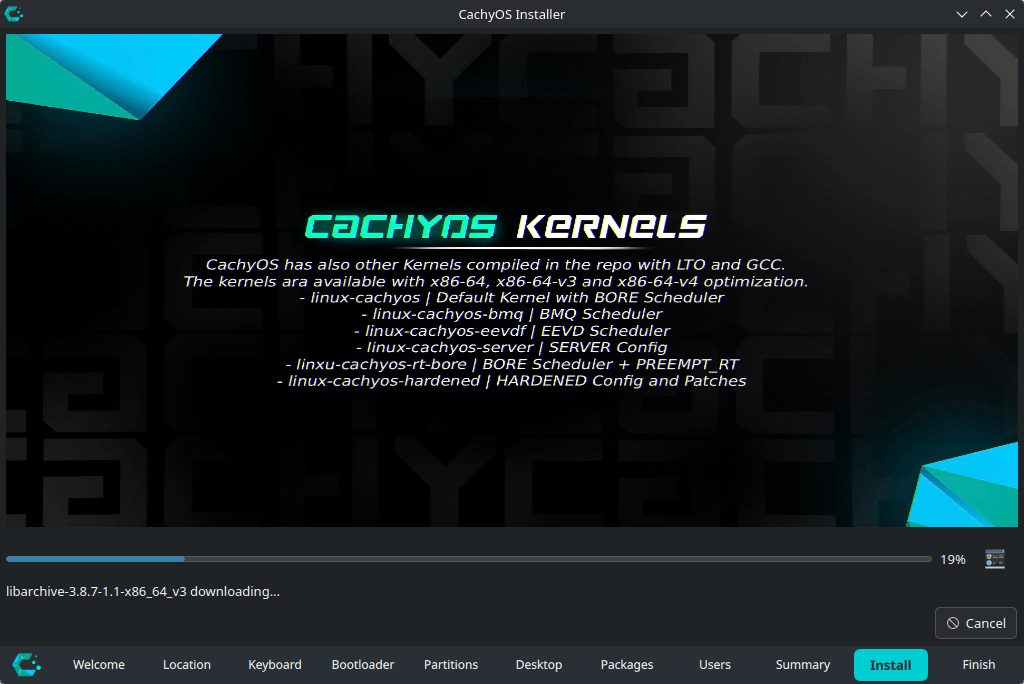
So far, I’ve installed CachyOS and Ubuntu 26.04 LTS on the M2. Installation for both Linux distributions proceeded without a hitch.
I really like CachyOS’s installation process.
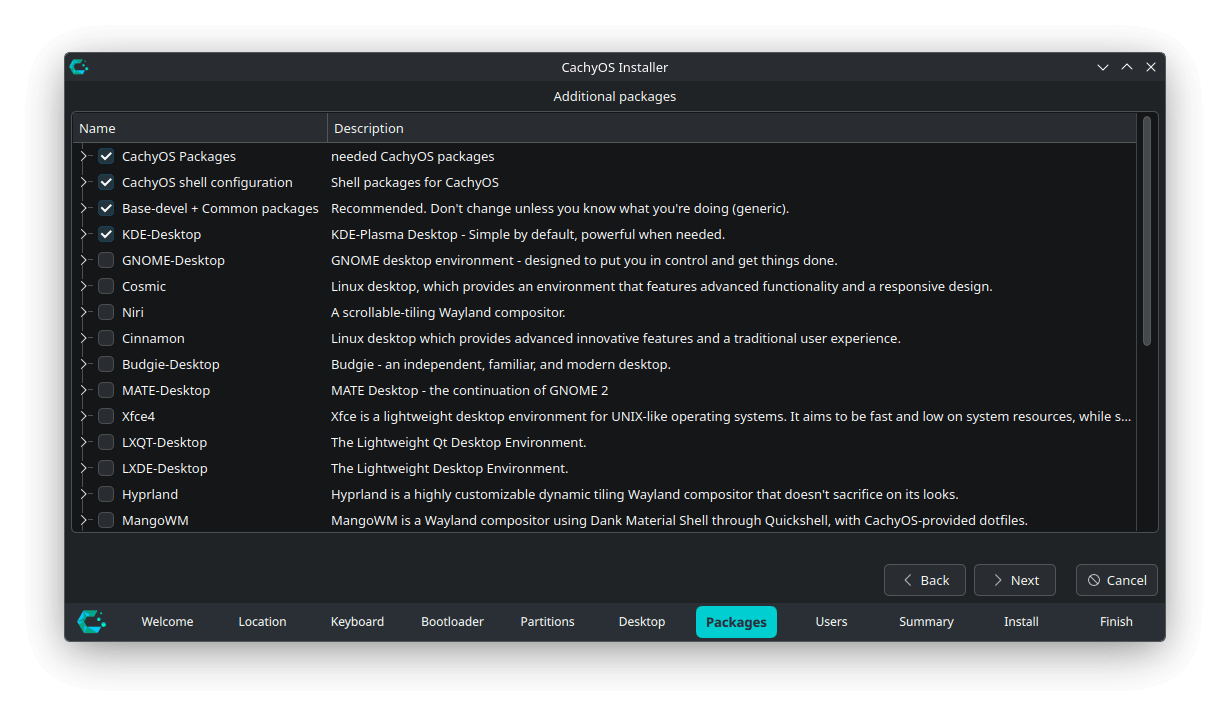

There are lots of desktop environments to choose from, although I usually default to KDE Plasma.
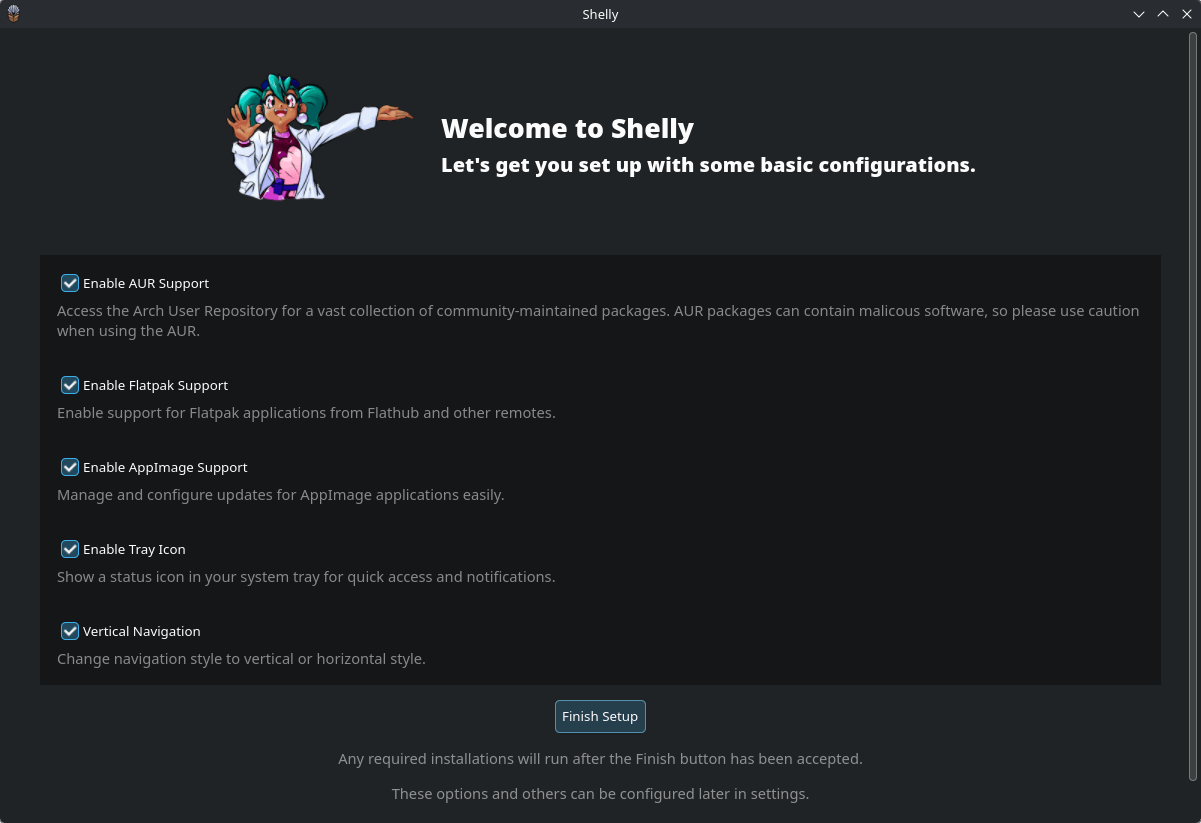
After installing CachyOS, I made a few changes such as changing the default shell from fish using the chsh command, and configuring Shelly.
To deliver a performance-focused distribution, CachyOS rebuilds many Arch Linux packages for newer CPU targets, including x86-64-v3, x86-64-v4, and Zen 4/5.
The broad optimisation tiers are:
- x86-64-v3: typically offers a 5-20% performance uplift compared with generic x86-64 packages, depending on the workload.
- x86-64-v4: can deliver larger gains in workloads that benefit from AVX-512.
- Zen 4/5: provides AMD-specific optimisations for recent Ryzen, Threadripper, and EPYC processors.
To check which optimisation levels the M2 supports, I used:
$ /lib/ld-linux-x86-64.so.2 --help | grep supported
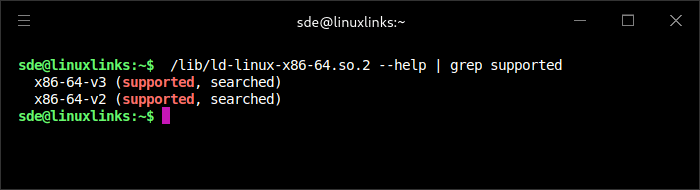
This confirms the CPU compatibility level exposed to the system.
I also checked that CachyOS is using the optimised repositories with:
$ grep -nE '^\[(cachyos.*v3|cachyos.*v4|cachyos|core|extra|multilib)\]' /etc/pacman.conf
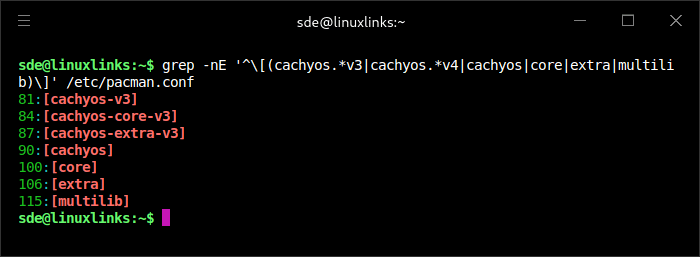
On the Minisforum M2, CachyOS uses its x86-64-v3 package repositories. These provide packages built for modern x86-64 CPUs with instruction-set support such as AVX, AVX2, FMA, BMI1, and BMI2, rather than generic baseline x86-64 binaries.
The M2 doesn’t benefit from CachyOS’s Zen 4/5 repositories, as those are AMD-specific. It should also be treated as an x86-64-v3 system rather than x86-64-v4, as it doesn’t expose the AVX-512 instruction set required for v4.
The main gains therefore come from CachyOS’s v3 package builds, selected LTO, PGO, and BOLT optimisations, and its tuned kernel, rather than from any Panther Lake-specific package set.
Next page: Page 3 – Interrogation of the System
Pages in this article:
Page 1 – Introduction and Design
Page 2 – Installing Linux
Page 3 – Interrogation of the System
Page 4 – Adding RAM
Complete list of articles in this series:
| MINISFORUM M2 Core Ultra 7 356H Mini PC | |
|---|---|
| Introduction | Introduction to the series and interrogation of the machine |
| NPU | Setting up and testing the NPU |
| Benchmarks | I run a series of benchmarks focusing on the CPU, GPU, Memory, and Disk performance |
| Power | Testing and comparing the power consumption |
| BIOS | In the world of computing, BIOS, which stands for Basic Input/Output System, plays a crucial role |
| Cores | A look at Intel’s hybrid architecture |
| Intel processors | P-Cores, E-Cores and LP E-Cores Compared Across 4 Intel Processors |
| Next articles in the series will focus on the machine's NPU | |