This is a multi-part blog looking at the Intel NUC 13 Pro Mini PC running Linux. In this series, we examine every aspect of this Mini PC in detail from a Linux perspective. We’ll compare the machine with modern desktop PC counterparts along the way.
This machine is from GEEKOM, a leading and respected brand and manufacturer of Mini PCs. They provide a 3 year warranty on their Mini PCs.
For this article in the series, I’ll explore the simple process of installing Ubuntu 23.10 on the Intel NUC 13 Pro. First, I’ll explain how to write the Ubuntu ISO to a USB key, and then take you through the installation steps.
Ubuntu 23.10 was released a few days ago although it was taken down due to a malevolent translation. Ubuntu 23.10 is not a Long Term Support release, as they are only published every two years in April.
Step 1 – Download the USB ISO
Download the Ubuntu 23.10 Desktop ISO.
Save the file to your local hard drive. It’s a 5.2 GB file so it will take a few minutes (or longer) to download.
Step 2 – Flash the Ubuntu ISO file to a USB stick
I’m going to use balenaEtcher to write the Ubuntu ISO to the USB stick, but there are lots of other similar software available summarized in our roundup.
Start balenaEtcher.
- Insert a USB stick into your machine The USB stick should be 8GB or bigger.
- Click the ‘Flash from file’ button and select the Ubuntu ISO file you downloaded from Step 1.
- Click the ‘Select target’ button and choose the USB stick. Make sure you don’t choose your system drive (which balenaEtcher should have hidden).
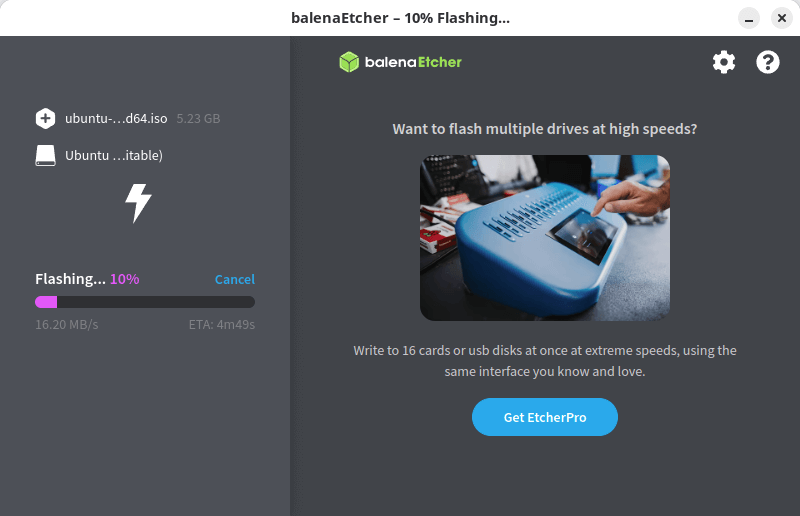
- Click the “Flash!” button. You’ll see a confirmation dialog box. Click “Yes” to begin the writing of the ISO file to the USB stick. Here’s an image of the flashing in progress.
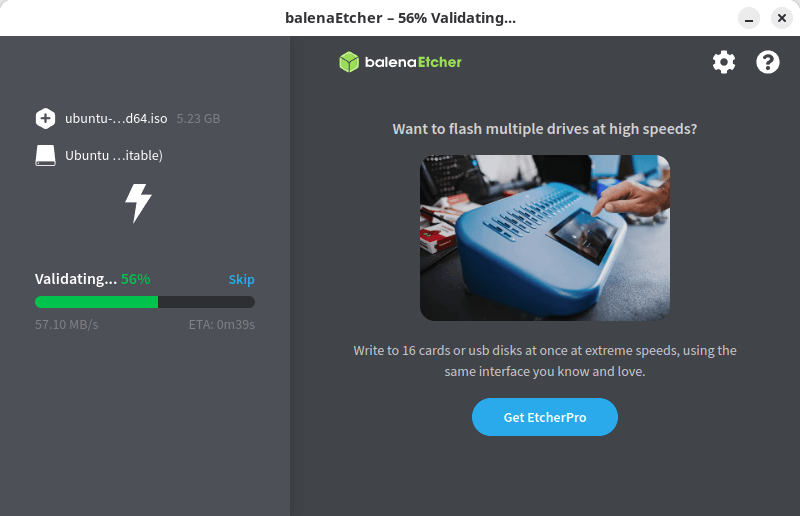
Once the ISO file has been written to the USB stick, balenaEtcher will validate that everything is in order. Here’s an image of the validation process in progress.
Once the process is complete, you should see a Flash Complete! message.
Now you have a Ubuntu USB bootable stick. With the vast majority of Linux distributions, you’ll need to turn off Secure Boot in the NUC’s BIOS. But that step is unnecessary with Ubuntu.
Insert this USB stick into a USB port on the NUC 13. Start up the Mini PC. On the next page, I take you through the installer. It’s much simpler than installing Windows.
Next page: Page 2 – Install Ubuntu Desktop
Pages in this article:
Page 1 – Flash USB Key
Page 2 – Install Ubuntu Desktop 23.10
Complete list of articles in this series:
| Intel NUC 13 Pro Mini PC | |
|---|---|
| Part 1 | Introduction to the series with interrogation of system |
| Part 2 | Benchmarking the Mini PC |
| Part 3 | Installing Ubuntu 23.10 Desktop |
| Part 4 | Configuring Ubuntu 23.10 Desktop |
| Part 5 | Power Consumption |
| Part 6 | P-Cores and E-Cores |
| Part 7 | Gaming |
| Part 8 | Installing and Configuring Manjaro |
| Part 9 | BIOS options |