
Vector graphics consist of shapes, called objects, which are simple geometric primitives: points, lines, curves, circles, and polygons. The shapes are all based on mathematical equations, to represent images in computer graphics. It’s possible to edit each object separately, for example, by changing the shape, colour, size and position. By combining paths that are straight or curved and various colours and shading very detailed illustrations can be created.
As vector-based images are not made up of a specific number of dots, they can be precisely scaled without any reduction in the image quality. Unlike vector graphics, bitmap images are resolution dependent. This means that it is difficult to alter the size of a bitmap without sacrificing a degree of image quality. Vector graphics also have simpler storage, and the option to convert a vector graphic to a bitmap if needed.
Graphite is a vector and raster graphics program that’s powered by a node graph compositing engine. It brings together layers with nodes.
This is free and open source software written in Rust.
Installation
We tested Graphite in Ubuntu 23.10. We couldn’t find any specific packages for Ubuntu. And the useful bauh tool also drew a blank from a Flatpak, Snap, or AppImage perspective. In this situation, it’s time for a manual installation.
First, clone the project’s GitHub repository using git.
$ git clone https://github.com/GraphiteEditor/Graphite.git
The next step is to install the program’s dependencies. As we’re testing the software under Ubuntu, we’ll use apt to install them.
$ sudo apt install libgtk-3-dev libsoup2.4-dev libjavascriptcoregtk-4.0-dev libwebkit2gtk-4.0-dev
On our test system, these packages were already installed.
Next, we need to install the required Node.js packages:
$ cd Graphite/frontend
$ npm install
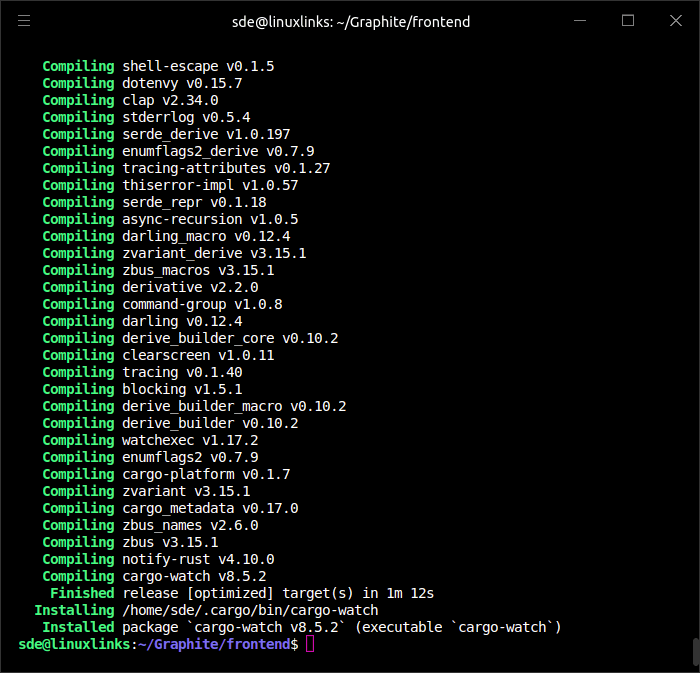
We also need to install Cargo Watch using cargo, Rust’s package manager. Cargo Watch watches over a project’s source for changes, and runs Cargo commands when they occur.
$ cargo install cargo-watch
Here’s the end page of the installation.
The next step is to start up the server with a file watcher that performs hot reloading of the web page. Issue the command:
$ npm start
Next page: Page 2 – In Operation and Summary
Pages in this article:
Page 1 – Introduction and Installation
Page 2 – In Operation and Summary