Last Updated on September 1, 2020
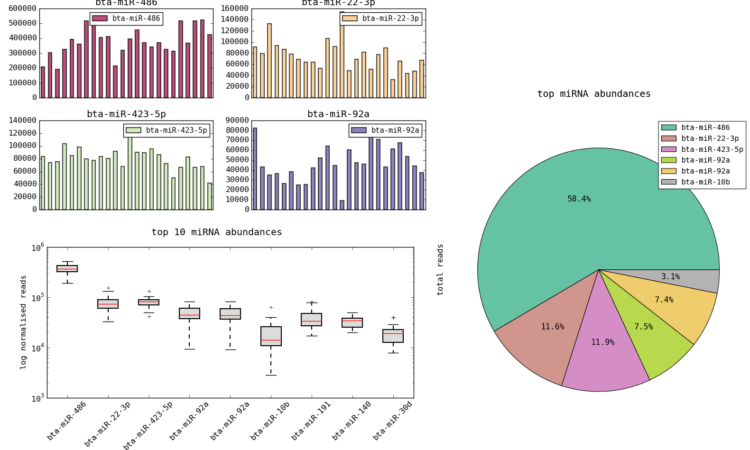
DataExplore is an open source desktop application for data analysis and plotting intended for use in both research and education. It’s targeted at non-programmers who want to perform fairly advanced table manipulation methods. It also offers fast, dynamic plot creation from selected data suitable for publication. A variety of table analysis tools are provided.
The software seeks to bridge the gap between graphical interface and command driven or programmatic approaches to data analysis. If you find it daunting to use RStudio, DataExplore might be a perfect fit.
The software is written in Python and is based on the PyData suite of Python libraries. It works with Python 2.7 and <=3.4. It relies on pandas and matplotlib.
The program allows quick visualization of data, table manipulation tools and supports large data tables. One advantage is the ability to load and work with relatively large tables as compared to spreadsheets. The focus is on data manipulation rather than data entry though cell editing and row/column changes are supported.
Installation
For Linux users who just want to experiment with DataExplore, snap offers probably the easiest installation method. This is supported in Ubuntu, Fedora, Solus, Arch and other distributions. Just install snapd with your package manager and then run:
You can also install the software with pip, the Python package management system, using the command:
The program is started by typing dataexplore in a terminal.
My preferred installation method is almost always compiling, or installing with, the source code. I downloaded the latest release from the project’s GitHub page. Extract the archive and install with the following commands:
cd pandastable
sudo python3 setup.py install
The application needs the python tkinter library to run. For Manjaro users this is solved by installing the tk windowing toolkit package.
Next page: Page 2 – In Operation
Pages in this article:
Page 1 – Introduction / Installation
Page 2 – In Operation
Page 3 – Other Features
Page 4 – Summary
