
Last Updated on August 11, 2021
In Operation
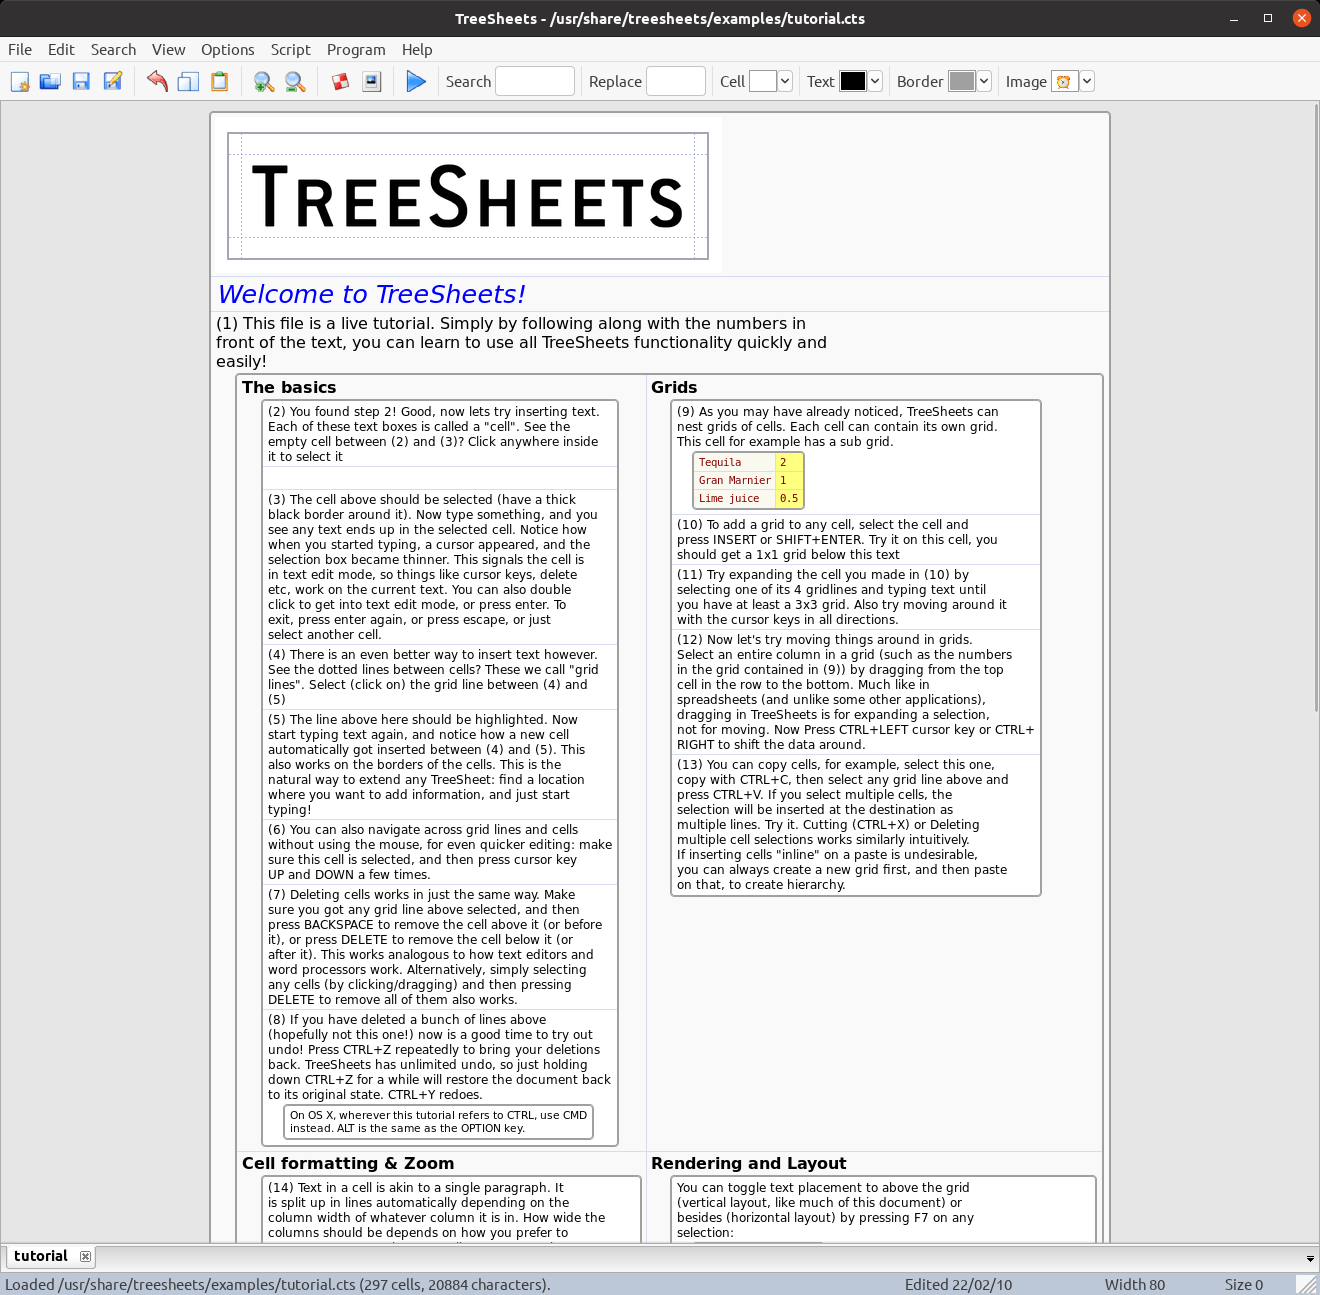
When you start up TreeSheets for the first time, you’re presented with a live tutorial. This tutorial teaches you the basics of the program. Things like how to insert texts, learn about grids, images and styles, tags, search and navigation are explored. It’s definitely worth taking a few hours to digest the tutorial, learn the keyboard shortcuts, and read the other documentation, as it’ll get you up to speed quickly.
When you start a new document, you’re asked the size of grid you want. The default size is 10×10. Whatever size you choose, you’ll see an empty grid, similar to an empty spreadsheet. Unlike a spreadsheet, as you type text into a cell it’ll automatically expand to accommodate your text.
The software employs lots of time-saving tricks. For example, when you want to add another row or cell, just select the border between the two and type (with the mouse, or even quicker by pressing the down arrow key). Then when you type, a new cell/row is automatically created. This makes it really simple to create to-do lists, and build hierarchies.
There’s grid style rendering, bubble style rendering, and line style rendering. You can add images, tags, add grids within cells, and quickly reorganize the grid. The whole document can even be switched between the grid view, nested bubbles, and lines showing hierarchy.
The software lets you run a presentation. Its presentation mode makes the current view as large as possible.
Pages in this article:
Page 1 – Introduction / Installation
Page 2 – In Operation
Page 3 – Summary