First Login
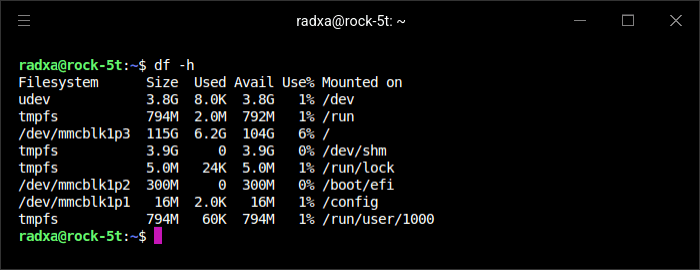
Let’s check out a few things before installing any software. I’ve booted the SBC from a 128GB microSD card. As the output from df shows the root partition has 6.2GB used. There’s no sign of my eMMC though.
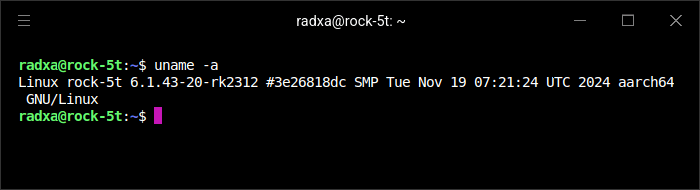
The system is running kernel 6.1.43.
The first thing I normally run on a Debian system is to use Debian’s command-line package manager (apt) to update the system. However, for the Rock 5T you are recommended not to use apt to update the system (although you still use apt to install applications). Instead, for system updates you need to use the Rsetup utility. Rsetup is the Radxa system setup utility.
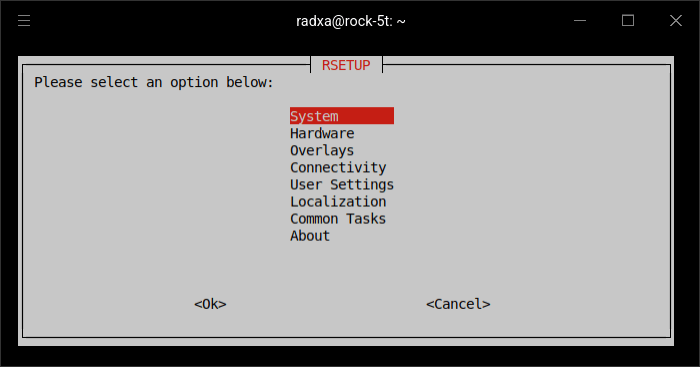
Select System then System Update
You are prompted whether to proceed. Select Yes
The image below shows some of the packages to be upgraded.
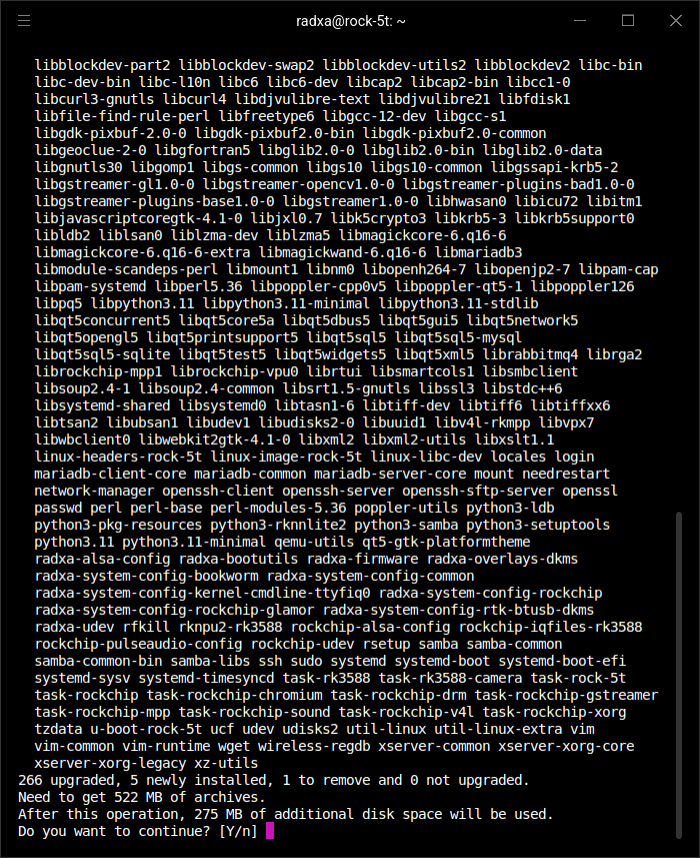
Lots of packages are updated.
By default, an ssh server isn’t running. The service was showing as inactive.
I want ssh to start each time the machine is booted. Issue the command
radxa@rock-5t:~$ sudo systemctl enable --now ssh
This created a couple of symlinks to enable the service so that I can remotely login to the machine.
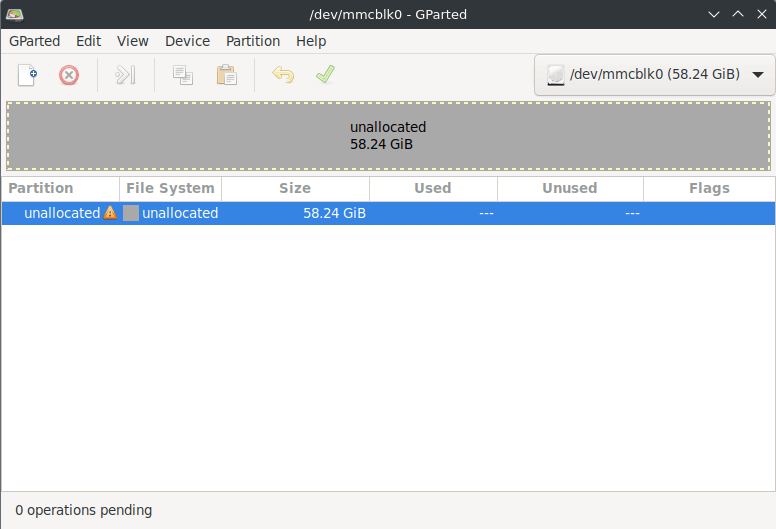
Some SBC companies pre-install the operating system on an eMMC. My Rock 5T came with a 64GB eMMC. I was half-expecting the machine to boot Linux from the eMMC. But as GParted confirms, it’s empty.
Install GParted with the command:
$ sudo apt install gparted
GParted lets me create a partition table, and a new partition for the eMMC. I used the ext4 filesystem. Then it’s just the case of adding an entry in /etc/fstab so that the eMMC partition is automounted.
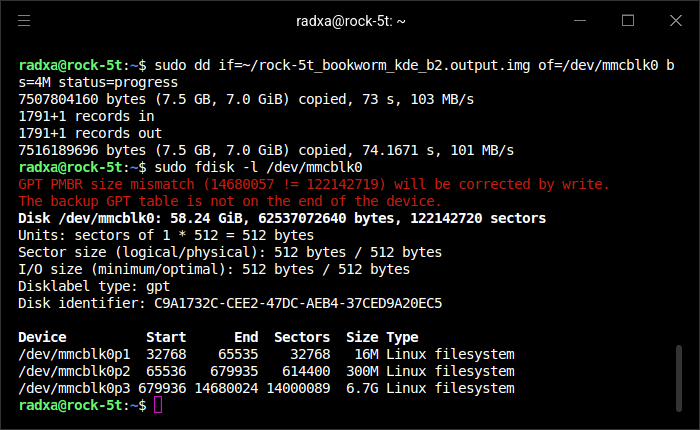
But on balance, I decided I’d rather boot the computer from the eMMC. Radxa has recently updated their documentation explaining the process to write the system image to eMMC. It’s very simple so I won’t reproduce the steps here except to show the dd command and the verification.
Let’s interrogate the system using inxi.
Next page: Page 4 – Interrogation of the system
Pages in this article:
Page 1 – Introduction
Page 2 – Radxa OS
Page 3 – First Login
Page 4 – Interrogation of the system
Complete list of articles in this series:
| Radxa ROCK 5T | |
|---|---|
| Introduction | Introduction to the series and interrogation of the ROCK 5T |
| Benchmarks | Benchmarking the ROCK 5T |
| Power | I compare the Rock 5T's power consumption to other machines |
| Radxa OS | A Debian-based Linux distribution with KDE Plasma |