
Last Updated on February 20, 2026
ONLYOFFICE Docs is an open-source office suite distributed under the GNU Affero General Public License version 3 (AGPLv3) which is composed of online editors for text documents, spreadsheets and presentations.
ONLYOFFICE Docs is fully compatible with the OOXML formats (DOCX, XLSX and PPTX) and can be integrated with multiple cloud storage platforms and services such as Nextcloud, ownCloud, Seafile, Alfresco, Confluence, Nuxeo, SharePoint, etc. Apart from this, you can embed it into your own application using API.
ONLYOFFICE Docs allows you to collaborate on documents in real time using:
- flexible sharing permissions — full access, reviewing, form filling, commenting, read-only for documents and custom filter for spreadsheets;
- two co-editing modes — the Fast mode if you want all the changes to be displayed in real time and the Strict to display the changes only after saving;
- tracking changes — you can track all the changes made by your co-authors and suggest yours;
- version history with the ability to recover the previous versions if necessary.
- comments;
- built-in chat.
In this article, we are going to have a quick look at the main updates brought by ONLYOFFICE Docs 6.2 and learn how to install the solution (Docker version) on Ubuntu.
What’s new in ONLYOFFICE Docs 6.2
The new version has brought features to work with data in spreadsheets as well as some updates for text documents and presentations:
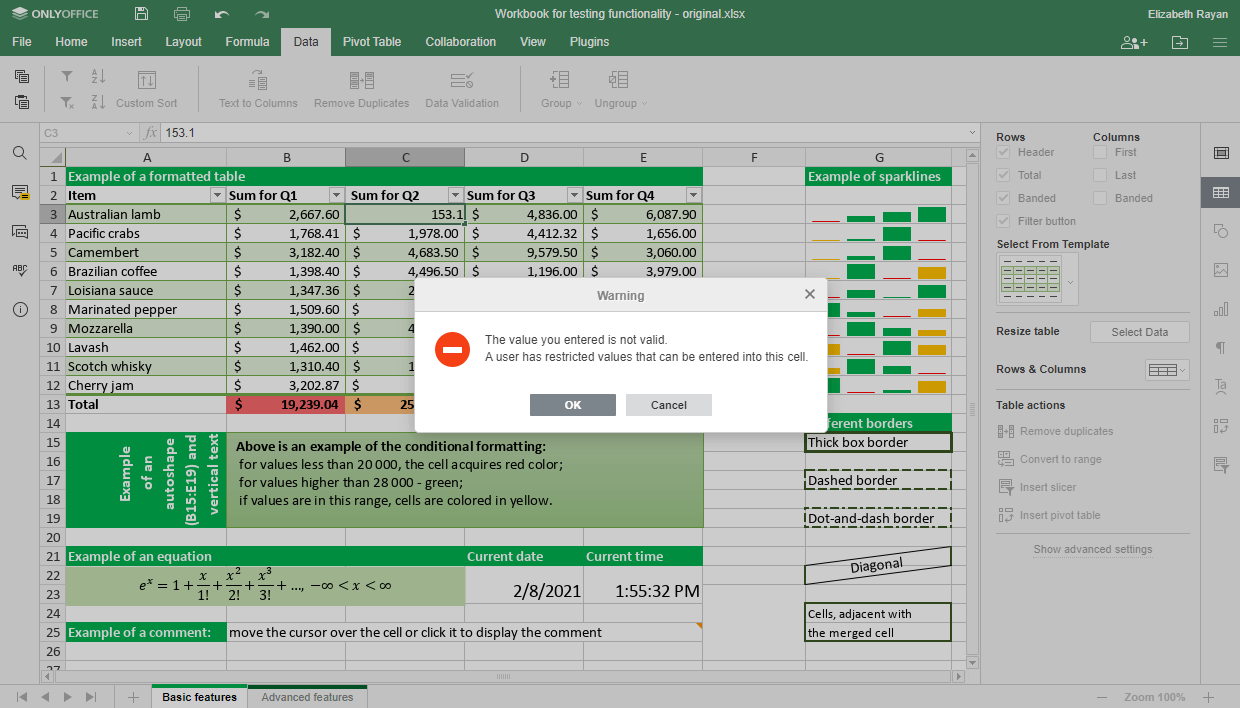
- Data validation to control what data can be entered into a cell;
- Slicers for pivot tables to indicate the current filtering state, so you can understand what data is displayed at the moment;
- Custom number format to change how a number should look without changing any data;
- New functions: GROWTH, TREND, LOGEST, UNIQUE, MUNIT and RANDARRAY;
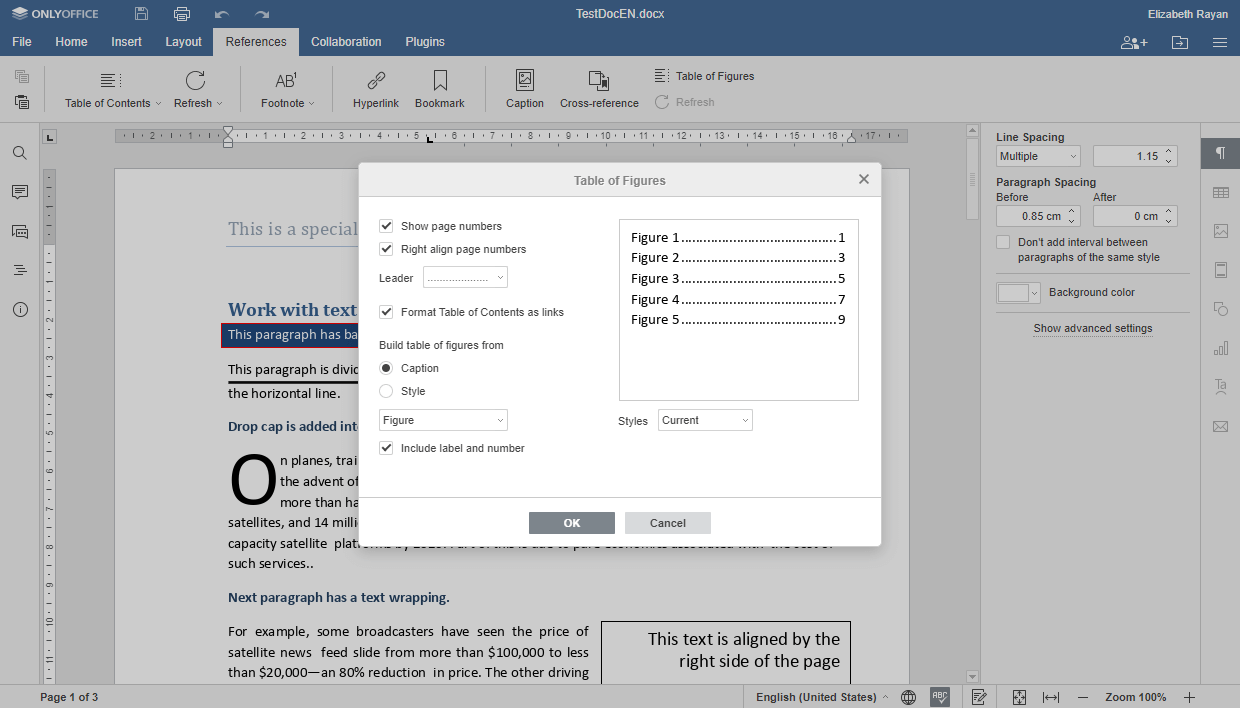
- Table of Figures to help you organize all the document objects with captions;
- New proofing options in presentations to choose where you want to use autocorrect as you type (for example, creating numbered or bulleted lists automatically);
- New interface languages: Belarusian, Catalan, Greek, Lao and Romanian.
System Requirements
To install ONLYOFFICE Docs 6.2, your machine needs to comply with the following requirements:
- RAM: 4 GB or more;
- CPU: dual-core 2 GHz or higher;
- Swap: at least 2 GB;
- HDD: at least 2 GB;
- Distribution: 64-bit Ubuntu with kernel version 3.8 or later;
- Docker: version 1.10 or later.
Installation of ONLYOFFICE Docs 6.2
The latest Docker version is required. Otherwise, you can check with the official documentation to install Docker on Ubuntu.
To start the installation process, launch Docker and execute this command to install ONLYOFFICE Docs and all the required dependencies:
sudo docker run -i -t -d -p 80:80 --restart=always onlyoffice/documentserver
By default, ONLYOFFICE Docs uses port 80. You can easily change this if want to use another port:
sudo docker run -i -t -d -p (PORT_NUMBER):80 --restart=always onlyoffice/documentserver
Please note that (PORT_NUMBER) is the number of the required port.
Storing data outside the containers
It might be a good idea to store all the logs, certificates, cache and databases outside the Docker containers because you will be able to easily update ONLYOFFICE Docs in the future without losing your data.
To get access to your data outside the containers, you need to mount the volumes first. Just specify the -v option in the docker run command:
sudo docker run -i -t -d -p 80:80 --restart=always \
-v /app/onlyoffice/DocumentServer/logs:/var/log/onlyoffice \
-v /app/onlyoffice/DocumentServer/data:/var/www/onlyoffice/Data \
-v /app/onlyoffice/DocumentServer/lib:/var/lib/onlyoffice \
-v /app/onlyoffice/DocumentServer/db:/var/lib/postgresql onlyoffice/documentserver
Running ONLYOFFICE Docs via HTTPS
If you want to run ONLYOFFICE securely via HTTPS, use this command:
sudo docker run -i -t -d -p 443:443 --restart=always \
-v /app/onlyoffice/DocumentServer/data:/var/www/onlyoffice/Data onlyoffice/documentserver
You also need to create and install the following files:
/app/onlyoffice/DocumentServer/data/certs/onlyoffice.key
/app/onlyoffice/DocumentServer/data/certs/onlyoffice.crt
If you use certificates issued by a certificate authority (CA), these files are provided by your CA.
After that, enhance the server security by setting DHE parameters:
openssl dhparam -out dhparam.pem 2048
Install the onlyoffice.key, onlyoffice.crt and dhparam.pem files to the ONLYOFFICE server.
mkdir -p /app/onlyoffice/DocumentServer/data/certs
cp onlyoffice.key /app/onlyoffice/DocumentServer/data/certs/
cp onlyoffice.crt /app/onlyoffice/DocumentServer/data/certs/
cp dhparam.pem /app/onlyoffice/DocumentServer/data/certs/
chmod 400 /app/onlyoffice/DocumentServer/data/certs/onlyoffice.key
Finally, restart the Docker container:
sudo docker restart {{DOCUMENT_SERVER_ID}}
Optionally, you can also refer to the docker run command options for the --env-file flag where you can specify all the required environment variables in a single file.
Execution of the test example
By default, ONLYOFFICE Docs includes only online editors. To get started with the solution, you need to integrate ONLYOFFICE Docs either with ONLYOFFICE Groups or with another sync & share platform of your choice.
To test the editors before integration, you can use the test example. It’s a simple document management system that helps you check if the editors work correctly.
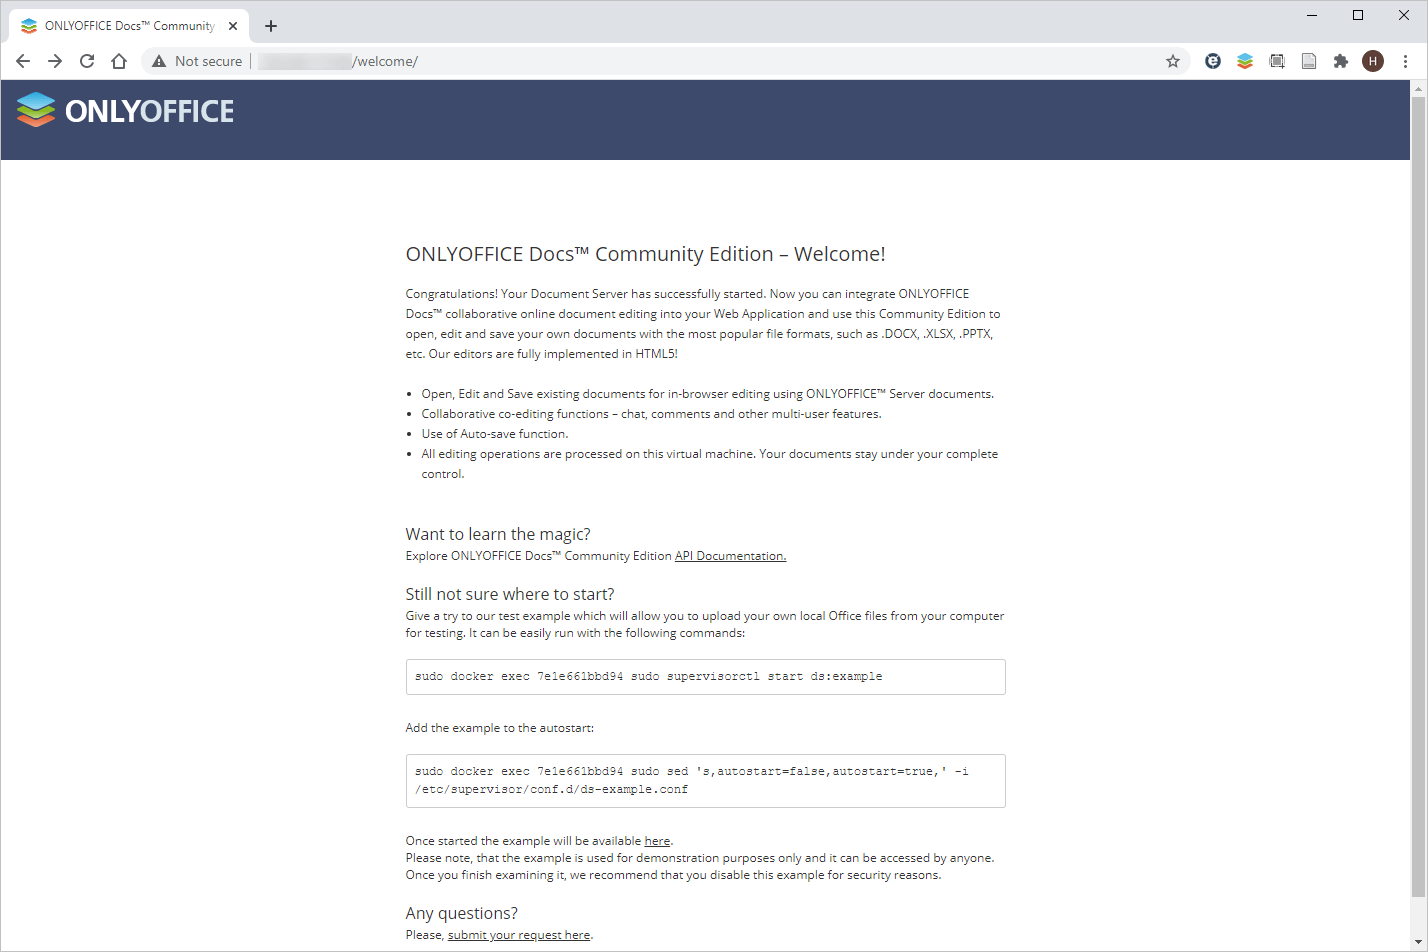
The test example is disabled by default, but you can see the instructions on how to start it on your start screen.
After starting the example, you’ll see this at http://docserverurl/example (this is the default address, it may be different for your installation):
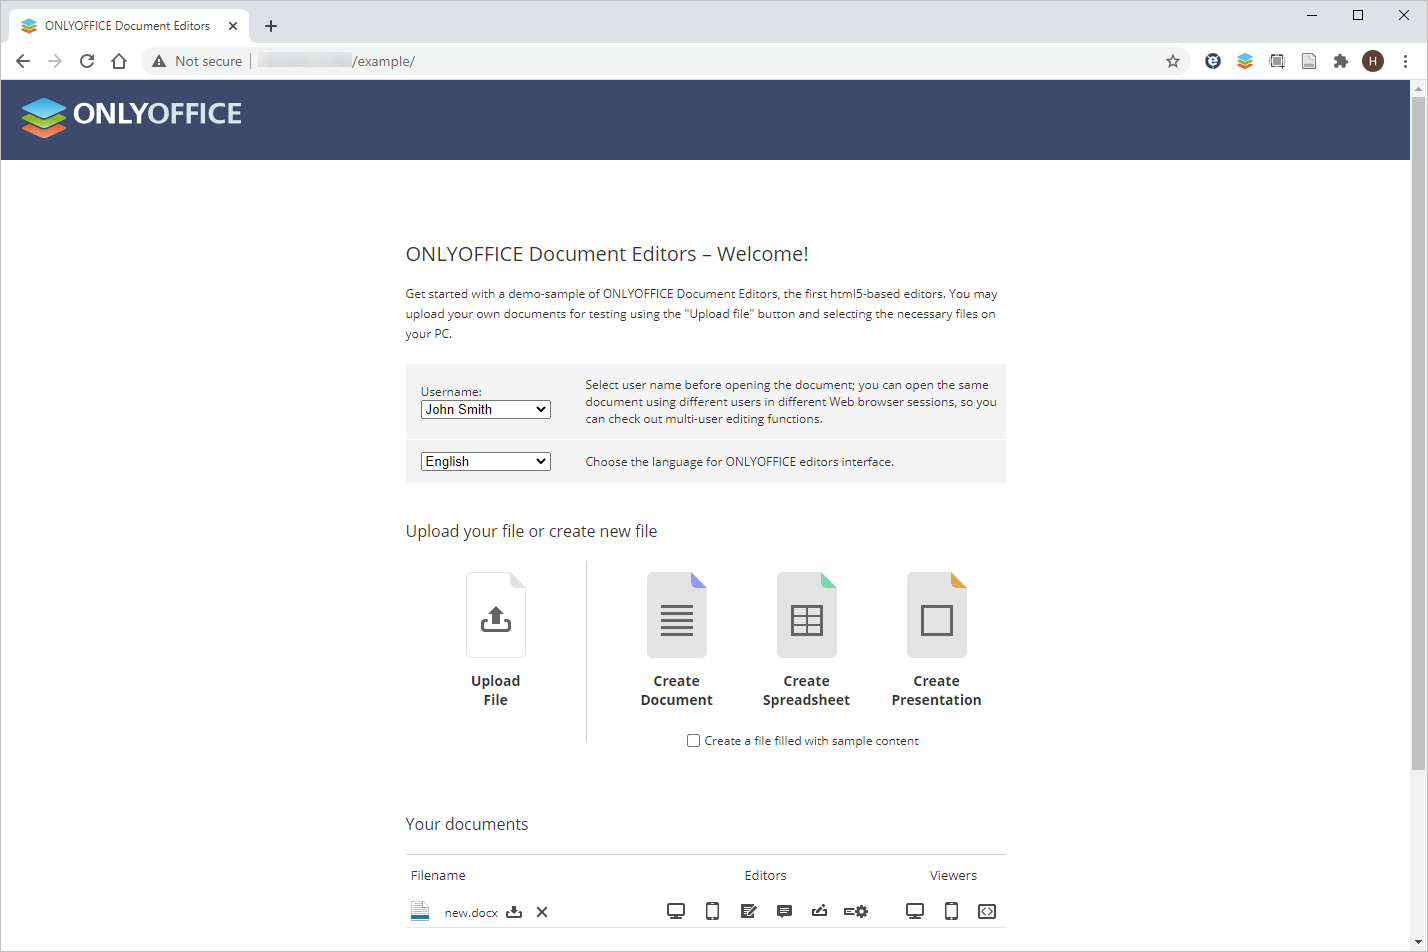
The test example allows you to:
- upload local files to see what they will look like in ONLYOFFICE Docs,
- create new docx, xlsx and pptx files,
- test the editors’ functionality,
- open files in different sharing modes available in ONLYOFFICE (for reviewing/commenting, etc.) and much more.
Conclusion
Now you have successfully installed ONLYOFFICE and can integrate it with a third-party platform of your choice. ONLYOFFICE Docs is distributed under a dual-licensing model. This means that as long as you respect the terms of GNU AGPL v.3 license, you can freely use the open source solution available on GitHub. There are a lot of available integration options: ownCloud, Nextcloud, Liferay, HumHub, Nuxeo, etc.
If you need professional technical support and want to make the most of professional editing features (e.g. document comparison, content controls and Sheet Views), you might opt for a commercial version.
We hope this article has been useful for you. Don’t hesitate to share your thoughts in the comments section below.
Please read our Comment Policy before commenting.