This is a new series looking at the Radxa Cubie A7ZA single board computer (SBC). It’s billed as “tiny size, mighty AI” SBC.
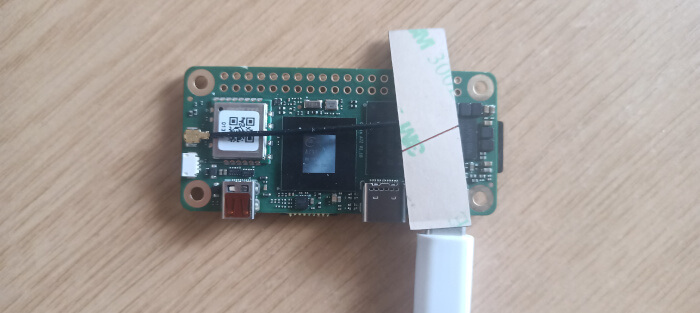
The SBC is powered by the Allwinner A733 SoC, featuring a hybrid octa-core CPU (dual-core Arm Cortex-A76 and hexa-core Arm Cortex-A55 up to 2.0GHz), integrated 3 TOPS NPU, and Imagination BXM-4-64 GPU, providing AI and multimedia processing capabilities. The board is designed for edge AI applications such as image recognition, computer vision, voice processing, robotics, and smart IoT devices.. This is a tiny board measuring a mere 65mm x 30 mm x 6mm. My board doesn’t have a 40-Pin GPIO interface.
I’m evaluating the 1GB RAM model. This model with no GPIO is available on AliExpress for £16.29.
Getting Started
A bare board isn’t sufficient to get started. You’ll need system boot media and a power adapter. For the former, I used a good quality 128GB microSD card (class 10). While there’s an option to use onboard UFS (which is much quicker than a microSD card), my board doesn’t have onboard UFS. For the power supply I hooked up a standard 5.1V 5A USB-C power supply. But you can also use Radxa’s own PD 30W Power Adapter. You might also need to get a USB 3.0 to USB-C converter, as well as a micro HDMI to HDMI cable.
At the time of writing, there are a couple of images available. The Debian 11 image provides the Radxa OS, an open source operating system developed by the Radxa team based on the Debian Linux distribution. Android 13 is also available.
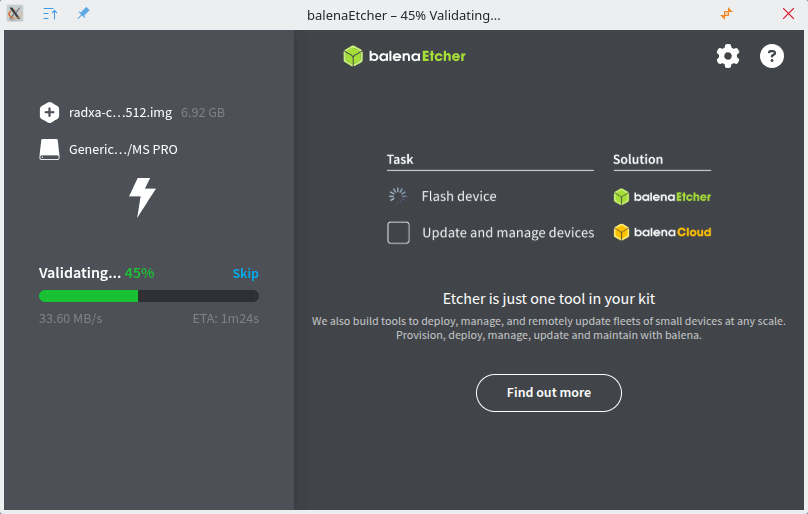
I wrote the Radxa OS to a microSD card using balenaEtcher (but you can use similar software). Download the image (radxa-cubie-a7z_bullseye_kde_b1.output_512.img.xz) from Radxa’s website and extract the image from the compressed archive with a file manager or from the command-line.

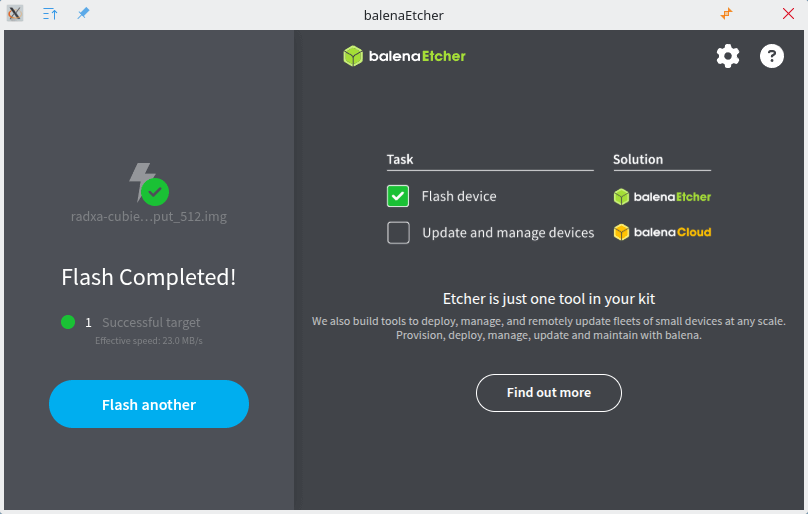
Once the image is written to the microSD card and you get the “Flash Completed!” message, insert the card into the board and connect cables up. In the image below, I was running the board headless, so I’ve only the USB-C power connected. Note the machine has a micro HDMI port (not an HDMI port), and there are no USB 3.0 ports. Instead, there’s a USB-C for the power and a USB-C which you can connect a mouse and keyboard. Fortunately, I had a USB 3.0 to USB-C converter so the lack of USB 3.0 wasn’t an issue.
Next page: Page 2 – First steps with the SBC
Pages in this article:
Page 1 – Introduction
Page 2 – First steps with the SBC
Page 3 – Interrogation of the system
Complete list of articles in this series:
| Radxa Cubie A7Z | |
|---|---|
| Introduction | Introduction to the series and interrogation of the Cubie A7Z |
| Power | I compare the Cubie A7Z's power consumption to other machines |
| Radxa OS | A Debian-based Linux distribution with KDE Plasma |