
First Steps
Getting up and running is similar to any single-board computer. The most straightforward way is to download the Debian 12 image (Orangepi6plus_1.0.2_debian_bookworm_desktop_gnome_linux6.6.89.img.xz) via the OrangePi website. Then write the downloaded image to a microSD card using software such as balenaEtcher. I’ve also tested writing the image to a USB 3.2 Gen 2 USB drive. It’s definitely better to use an NVMe or fast USB drive than a microSD card as you’ll get much faster disk read and write speeds helping to make the board feel more responsive.
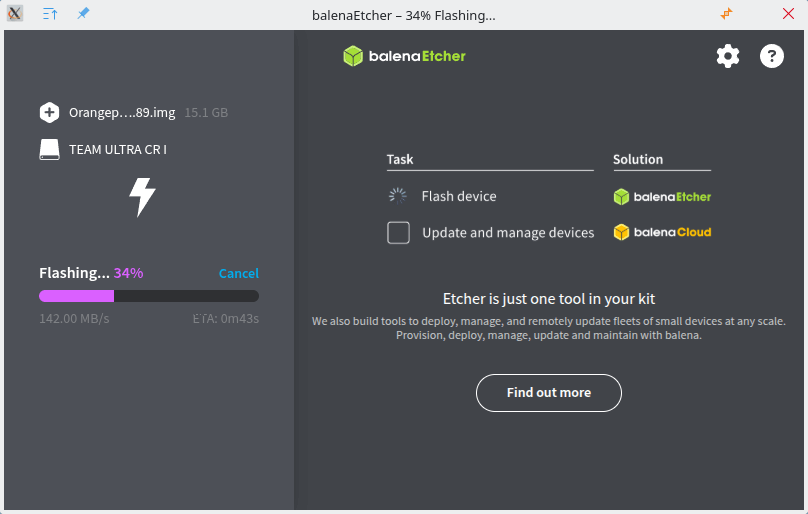
Here’s balenaEtcher in action. I’m using a 1TB microSD card which, by microSD standards, has decent write speeds.
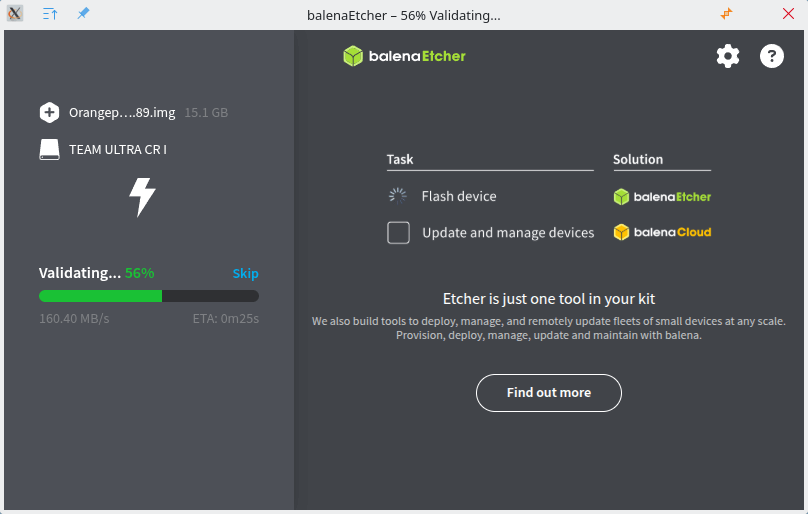
balenaEtcher validates the image automatically.
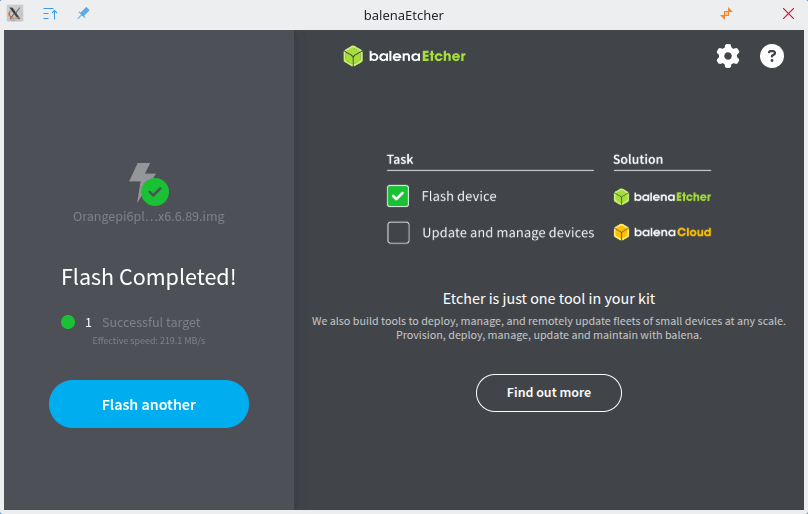
The flash process has successfully completed.
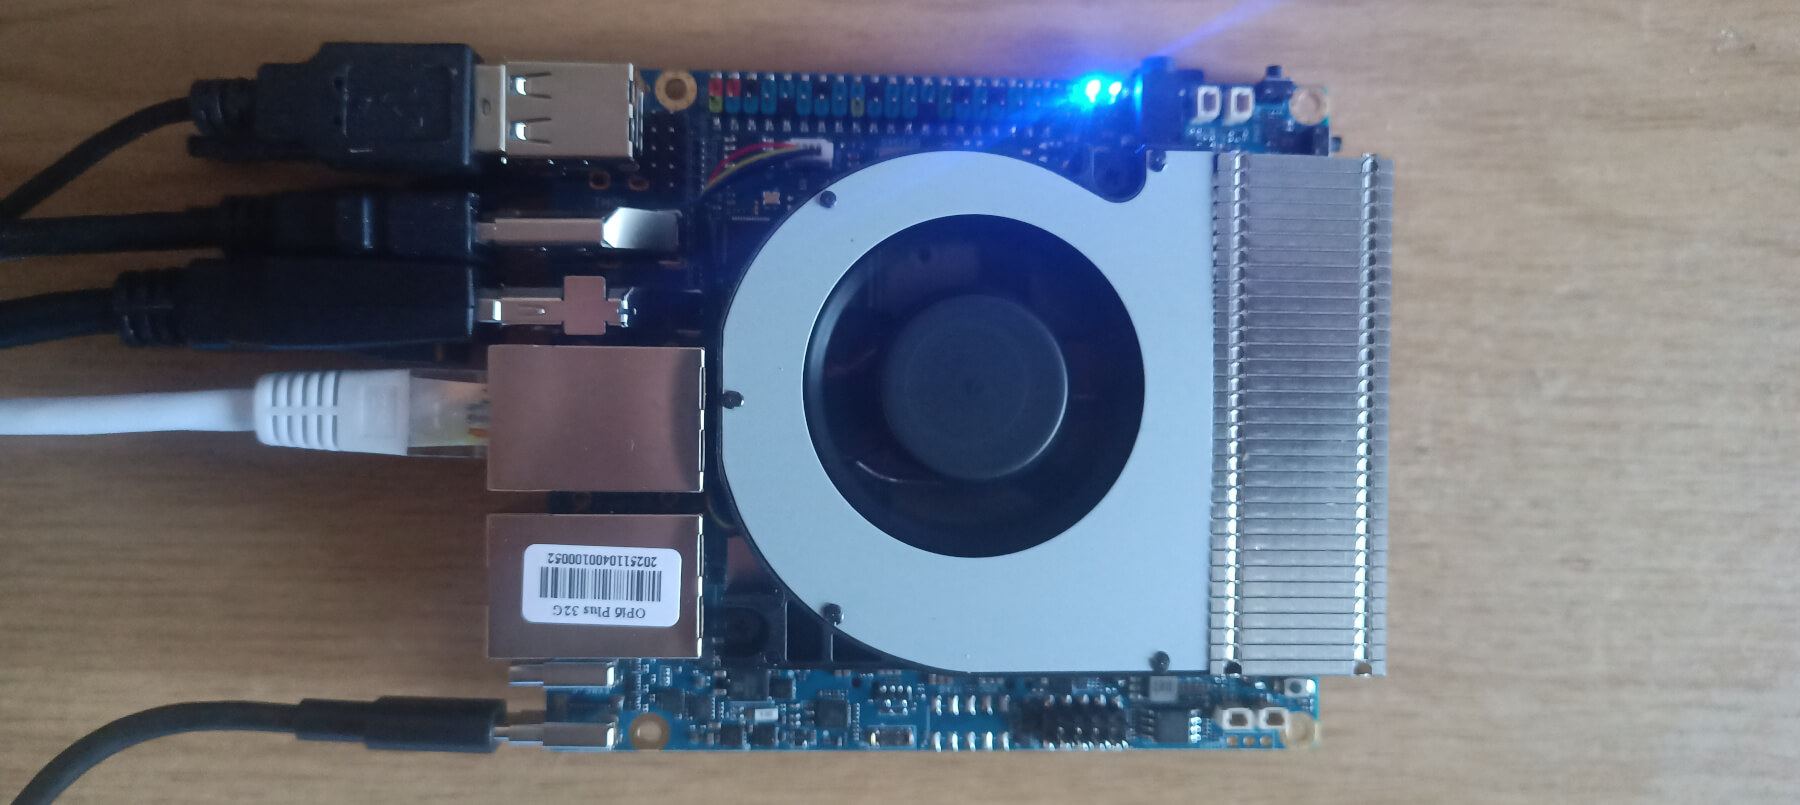
Next insert the microSD card into the board’s SD card slot, and connect up the power supply, monitor cable(s) and input devices. For the latter I’m using a keyboard and mouse connected to a switch.
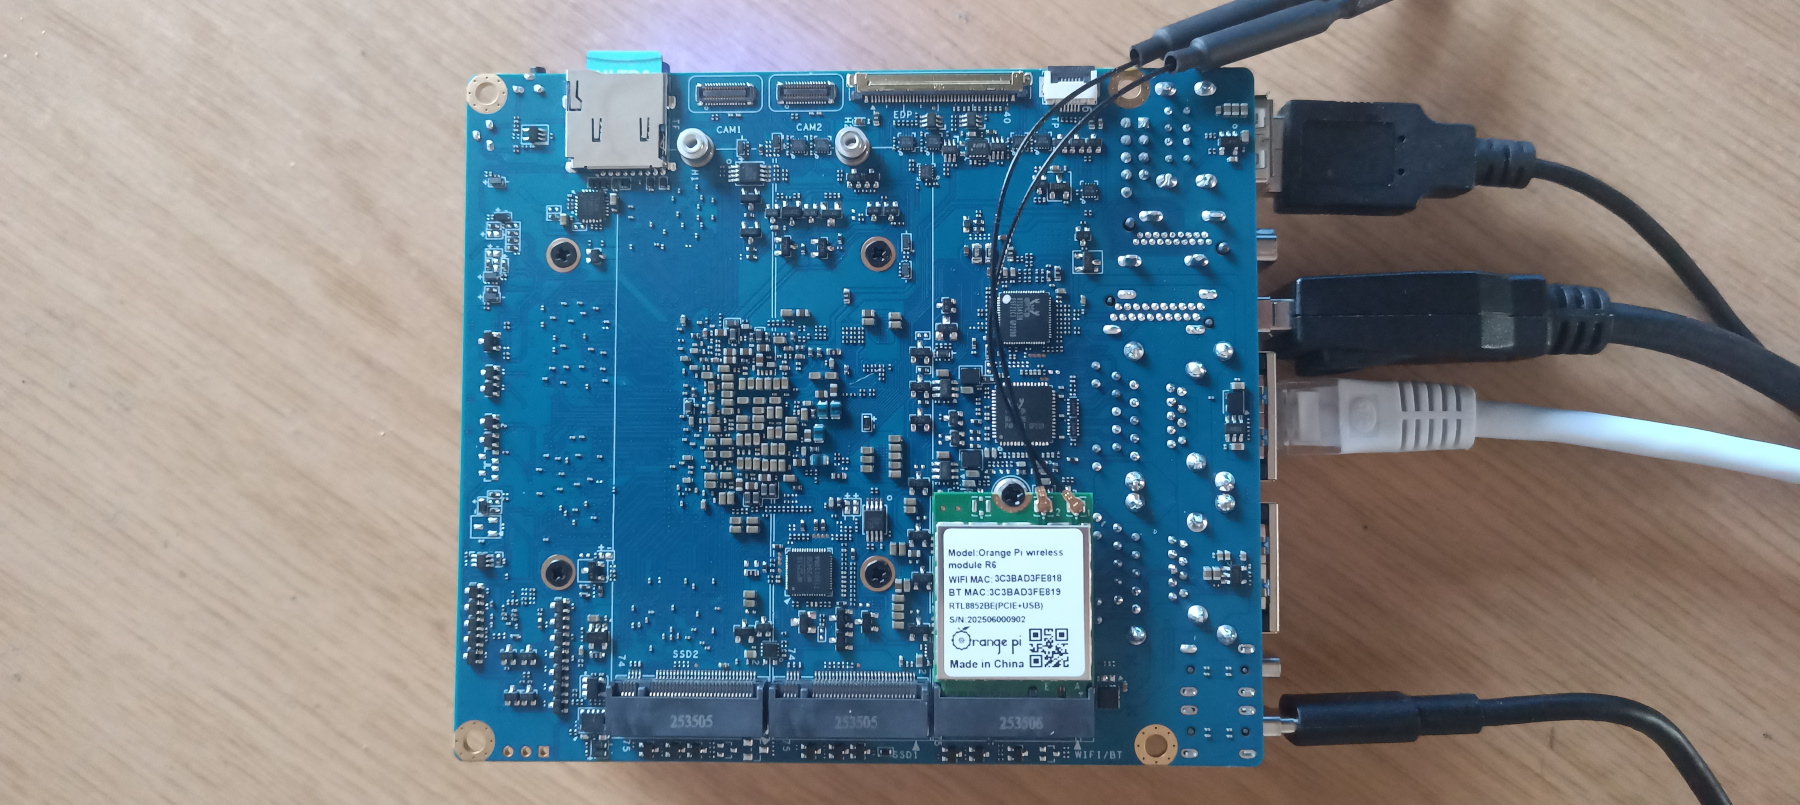
I also plugged in the wireless module to the M 2 E-KEY slot on the board. Its secured with a mounting screw (supplied with the module).
I also connected an HDMI cable in addition to the DP cable so that the board outputs to two monitors.
Let’s take a look at the board’s specifications in more detail.
Next page: Page 3 – Interrogation of the system
Pages in this article:
Page 1 – Introduction
Page 2 – First steps
Page 3 – Interrogation of the system
Page 4 – Reference images
Complete list of articles in this series:
| Orange Pi 6 Plus | |
|---|---|
| Introduction | Introduction to the series and interrogation of the single-board computer |
| Benchmarks | Benchmarking the Orange Pi 6 Plus |
| Cores | The 3 different types of core |
| Power | Testing and comparing the power consumption |
| Ubuntu | Testing the Ubuntu 24.04 LTS image |
| BIOS | Exploring the BIOS |