Restoring Data
We can restore data by accessing folders/files on an individual basis, or by a bulk restore. We’ll briefly cover both options.
Restore a file/folder
Select the backup task, then choose the Backup Explorer.
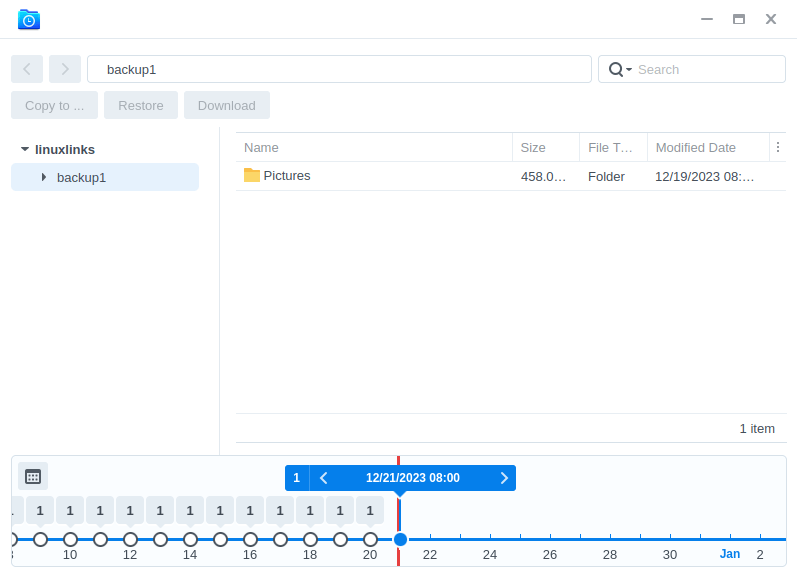
At the bottom of the window is a timeline slider. Every version of your backups can be viewed here. We can download, copy, or restore.

The download option will download the file to our current device. Copying the file will copy it to a folder on the Synology NAS. The restore option will overwrite the folder/file on the NAS.
Restore Configuration, Applications, or Shared Folders
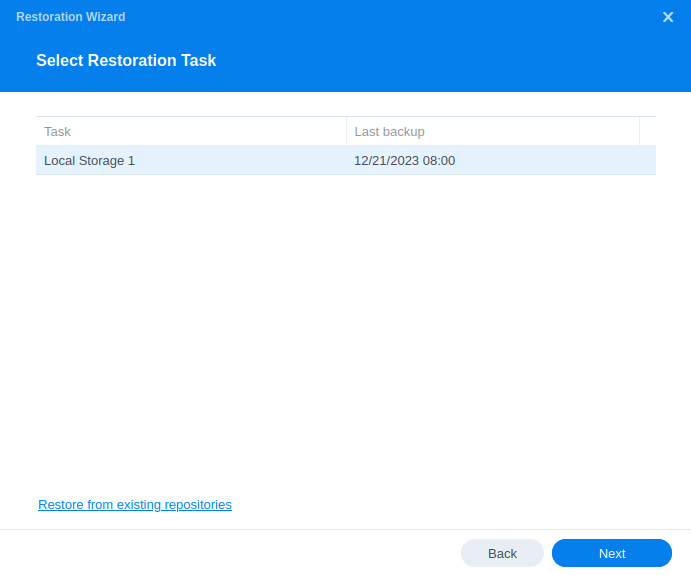
Select the Restore icon, and choose the Restoration Type in the Restoration Wizard.

Next, select the Restoration Task.
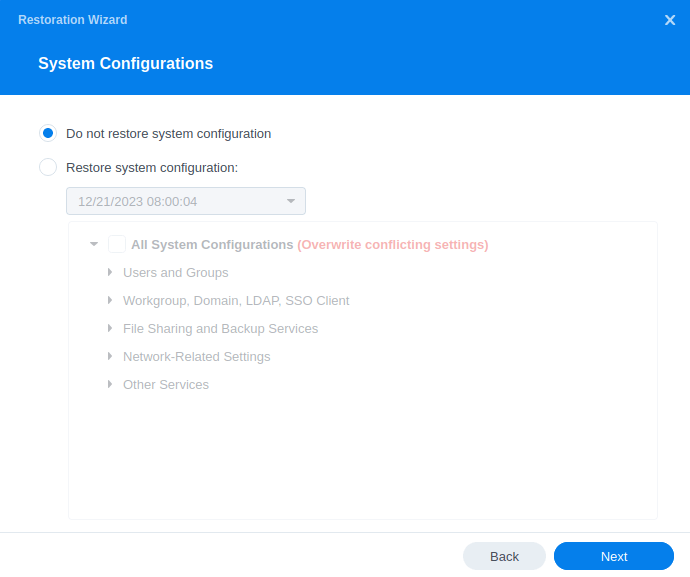
We next are offered the option to restore the system configuration.
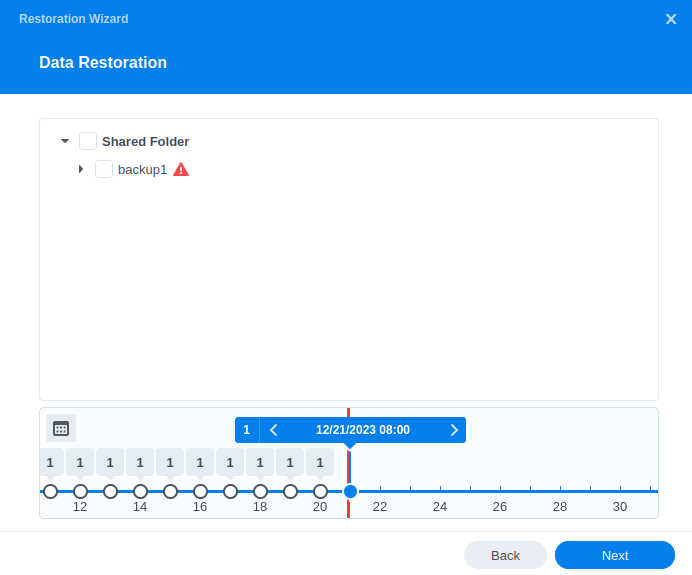
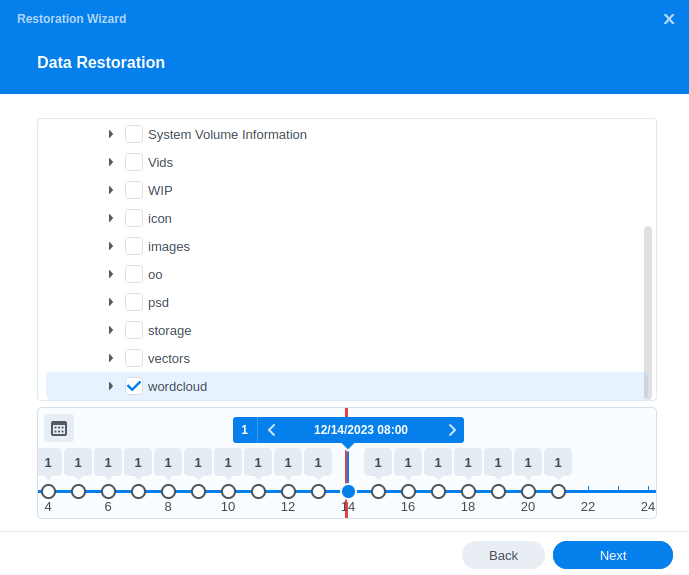
At this step, we can restore entire folders by selecting the folder(s) and the version we’d like to use on the timeline at the bottom. The red exclamation point is there to inform us that if the folder exists, it will be overwritten with the data in this backup.
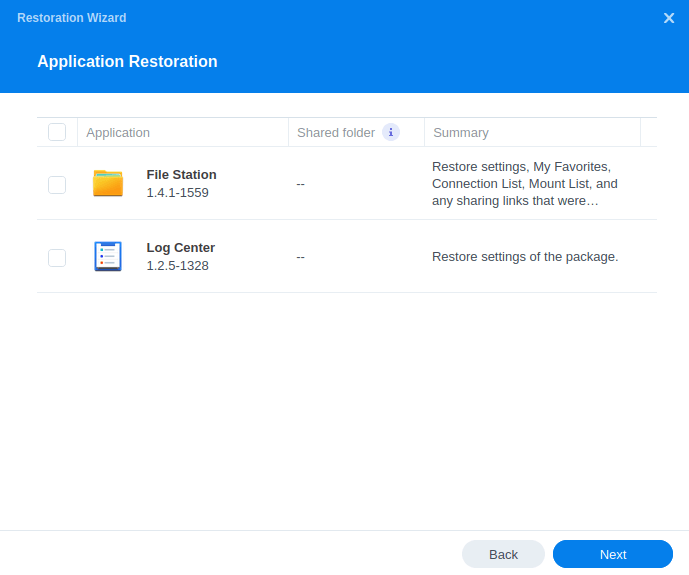
Finally, we can restore the settings for any applications that we previously backed up. This overwrites the data that exists in this application.
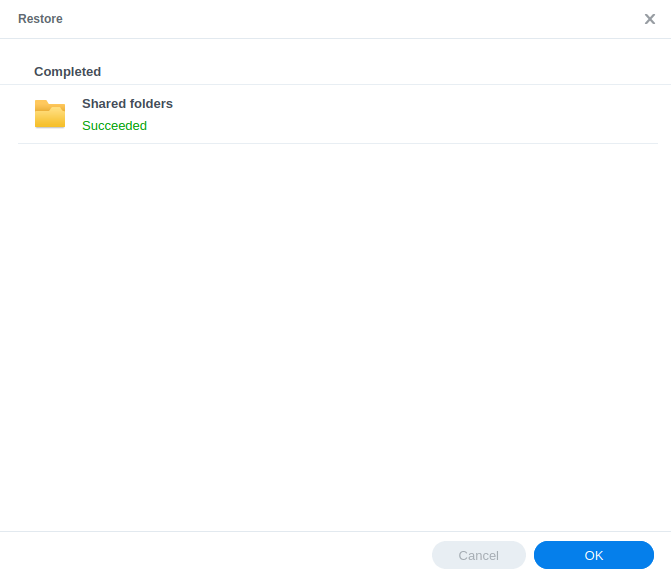
The final dialog box shows summary information which gives the option not to proceed with the restoration. Let’s proceed with the restoration. Success.
Hopefully, this article has illustrated how easy it is to use Hyper Backup.
Pages in this article:
Page 1 – Introduction
Page 2 – Create a Backup Task
Page 3 – Backup Explorer and Backup Integrity
Page 4 – Restoring Data