
Last Updated on August 11, 2021
In Operation
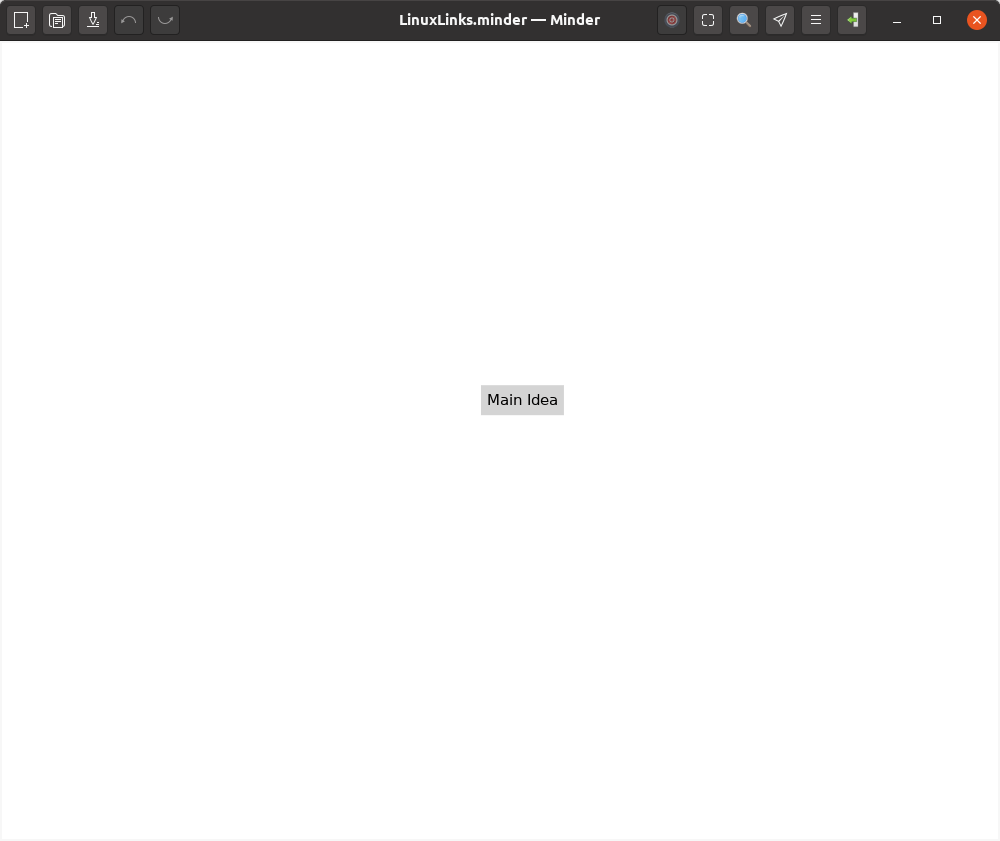
When the application is first launched, a main idea node is displayed in the centre of the mind-map canvas.
A small header toolbar resides at the top of the screen offering quick access to some of the program’s functions. From left to right, the icons let you create a new file, open a file, save file as, and unlimited undo/redo functionality. The icons on the right hand side offer a focus mode, zoom, search, export, shortcuts cheatsheet, and properties.
The software lets you create visual mind-maps using the keyboard and automatic layout. One of its key advantages is that the software has a very shallow learning-curve. And the program automatically saves in the background.
When first using the program it’s definitely worth keeping the shortcuts cheatsheet visible. This cheatsheet is divided into 4 sections: General, Node Commands, Connection Commands, and Text Editing. You’ll soon be creating new sibling nodes, child nodes, and organizing your mind map.
Mind maps are made up of ideas also known as “nodes” which are related to each other either through parent/child relationships using “links” or through user-defined relationships using “connections”.
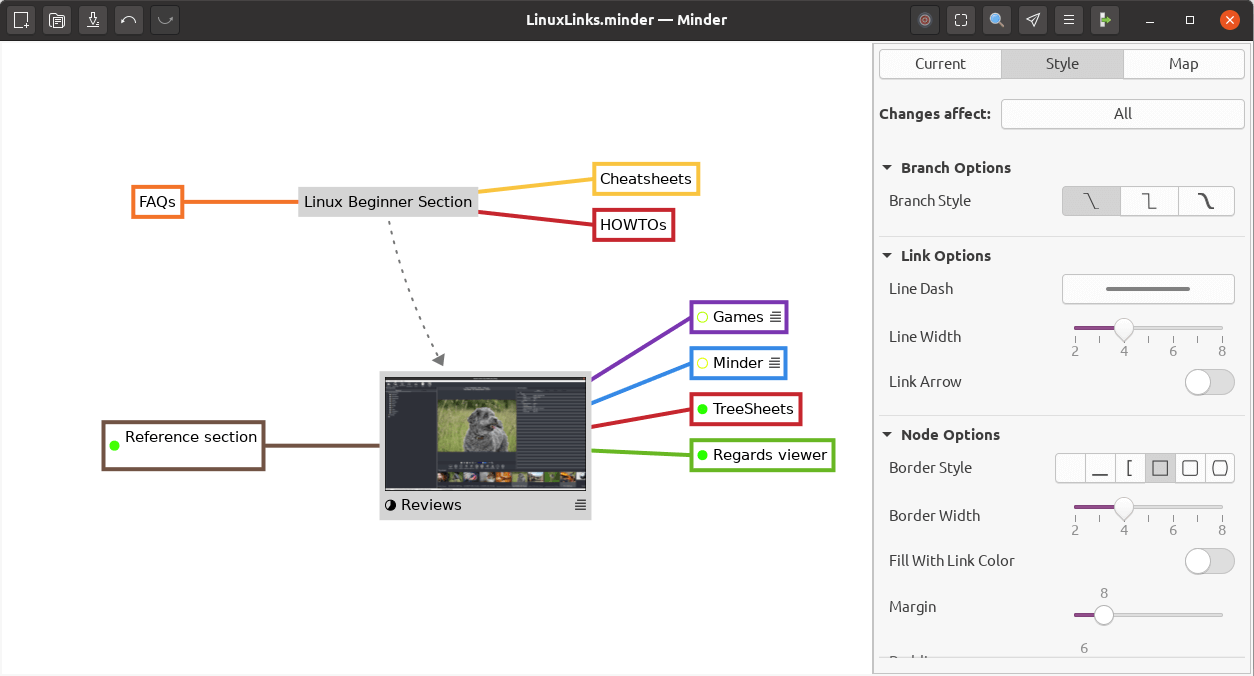
Minder has lots of functionality. For example, you can add notes, tasks, and images to your mind map. In the image to the right, we’ve added an image to one of the root nodes (labelled Reviews). Click on the image, and you’ll see that a couple of the child nodes have four horizontal lines next to their text entries. These lines indicate we’ve added notes to the entries. You’ll also notice that three of the child nodes have a green filled-in circle. This indicates they are tasks that have been completed. The Reviews root node has a pie chart. Hovering over the pie chart elicits a tip saying 60% complete. That’s because the child notes consists of 5 tasks, 3 of which are completed.
The other root node (Linux Beginner Section) has a dashed line leading to the Reviews node. That’s a node-to-node connection. It can take optional text and notes.
We enabled the sidebar in the above image. Here there’s lots of configuration including the option to stylize nodes, links and connections to add more meaning and improve readability. We can also colorized node branches.
Let’s drill down a bit more.
The Map tab of the Properties sections lets you toggle animations on or off, hide connections, choose from many different node layouts. Choose from manual, vertical, horizontal, to left, to right, upwards, and downwards.
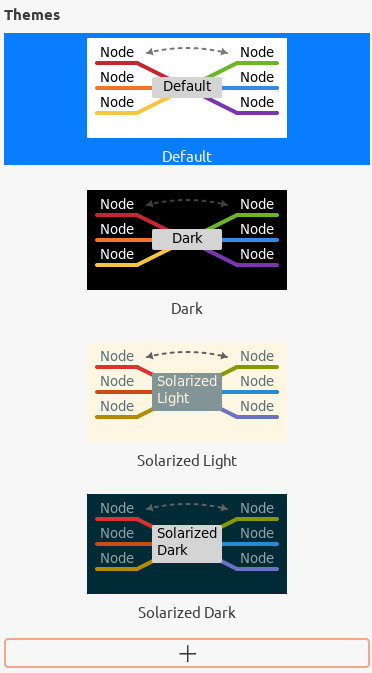
The software offers 4 pre-defined themes: Default, Dark, Solarized Light, and Solarized Dark. These themes are shown in the image to the left.
We like that you can also create new themes. Click the + button, and you can create new themes. When making a customized theme you can define the base colors such as background, foreground, root node background, root node foreground, attachable highlight, and connection color. You can also choose different colors for links, and toggle a dark mode.
What else is there?
- Quick search of node and connection titles and notes, including filtering options such as including/excluding folded, unfolded, tasks, and non-tasks.
- Zoom in or enable focus mode to focus on certain ideas or zoom out to see the bigger picture.
- Enter focus mode to better view and understand portions of the map. In this mode, only one root node together with its child notes are prominently displayed.
- Unlimited undo/redo of any change.
- Open multiple mind maps with the use of tabs.
- Import from OPML (an XML format for outlines), FreeMind and Freeplane formats.
- Export to:
- Text Formats – CSV, Markdown, Org-Mode, and Plain Text.
- Image Formats – PNG, JPEG, PNG, BMP, and SVG
- Mind map Formats – FreeMind, Freeplane, OPML, Portable Minder, XMind, and yED.
- Other Formats – Mermaid, Outliner, and PDF.
- Printer support.
Pages in this article:
Page 1 – Introduction / Installation
Page 2 – In Operation
Page 3 – Summary